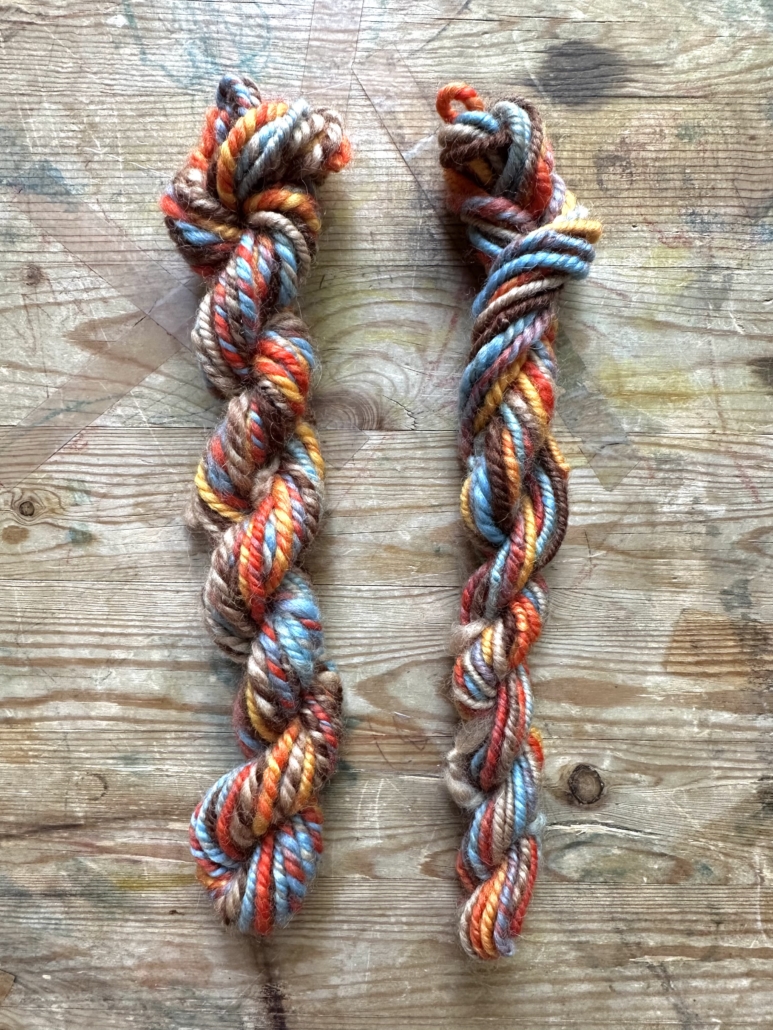
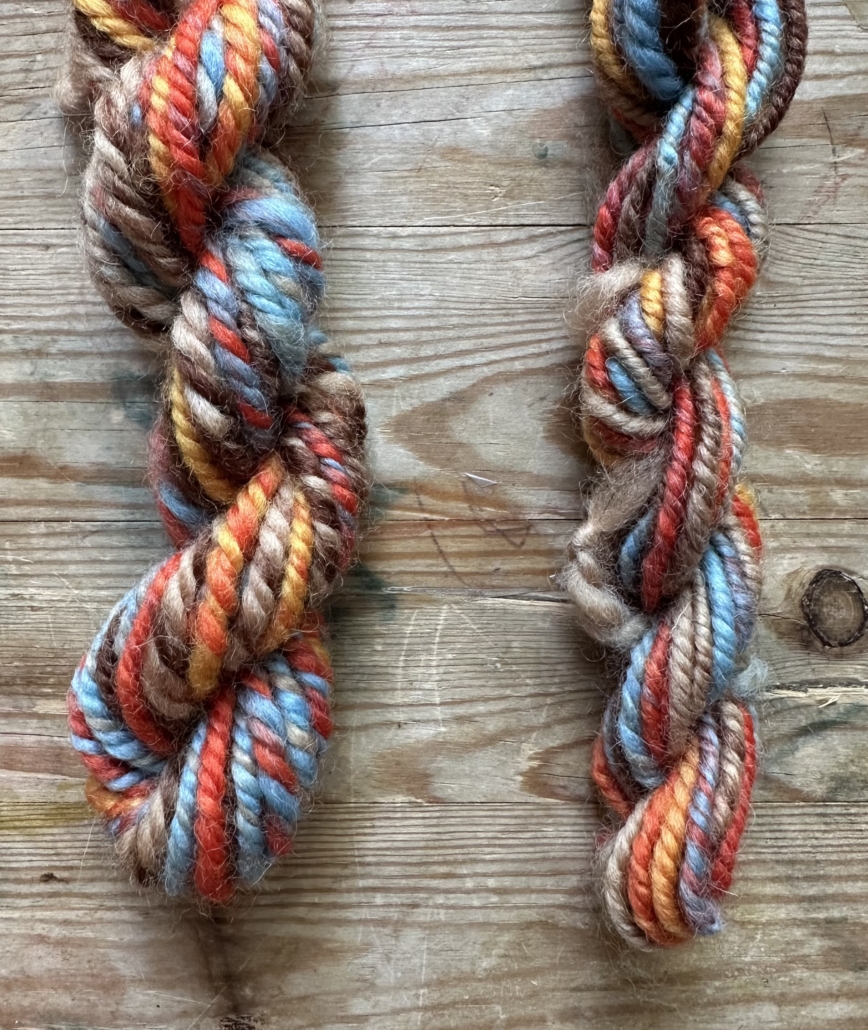
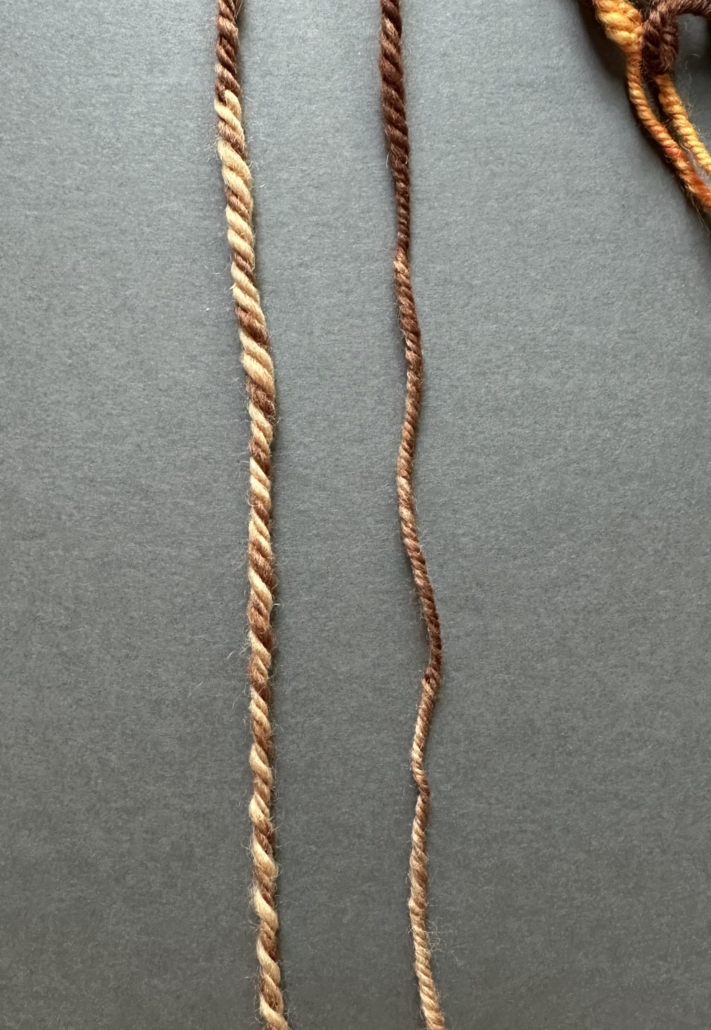
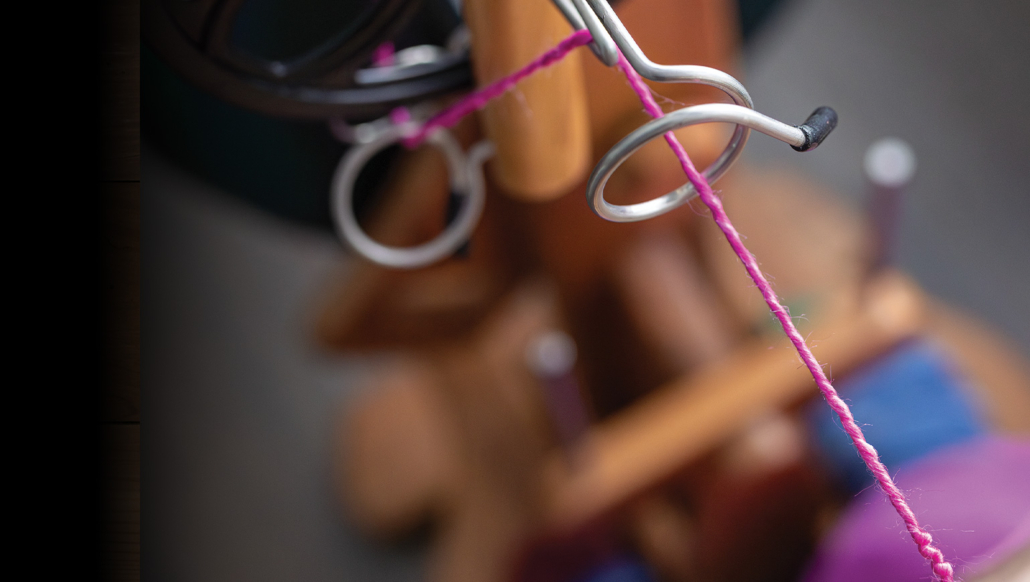
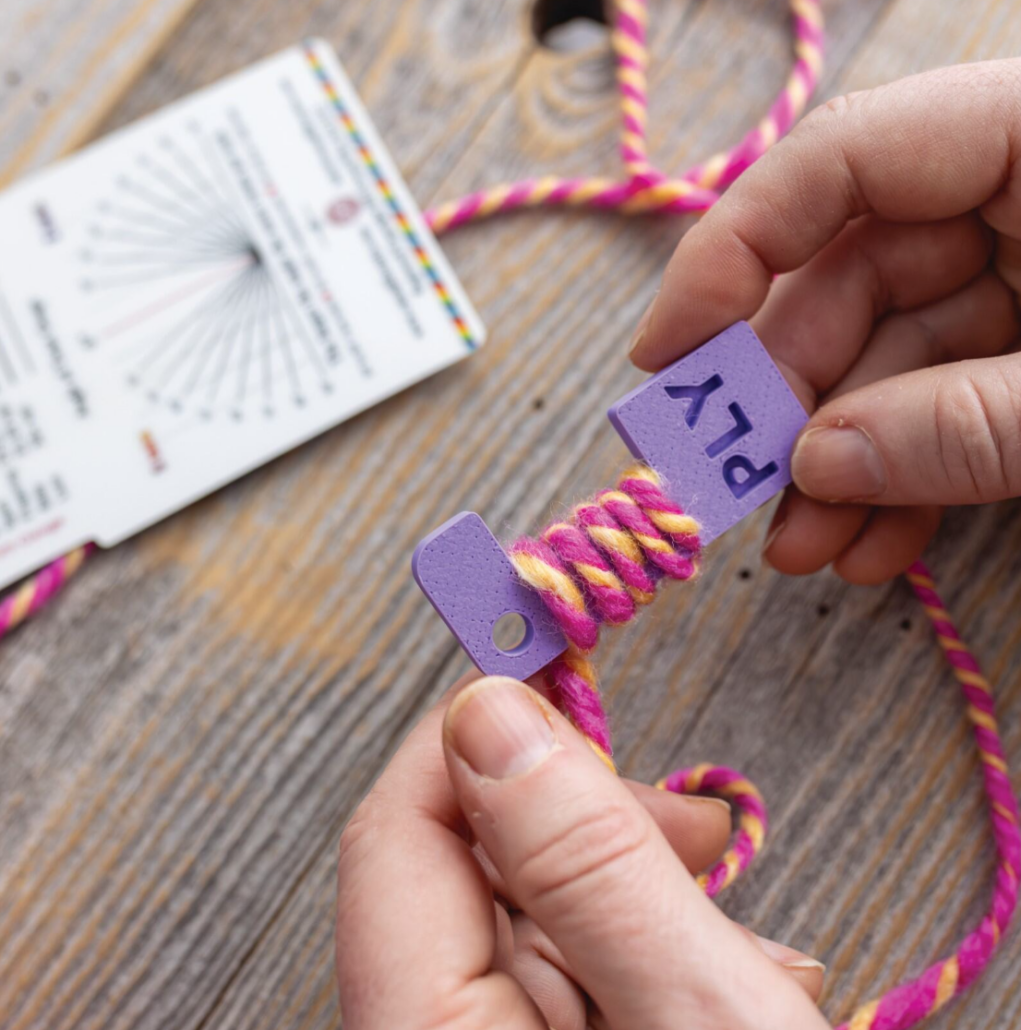
Time to ramp up for tonight’s PLY Spinners Guild Third Thursday foundational spin-in!
Here’s a tip to tide you over until the spin-in starts! This is something I’ve observed time and again during my years of teaching spinners.
When we first begin spinning with a short forward draw, many of us struggle to get a thin, even yarn. Much like a toddler who needs to master the chunky crayons before they can move on to the pencils, new spinners will spin lumpy, bumpy, chunky yarn until they master the fine motor control needed to get those lovely, even singles. Then comes the second part of this problem.
Once spinners master the thin, even single… it becomes really difficult for them to spin a thick yarn again. It is a skill they have to learn all over again and is often a shock when they realize they’ve lost the ability.
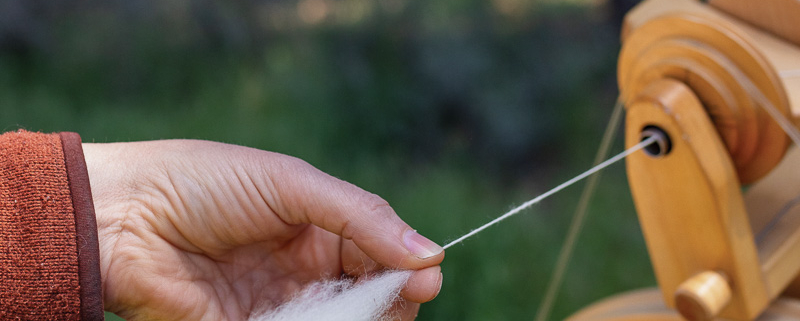
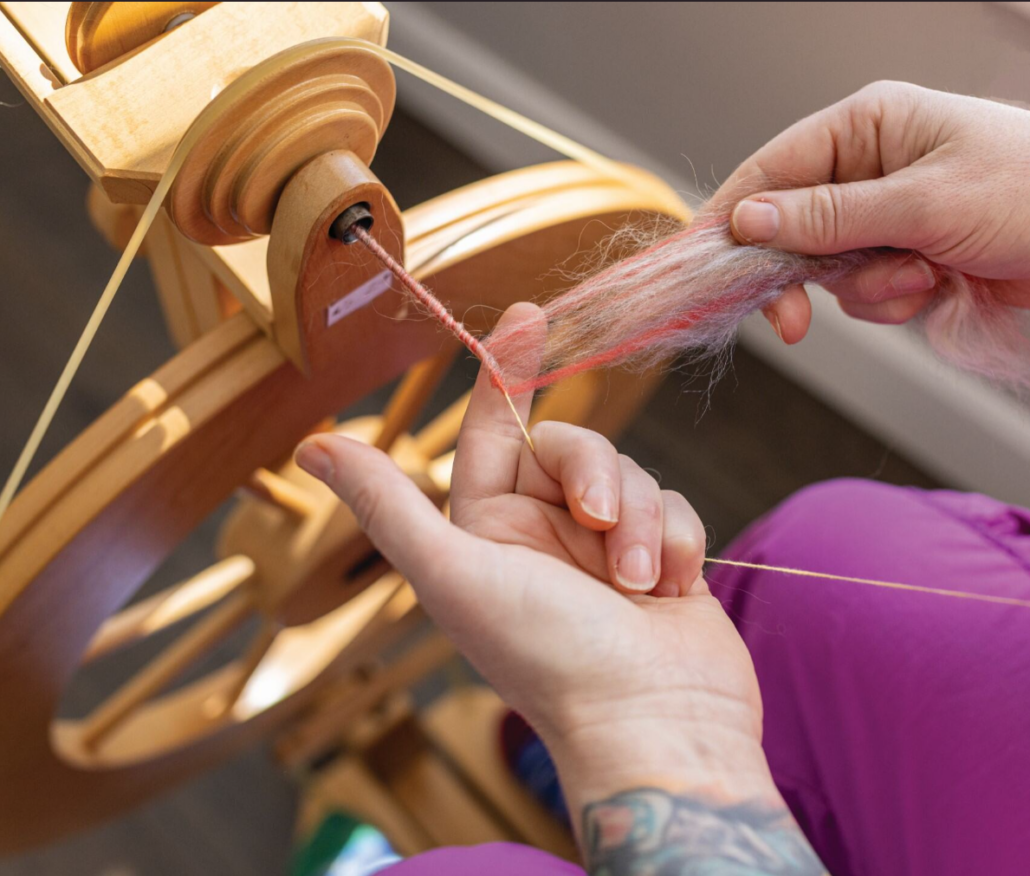
To work toward getting that thicker yarn again, pay attention to what each of your hands is doing as your spin. One hand manages the fiber supply (the fiber hand), while the other hand forms a pinch point and controls the twist (the working hand).
When you spin a fine single, you might notice that your pinch point stays near the very tips of the fibers and draws only a few fibers at a time into the twisted yarn. While not always the case, you might also notice that your fiber hand holds the fiber supply with a somewhat firm pressure.
To get a thicker yarn, move your pinch point deeper into the drafting triangle so that you are drawing up more fibers into the twist zone. To complement this new motion, your fiber hand should have a very loose grip on your fiber. If you hold your supply tightly, fewer fibers can be drawn into the twist zone.
Test this out at the spin-in, tonight! Make sure that you have joined the guild to get the Zoom link!
https://plymagazine.com/wp-content/uploads/2025/05/hand_graphic_2.png748997Meagan Condonhttps://plymagazine.com/wp-content/uploads/2014/06/plylogo-condensed-pnk-300x164.pngMeagan Condon2025-05-15 14:37:162025-05-15 14:37:18Third Thursdays Guild Tip
I am having the worst time parallel drafting! My fibers don’t draft well, there’s clumping, and one color frequently falls away. Can you give me some tips to make it easier?
~Tess (and others) in Jillian’s class at Maryland Sheep and Wool
Hi Tess,
Parallel drafting may be my favorite color spinning technique, but it was super awkward for me when I first started. I felt like I was trying to spin with my toes!
Here are my tips to create an even marl in your singles so you can have wonderfully speckled and blended colors in your ply. I hope one or all of them work for you to make parallel drafting easier!
Fiber
It helps when you are first learning to parallel draft to use fibers that are close in staple length. Corriedale and Falkland or Merino and Polwarth are great places to start, and when those feel comfy, move to combos like Corriedale and BFL or Merino and Merino/silk. Keep practicing and you’ll get to the point where you can parallel draft almost any fibers together.
Preparing Your Fibers
This may be the most important tip: use less fiber than you want to. Not what you want to hear, I know, but it makes such a difference.
I measure my fiber with my fingers. I use two-fingers’ width of fiber, after it’s been fully fluffed.
I open my fibers horizontally and measure the strips of fiber to use. If I am drafting two braids or two solid colors together, I use a finger’s width of each color; if I’m using a natural color and a braid, I use 2/3 of my two-finger’s width of the braid and 1/3 of the natural color.
It’s easy to try to parallel draft without opening your fibers all the way, but that leads to less-than-smooth drafting and clumping.
After I open and strip my fibers, I hold them side by side and pre-draft them together. I slowly, vertically attenuate them, which helps the fibers grab onto each other before drafting at the wheel even begins.
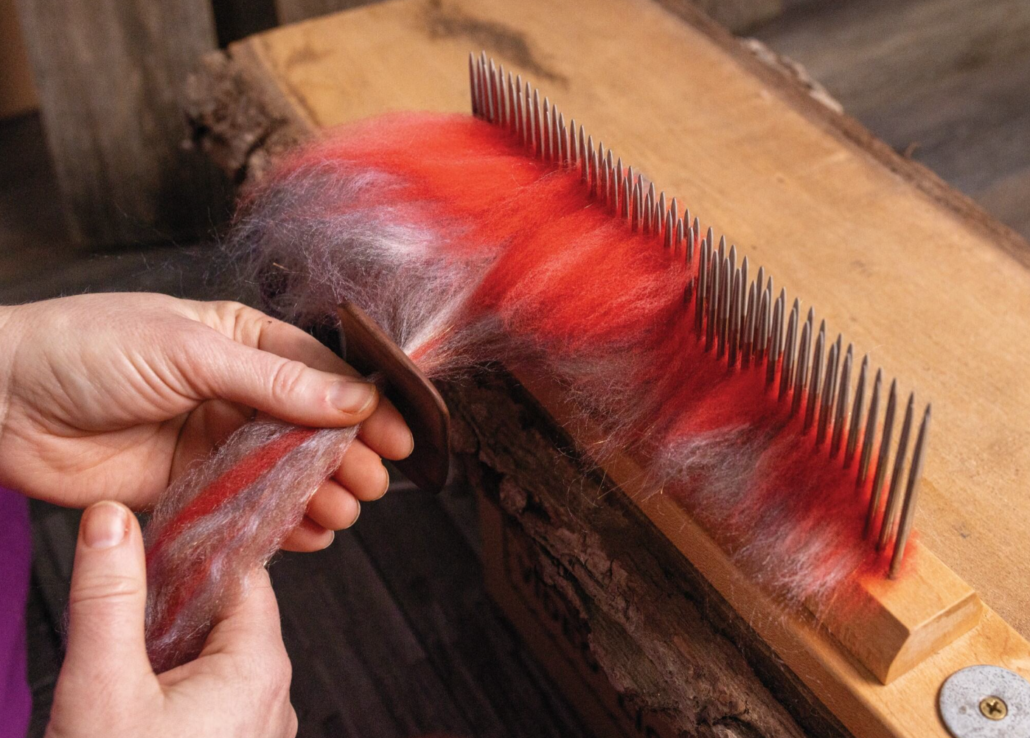
You can do it just with your hands, or you can pull them through a diz, using a handcard or comb to hold your fibers.
Tension and speed
One of the rudest things to say to a spinner is “slow down.” We want to get our yarn done fast so we can bask in its gorgeousness and get on to our next yarn. But if you slow down overall while you are learning to parallel draft, it makes a huge difference. Slowing down helps you draft more easily and keeps both fibers together.
Once you feel like you have the technique down, you can move back to Speed Racer mode.
Finding a way to equally tension the pieces of fiber will help keep one fiber from falling away while you are drafting. I’ve found that putting a finger from my fiber (back) hand in between the two strips of fiber allows me to tension them equally, change the tension between the two if one strip feels fatter, and notice quickly if one strip falls away.
Want Jillian or Jacey to take a stab at your question? Tell us what you want to know:
In the nineteenth century, the Genesee County area in upstate New York had many individuals spinning wool and flax to provide textiles for their families and for the barter system that provided many goods and services. Spinning was done on great wheels and saxony wheels that many pioneers brought with them across the state from the New England states. The main purpose was for clothing and to supply linens for their daily lives. Nearly every household was spinning for garments and weaving for textiles.
Upstate New York saw many heritage breeds of sheep, which were the main source of their spinning fiber–producing animals. Many farms in upstate New York also had many acres of flax growing. There were approximately 46 thousand acres of flax produced by families in upstate New York. That process was labor intensive to get linen for clothing and bedding.
In 1985 a small group of like-minded individuals formed the Genesee Valley Handspinners Guild. They had the tenacity and skill to develop their craft. The guild mission statement was to preserve the ancient art of handspinning and to educate themselves and the public on the history and skill of spinning fibers into yarn. Their skills expanded not only to spinning but to weaving, crochet, and knitting. In reality, it birthed a generation that used fibers for many arts and crafts today.
The spinning guild became the launching ground for many to become modern sheep farmers and mill owners to process wool. They educated many to work in textiles and in local museums to preserve that history. I, like many others, are the products of those wonderful individuals who formed the guild and educated their members in spinning, weaving, and the skills necessary to be successful spinners of wool, flax, and other fibers.
The early years of the guild saw many natural-colored sheep wool and fibers. The dawn of color and dyeing fibers brought many skills to spinning. Many spinners saw the creations of colorwork sweaters, garments, blankets, and many socks and shawls. This led into indie dyers and the frenzy of color in the hands of skilled spinners.
In 1995 the guild created The Finger Lakes Fiber Festival held at the local fairgrounds. This yearly festival ran for 25 years, eventually growing to offer over 80 venders and to attract thousands of people. This festival included many opportunities for demonstrations and educational classes. We have since scaled back and now offer The Shepherd’s Wool Market, which is a smaller event. We continue to offer demonstrations and educational classes to support our mission statement.
Our guild programs have been focused on the skills needed to be successful at individual endeavors, teaching skills in drafting techniques, fiber preparation, spinning wheel maintenance, and use of color. We have incorporated a sheep breed study that has delved into the breeds available and their uses for different textiles. We are gradually building our knowledge on the use of color, especially how to manipulate color at the spinning wheel with braids and the use of stash wool with parallel drafting techniques. We continue to strive and provide education for our members and the public. Occasionally our monthly meeting will consist of us sitting and spinning as a group with no agenda.
The Genesee Valley Handspinners Guild continues to this day, recently celebrating its 40th anniversary. We continue to be like-minded individuals preserving this ancient art of handspinning. Modern day spinning provides many guild members yards of yarn. Spinning provides a sense of pleasure, joy, therapy, and self care to the modern spinner, our guild members among them.
The challenge that the guild faces is bringing this craft to the next generation. We are using our collective experiences to encourage and refresh the guild’s presence in the next generation.
Ron Tyler, a retired nurse, is president of the Genesee Valley Handspinners Guild. He has been spinning for close to 20 years and is an avid collector of antique spinning wheels. He is also a historical interpreter in textiles at a local museum with an expertise in the history of flax.
Are you part of a fiber guild with a great history or a guild that is doing truly innovative work? We want to know about you!
https://plymagazine.com/wp-content/uploads/2025/04/Genesee-Valley-Handspinners-Guild.png8591152Guest Bloggerhttps://plymagazine.com/wp-content/uploads/2014/06/plylogo-condensed-pnk-300x164.pngGuest Blogger2025-04-24 09:00:002025-04-21 21:04:24Genesee Valley Handspinners Guild: Preserving the Ancient Art of Handspinning
I love the smell of old books. It is a smell that goes nicely with the smell of fresh fleece and hot coffee. My perfect afternoon would probably involve pivoting between scouring a fleece, one small bag at a time, and curling up in the living room next to a stack of old non-fiction books.
There seems to be a lot of crossover between book people and fiber people. It is part of why I spend so much time researching fiber arts. I love to play with fiber, but I am always looking for deeper meaning about how and why it behaves the way it does.
Right now, thanks to my local library, Sheep and Man by Michael L Ryder, an 856-page tome – and I do mean tome – published in the UK in 1983, sits half-read on my nightstand. Published more than 40 years ago, this book is touted by some to be the definitive work on the history of the domestication of sheep – which is interesting, considering it isn’t in publication and used copies are so rare they go for more than my car payment.
Version 1.0.0
Definitive is a dangerous word, to me. It gives us the illusion that knowledge is finite and unchanging, neither of which is true. New science comes along and answers questions we didn’t have answers for, which changes our understanding of things we thought we knew. In the handspinning community, we are particularly at risk of thinking that the knowledge and history of the craft never changes. It worked 500 years ago, so it should work the same way today.
The truth is, as soon as something is published, it is outdated. As a general rule, I approach any text older than 10 years with this fact tucked neatly in the back of my mind, and as I read, I question just about every fact that I don’t already have a clear understanding of (and even some facts which I do).
For example, Ryder points out that the proteins in sheep and goat wool are different, which indicates they likely diverged evolutionarily before they were domesticated. This made me curious – did more current microscopy and DNA analysis support this? So I set my book down, picked up my tablet, and began to research the difference between goat and sheep hair proteins.
In my further research, I learned that wool and cashmere are primarily made from keratin, the same protein our hair and nails are made from. However, they contained different keratin-associated proteins (KRTAPs) and the arrangement and amount of these additional proteins was different.
In fact, KRTAPs not only differed between ruminant species but also proved to be a determining factor in how fine, strong, and flexible a fiber is within a breed of sheep or goats.
This gave me additional information in support of what Ryder said four decades ago. Ryder didn’t have all the answers, though it would have been easy for me to just accept his word on the matter. After all, he was the expert! That said, his voice wasn’t able to give me the full picture of how goat and sheep hair differed. What it gave me was the right questions to ask.
An hour and a half diversion from my book, a fresh cup of coffee, and 4 tablespoons of wool wash later, and I can finally move to the next paragraph, page 19. I’ve got a long afternoon ahead of me.
References
Li S, Xi Q, Zhao F, Wang J, He Z, Hu J, Liu X, Luo Y.“A highly polymorphic caprine keratin-associated protein gene identified and its effect on cashmere traits.” J Anim Sci. 2021 Sep 1;99(9):skab233. doi: 10.1093/jas/skab233. PMID: 34370022; PMCID: PMC8442941.
Ryder, M. L. (2007). Sheep & Man. Duckworth.
Zhang C, Qin Q, Liu Z, Xu X, Lan M, Xie Y, Wang Z, Li J, Liu Z. “Identification of the key proteins associated with different hair types in sheep and goats.” Front Genet. 2022 Sep 23;13:993192. doi: 10.3389/fgene.2022.993192. PMID: 36212123; PMCID: PMC9539809.
Zhanzhao, Chen & Cao, Jian & Zhao, Fang & He, Zhaohua & Sun, Hongxian & Wang, Jiqing & Liu, Xiu & Li, Shaobin. (2023). “Identification of the Keratin-Associated Protein 22-2 Gene in the Capra hircus and Association of Its Variation with Cashmere Traits.” Animals. 13. 2806. 10.3390/ani13172806.
https://plymagazine.com/wp-content/uploads/2025/04/51YWM3NBZVL-1.jpg500370Meagan Condonhttps://plymagazine.com/wp-content/uploads/2014/06/plylogo-condensed-pnk-300x164.pngMeagan Condon2025-04-22 09:00:002025-04-21 21:34:55By the Books: Using Older Texts to Inform Our Modern Understanding of Fiber
As we ramp up for tonight’s PLY Spinners Guild Third Thursday foundational spin-in, we’d like to take a moment to feature some tips from one of our wonderful PLY Guild spin-in leaders, Terri Guerette.
What should I bring to a workshop?
Although not something to bring to a workshop, one of the reminders I often offer to people taking my workshops is to make sure your tetanus shots are up to date. We work with a lot of sharp tools that are sometimes used on raw fleece. So we really need to make sure we protect our health!
There are a lot of factors to consider when taking a workshop. How long is the workshop? Where is it being held? But the most important thing is to pay close attention to the class description for the items you should be bringing to class. If there is anything in the description that you are unsure of, please don’t hesitate to contact the instructor.
My next recommendation is to make sure your items are clearly marked with your name since many of us have the same or similar equipment.
Beyond that, you can consider bringing a myriad of things, including but not limited to a repair kit with the items you may need for your specific wheel; documentation supplies (notebook, pen/pencil, labels, bags); and personal care items (hand sanitizer, snacks, water bottle, throat lozenges).
Last but not least, it’s usually a good idea to have one or more of your shawls/sweaters with you because workshop environments can be quite varied. Besides, it’s so much fun to share the things we’ve made with our friends, old and new!
For a more in-depth discussion of this topic, see:
Season two has begun! The first episode of the second (worsted) season has dropped and is ready for your viewing pleasure!
Four spinning segments
Three teachers: Maggie Casey, Heavenly Bresser, and Jacey
2 hours of spinning content
Jacey has included a new intro to the guild(which you should totally watch, it has lots of new info)
And two teacher teas (from last year) for the teachers in this episode (which if you haven’t seen them yet, they’re delightful)
It’s a great episode filled with lots of worsted drafting, and it will get you ready for everything else we’re going to do this season.
Also a reminder! Sunday, April 20 there will be no guild spin-in!
This is Easter Sunday so we’ve decided to not hold the spin-in, but don’t worry, we’re going to make it up with a fantastic giveaway at the next Sunday spin-in. (Remember when we spent that whole spin-in looking at a fancy new carder? Well…)
I’ve heard lots of people talk about how there are different joins for different kinds of spinning. I’m not even super good at the one join I do (I kind of tease out the fiber at the end of my new yarn and then lay new fiber over it and hope it all gets twisted together when I start treadling again). Is that a good join and are there better ones? Will you cover these in the guild?~Melanie, PA, USA
Dear Melanie,
Joins are something many spinners struggle with, so you are absolutely not alone. There are several different types of joins and lots of ways to do each of them. What you want to learn (and practice) is a good join for the types of yarns you spin (and yes, we’ll cover every join imaginable in the guild).
Before I get too far into different joins and how to do them, I want to say this to newer spinners: Don’t let this get in your head. If you’re new to spinning and you are getting any join to stay together, rejoice and keep spinning. Joining can be hard at first (I promise it will get easier, automatic even). Come back to expanding your joining repertoire later, when you’re comfortable and ready. This is not something you must know right now. Okay, for Melanie and anyone ready to work on joins, here we go.
Different joins for different yarn
I’m not sure what kind of yarns you spin, but maybe you spin enough different types of yarns that one join doesn’t suit them all. If you sometimes spin woolen and sometimes spin worsted (or even sometimes semi-woolen and sometimes semi-worsted), you’ll want a join for each of those. After all, a woolen yarn is fuzzy, airy, and lofty, and you probably don’t want smooth flat spots at each place you had to join new fiber (which you’d get if you use a worsted join on a woolen yarn). Conversely, a worsted yarn is smooth, lustrous, and dense, and you don’t want a fuzzy, airy, matte spot standing out wherever you joined, right?
Things that are true for every join
You are always joining fiber to fiber, never fiber to yarn. If you don’t have a bit of fiber opened at the end of the yarn you’re spinning, stop and tease a bit out.
Your new fiber and old fiber should not act like they are new or old. They should act like the same fiber, as if they’re all from the same fiber source.
The area of yarn with the join should be the same diameter as the rest of your yarn. If that’s not possible – and we’re not machines so it’s often not – it should be thinner than the surrounding yarn. Twist goes to and stays in thinner areas of yarn, so if the area with your join is thinner, it’ll hold together better. If it’s thicker and your join isn’t perfect, it won’t hold.
A worsted join
I’ve seen worsted joins done so many different ways, but a few things should be true:
Allow no twist between your hands
Smooth and compress fibers after you make the join
Keep both the old fiber and the new fiber under equal tension
Do a short forward draft during the join, even if you’re otherwise spinning short backwards
As long as you do those things, your worsted join will look just like the rest of your worsted yarn. The key now is making sure your worsted join is secure. That key is mostly in those last two points plus the points that are true for every join – equal tension, using a short forward draft, joining fiber to fiber, treating the new fiber like the old fiber, and making the area of join the same or a thinner diameter. I made a short video to show you what I mean (remember that this is just one type of worsted join; there are others).
A woolen join
I find woolen joins to be a bit easier than worsted joins. Woolen yarns are more grabby than worsted yarns and also not quite as picky. There are several ways to do a woolen join, but they all have a few things in common. Those things they have in common are the things that make these yarns woolen instead of worsted:
Let twist between your hands
Don’t smooth the fibers
Don’t compress the fibers; leave that air in there
As long as you’re doing those three things, you’re making a woolen join that won’t stick out in your woolen yarn. But just like the worsted join, you also want to make sure it’s secure. Since woolen yarns are a little more in chaotic than worsted yarns, the process for making a join is less specific. You just need to get the two fiber sources together, thinking they’re one, and introduce twist to them. My favorite way to do this is to take the new fiber and fold it around the last little bit of yarn I spun (making sure there’s some unspun fiber at the end), draft it forward or backwards just a bit, letting the fibers catch, then continue drafting. It sounds easy because it is! I made a short video of a woolen join here (again, remember that this is just one way to do a woolen join).
Experiment and find your joins
So that’s it! But not really, right? These are just guidelines (and one video example of each join). As long as you follow the guidelines for each type of join, experiment and see what works for you. You can still tease your fiber end out and then lay them together. In fact, that could be the start for either a woolen or a worsted join. Just make sure that the amount of fiber you have teased out won’t twist together and make a bulkier section in your yarn.
From there, you just have to change what you do next to fit the yarn you’re spinning. If it’s woolen, let twist enter those two teased-out sections without straightening them out or aligning the fibers. Resist smoothing your hands over the join (I say resist because I always want to). If it’s a worsted yarn you’re spinning, you do want to straighten out those teased fibers and keep your hands surrounding the fiber, one in front of what will be the join and one behind it. Slowly let twist enter the two fiber sources that are teased together, smoothing and compressing as you also start to draft again.
It might feel like a lot of things happening at once, but that’s the nature of spinning, right? Everything is happening all at once but you’ll get it, and don’t worry if it doesn’t work the first time – it’s only two inches of fiber, so just break it off and start again. That’s the beauty of spinning. We make it inch by inch, and if we’re unhappy with a particular inch, it’s just an inch.
Good luck,
jacey
https://plymagazine.com/wp-content/uploads/2023/10/Screenshot-2023-10-02-at-7.51.19-AM.png7441672Emily Davis-Halehttps://plymagazine.com/wp-content/uploads/2014/06/plylogo-condensed-pnk-300x164.pngEmily Davis-Hale2025-04-15 09:00:002025-04-15 14:17:04Ask Jacey: How Do I Improve My Joins?
Although spinning up a gorgeous skein of yarn seems like a project in and of itself, ultimately most handspun yarn is used to create something else. So how do you spin with a purpose in mind? We want to hear about it!
What crafts do you use your handspun yarn for? Knitting? Crochet? Weaving? Embroidery? Macrame? Rug making? Mixed media art? Each one can have specific needs for the yarn, and we want to explore those qualities in this issue.
What makes a yarn a good knitting yarn? What are some changes in that yarn to make it better for crochet? Does it make a difference if you’re using knitting needles, working on a knitting loom, or cranking a sock machine? Does Tunisian crochet have the same yarn needs as crochet?
What about weaving? What are the qualities that work best for the warp vs the weft? Do you want to use different yarns if you’re using a rigid heddle loom vs a table loom? What about tablet weaving?
Do you use handspun for embroidery or visible mending? What kinds of yarns work best for those crafts?
When you have a specific project in mind, what kinds of questions do you ask yourself before you start spinning? How do you determine what characteristics a yarn needs? What are those characteristics? From the technical (twist per inch, ply structure, wraps per inch) to the yarn qualities (drape, shine, warmth, sturdiness, loft), how do you know what decisions to make?
What about repurposing? Do you use recycled materials in your spinning? Have you used handspun yarn to upcycle or modify something already made?
Tell us about your spinning community. Do you have a group that spins for a cause or a charity?
What about tools? How have you used something else as a spinning tool or used a spinning tool in an unusual way?
And this issue wouldn’t be complete without some patterns. We’re always looking for knitting, crochet, or weaving patterns, but we’d like to see an embroidery pattern or another craft pattern for our readers to make with their own handspun.
Proposals are due by June 1, 2025. You’ll hear back from us in July 2025, and final articles are due December 1, 2025.
You may have already received your digital or print copy of the Spring 2025 Hue issue! We aren’t going to lie – we got caught up in staring at all the pretty colors, so this is less of a preview and more of a post-view, since you might already have it in your hands. Still, we wanted to share about it!
This issue marks an important milestone for PLY: it’s the first issue produced by our new editor in chief, Karen Robinson. Love the cover? You can thank Karen! Karen has been with PLY for more than a decade, working her magic behind the scenes. Now it is her time to shine! Don’t worry, Jacey isn’t going away. She is stepping up to produce both PLY and WEFT magazines and the PLY Spinners Guild, huge jobs for her as well!
Are you a fan of natural color? Lee Langstaff, the co-chair of the Maryland Sheep & Wool Festival, gives us a taste of color genetics. She has spent over twenty years developing a full range of natural colors in her own flock at Shepherd’s Hey Farm and knows a thing or two about what makes a great fleece.
Charan Sachar, who specializes in art yarn and fiber-inspired pottery, shares an experiment with color and texture. With the same dye colors and the same structure, he creates several different yarns which each have a different look and feel. These yarns are simply to dye for.
Jessie McKitrick gives us an article about choosing colors for Fair Isle knitting and shares a beautiful pattern called Spring Bloom Mitts.
And there is so much more, but we don’t want to spoil it for you!
If by some strange occurrence (maybe Mercury was in retrograde, we don’t know) you haven’t ordered your issue, you can buy it here.
https://plymagazine.com/wp-content/uploads/2025/04/0185ae42-f12d-4e51-8a89-0bad5611f879-1.jpg8441495Meagan Condonhttps://plymagazine.com/wp-content/uploads/2014/06/plylogo-condensed-pnk-300x164.pngMeagan Condon2025-04-08 09:00:002025-04-09 15:29:09Sneak Peek: Spring 2025 – Hue!
Rose gray is one of the most mysterious colors present in the alpaca fleece color range. It is a color comprising three shades – light, medium, and dark – which can be imagined as coffee with varying amounts of cream added. The hint of rose is most noticeable in medium rose gray but is a magical characteristic of all three shades. Let’s unravel a bit of this alpaca color mystery with a fiber study!
A light rose gray alpaca named Bo, photo credit: Karen Campbell, Hilltop Splendor Alpacas, Moody, TX. A medium rose gray alpaca named Ruger, photo credit: Camelid Corner, LLCA dark rose gray alpaca named Bandit, photo credit: Camelid Corner, LLC
Light rose gray Gray predominates in light rose gray. It reminds you of fog or of a ghost, with an otherworldly pink hue. On the animal, it looks like a rusty gray cloud until you open the fleece. When spun into yarn it looks slightly darker, but not in a heavy or unpleasant way.
Medium rose gray Jaw-droppingly beautiful, medium rose gray is the pinkest shade of rose gray. The pink blush only becomes more pronounced when spun. Alpacas with medium rose gray fiber often have adorable faces with brown eye patches and gray-white bodies frosted with brown. As a yarn, medium rose gray fiber stands out with an ethereal look.
Dark rose gray Dark rose gray is the moodiest and darkest of the rose grays. It has lots of black fibers with sun-kissed tips. On the alpaca, it reminds you of a chocolate truffle, lightly dusted with powdered chocolate on the outside but a midnight black on the inside. Because of its depth, this fiber likes to be the star of its own show as a yarn.
Raw locks, L-R: Light rose gray, medium rose gray, and dark rose gray. Photo credit: Jacqueline Harp.
Prep tips If you get a whole alpaca fleece, the color is usually not uniform throughout the fleece, and this is especially true of rose gray. Do not be afraid to lay out the entire fleece and break it apart according to like colors. You then have more options on blending those portions for your desired outcome. Furthermore, it should be noted that any of the rose grays are easily confused with dark silver gray, but a true rose gray will have brown, white, and black fibers. Dark silver gray will have gray, black, and white, but no brown fibers.
Can you determine softness by color? Unfortunately, color does not determine softness. Softness comes from age, genetics, feed, and environmental factors. You cannot trust your eyes when evaluating a fleece for softness. When in doubt, spin a small sample. Test that sample against tender areas of skin, such as wrists or neck. Keep in mind that what may be soft and comfortable for you as yarn may strike someone else differently.
Handspun yarn samples, L-R: Dark rose gray, medium rose gray, and light rose gray. Photo credit: Jacqueline Harp.
Blending tips Not only can you blend any or all of the three shades of rose gray together, you can also blend in any other alpaca fiber color to lighten or darken the shade. Because rose grays are so rare, think twice before shifting colors by blending. To brighten your rose gray, add white or brown. To achieve the opposite effect, add gray or black. I always recommend blending in small increments before committing to making a large batch.
Dyeing tips Of the three shades of rose gray, light and medium are the most suitable for dyeing. The higher percentage of black fibers in dark rose gray causes colors to be absorbed rather than highlighted. The results are dull, muddy shades. In contrast, light and medium rose gray pop with color and richness when dyed due to the presence of white and brown fibers. Imagine jewel tones, and you will understand how dyeing medium rose gray will look.
Spinning tips It is worth diving into all three of the rose gray shades. As with any handspinning colorway, be sure to buy enough for your project. Even if the rose gray comes from the same farm, the shade will vary from animal to animal and year to year.
Jacqueline Harp is a freelance writer and multimedia fiber artist who spins, felts, weaves, crochets, and knits in every spare moment possible. She is also a former certified Master Sorter of Wool Fibers through the SUNY Cobleskill Sorter-Grader-Classer program. Her Instagram is @foreverfiberarts.
Sending a special thank you to the folks at Camelid Corner, LLC (https://camelidcorner.etsy.com) for providing fiber samples and beautiful rose gray alpaca pictures for this article. Their dedication and care for alpacas is incredible.
https://plymagazine.com/wp-content/uploads/2025/04/fiber-10-scaled.jpg19282560Guest Bloggerhttps://plymagazine.com/wp-content/uploads/2014/06/plylogo-condensed-pnk-300x164.pngGuest Blogger2025-04-03 09:00:002025-03-27 12:22:20Rose Gray Alpaca Fiber Study
We may request cookies to be set on your device. We use cookies to let us know when you visit our websites, how you interact with us, to enrich your user experience, and to customize your relationship with our website.
Click on the different category headings to find out more. You can also change some of your preferences. Note that blocking some types of cookies may impact your experience on our websites and the services we are able to offer.
Essential Website Cookies
These cookies are strictly necessary to provide you with services available through our website and to use some of its features.
Because these cookies are strictly necessary to deliver the website, refusing them will have impact how our site functions. You always can block or delete cookies by changing your browser settings and force blocking all cookies on this website. But this will always prompt you to accept/refuse cookies when revisiting our site.
We fully respect if you want to refuse cookies but to avoid asking you again and again kindly allow us to store a cookie for that. You are free to opt out any time or opt in for other cookies to get a better experience. If you refuse cookies we will remove all set cookies in our domain.
We provide you with a list of stored cookies on your computer in our domain so you can check what we stored. Due to security reasons we are not able to show or modify cookies from other domains. You can check these in your browser security settings.
Google Analytics Cookies
These cookies collect information that is used either in aggregate form to help us understand how our website is being used or how effective our marketing campaigns are, or to help us customize our website and application for you in order to enhance your experience.
If you do not want that we track your visit to our site you can disable tracking in your browser here:
Other external services
We also use different external services like Google Webfonts, Google Maps, and external Video providers. Since these providers may collect personal data like your IP address we allow you to block them here. Please be aware that this might heavily reduce the functionality and appearance of our site. Changes will take effect once you reload the page.
Google Webfont Settings:
Google Map Settings:
Google reCaptcha Settings:
Vimeo and Youtube video embeds:
Other cookies
The following cookies are also needed - You can choose if you want to allow them: