Separating a Dual-Coated Fleece Using Only Your Hands
words by Jacqueline Harp and photos by Joseph Harp
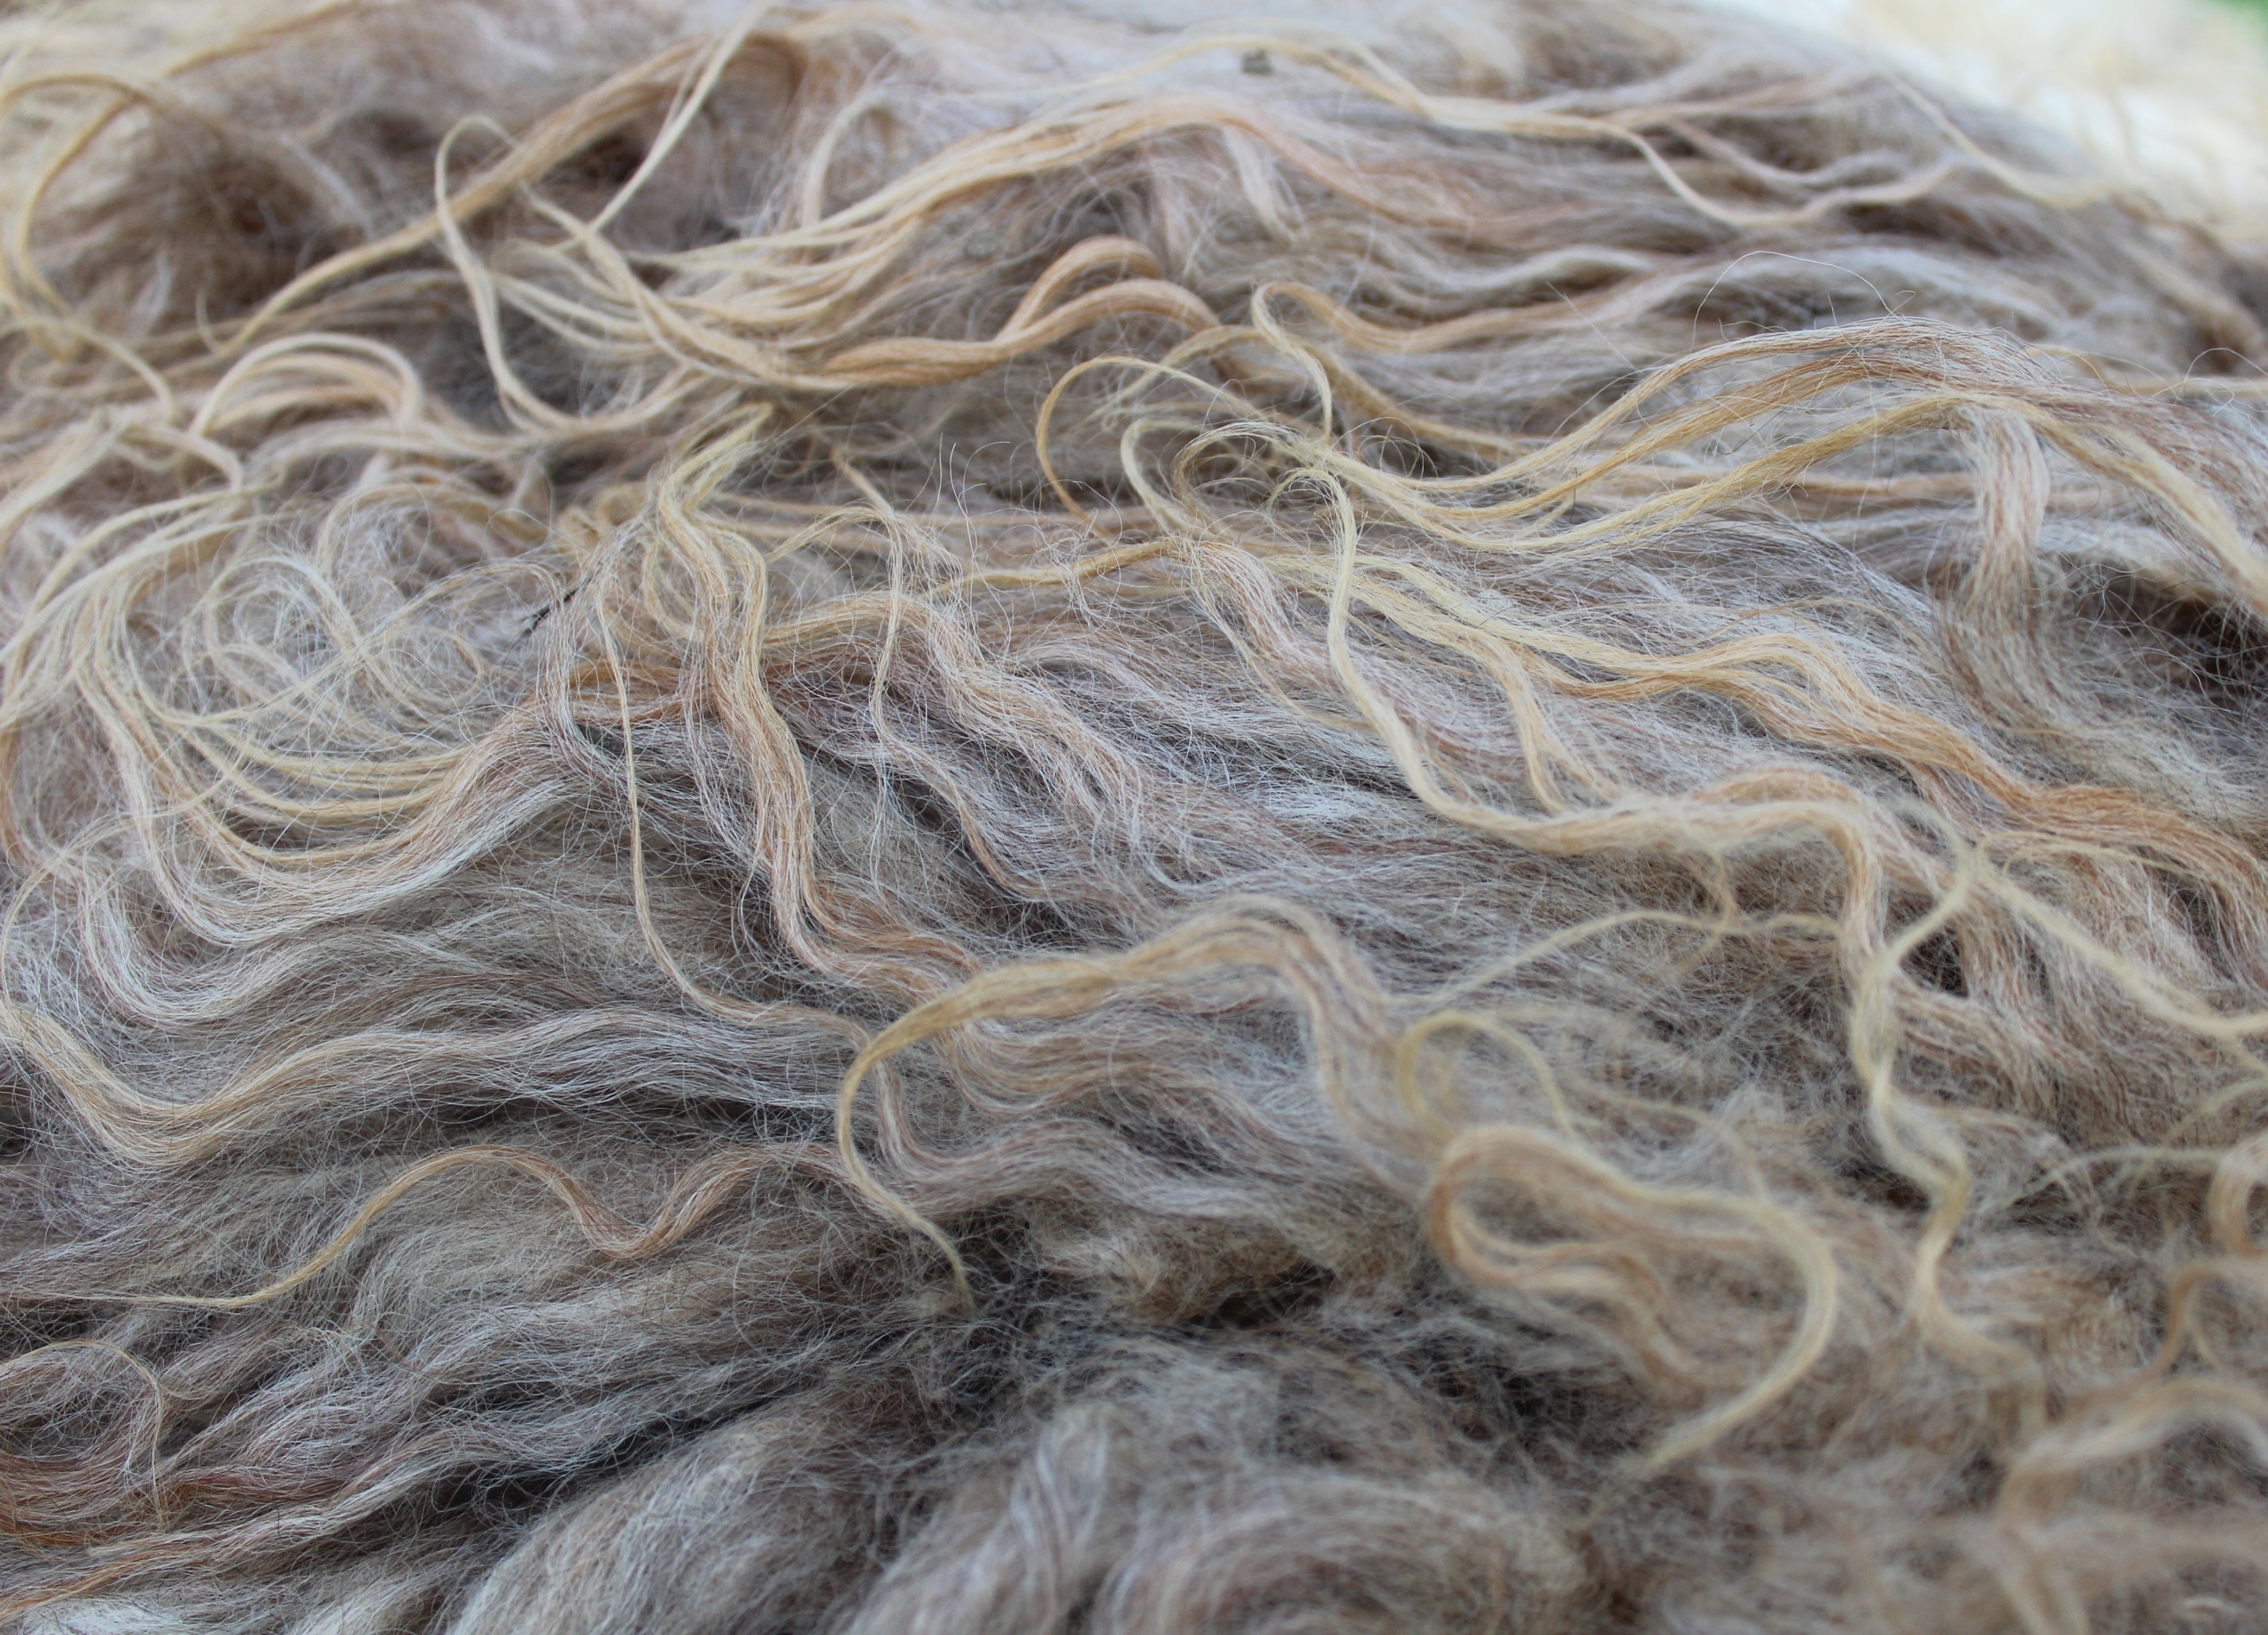
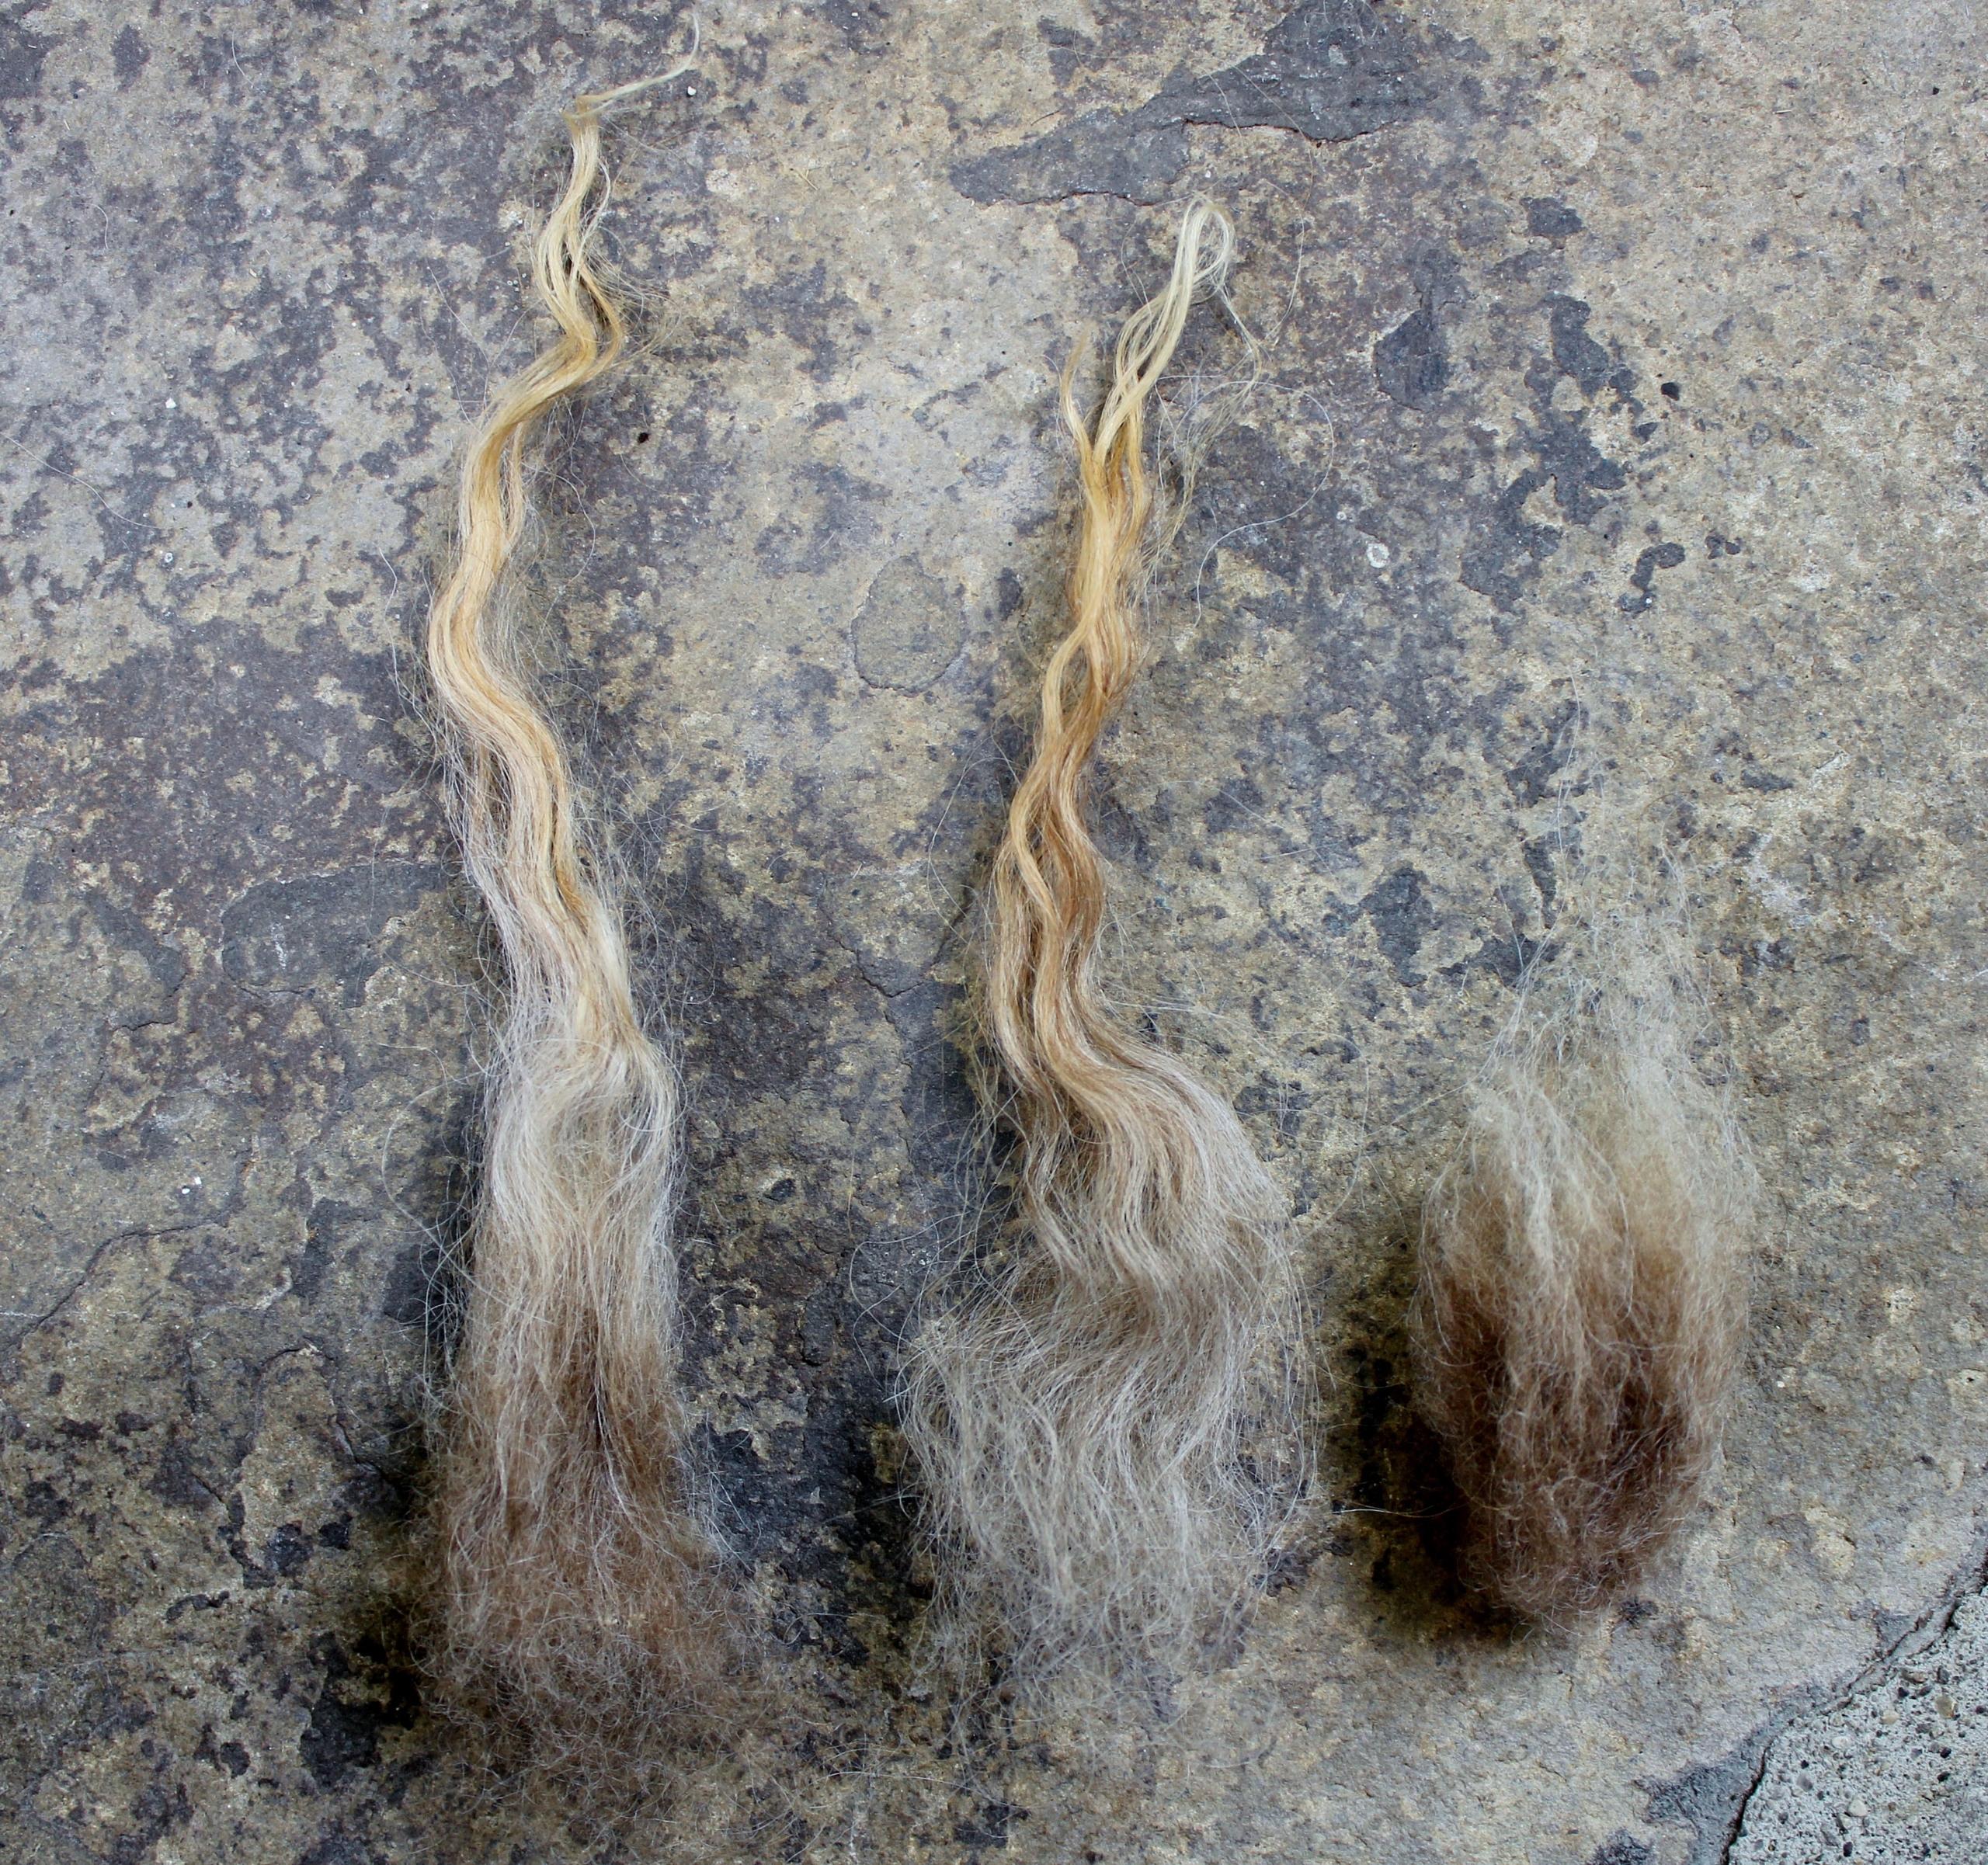
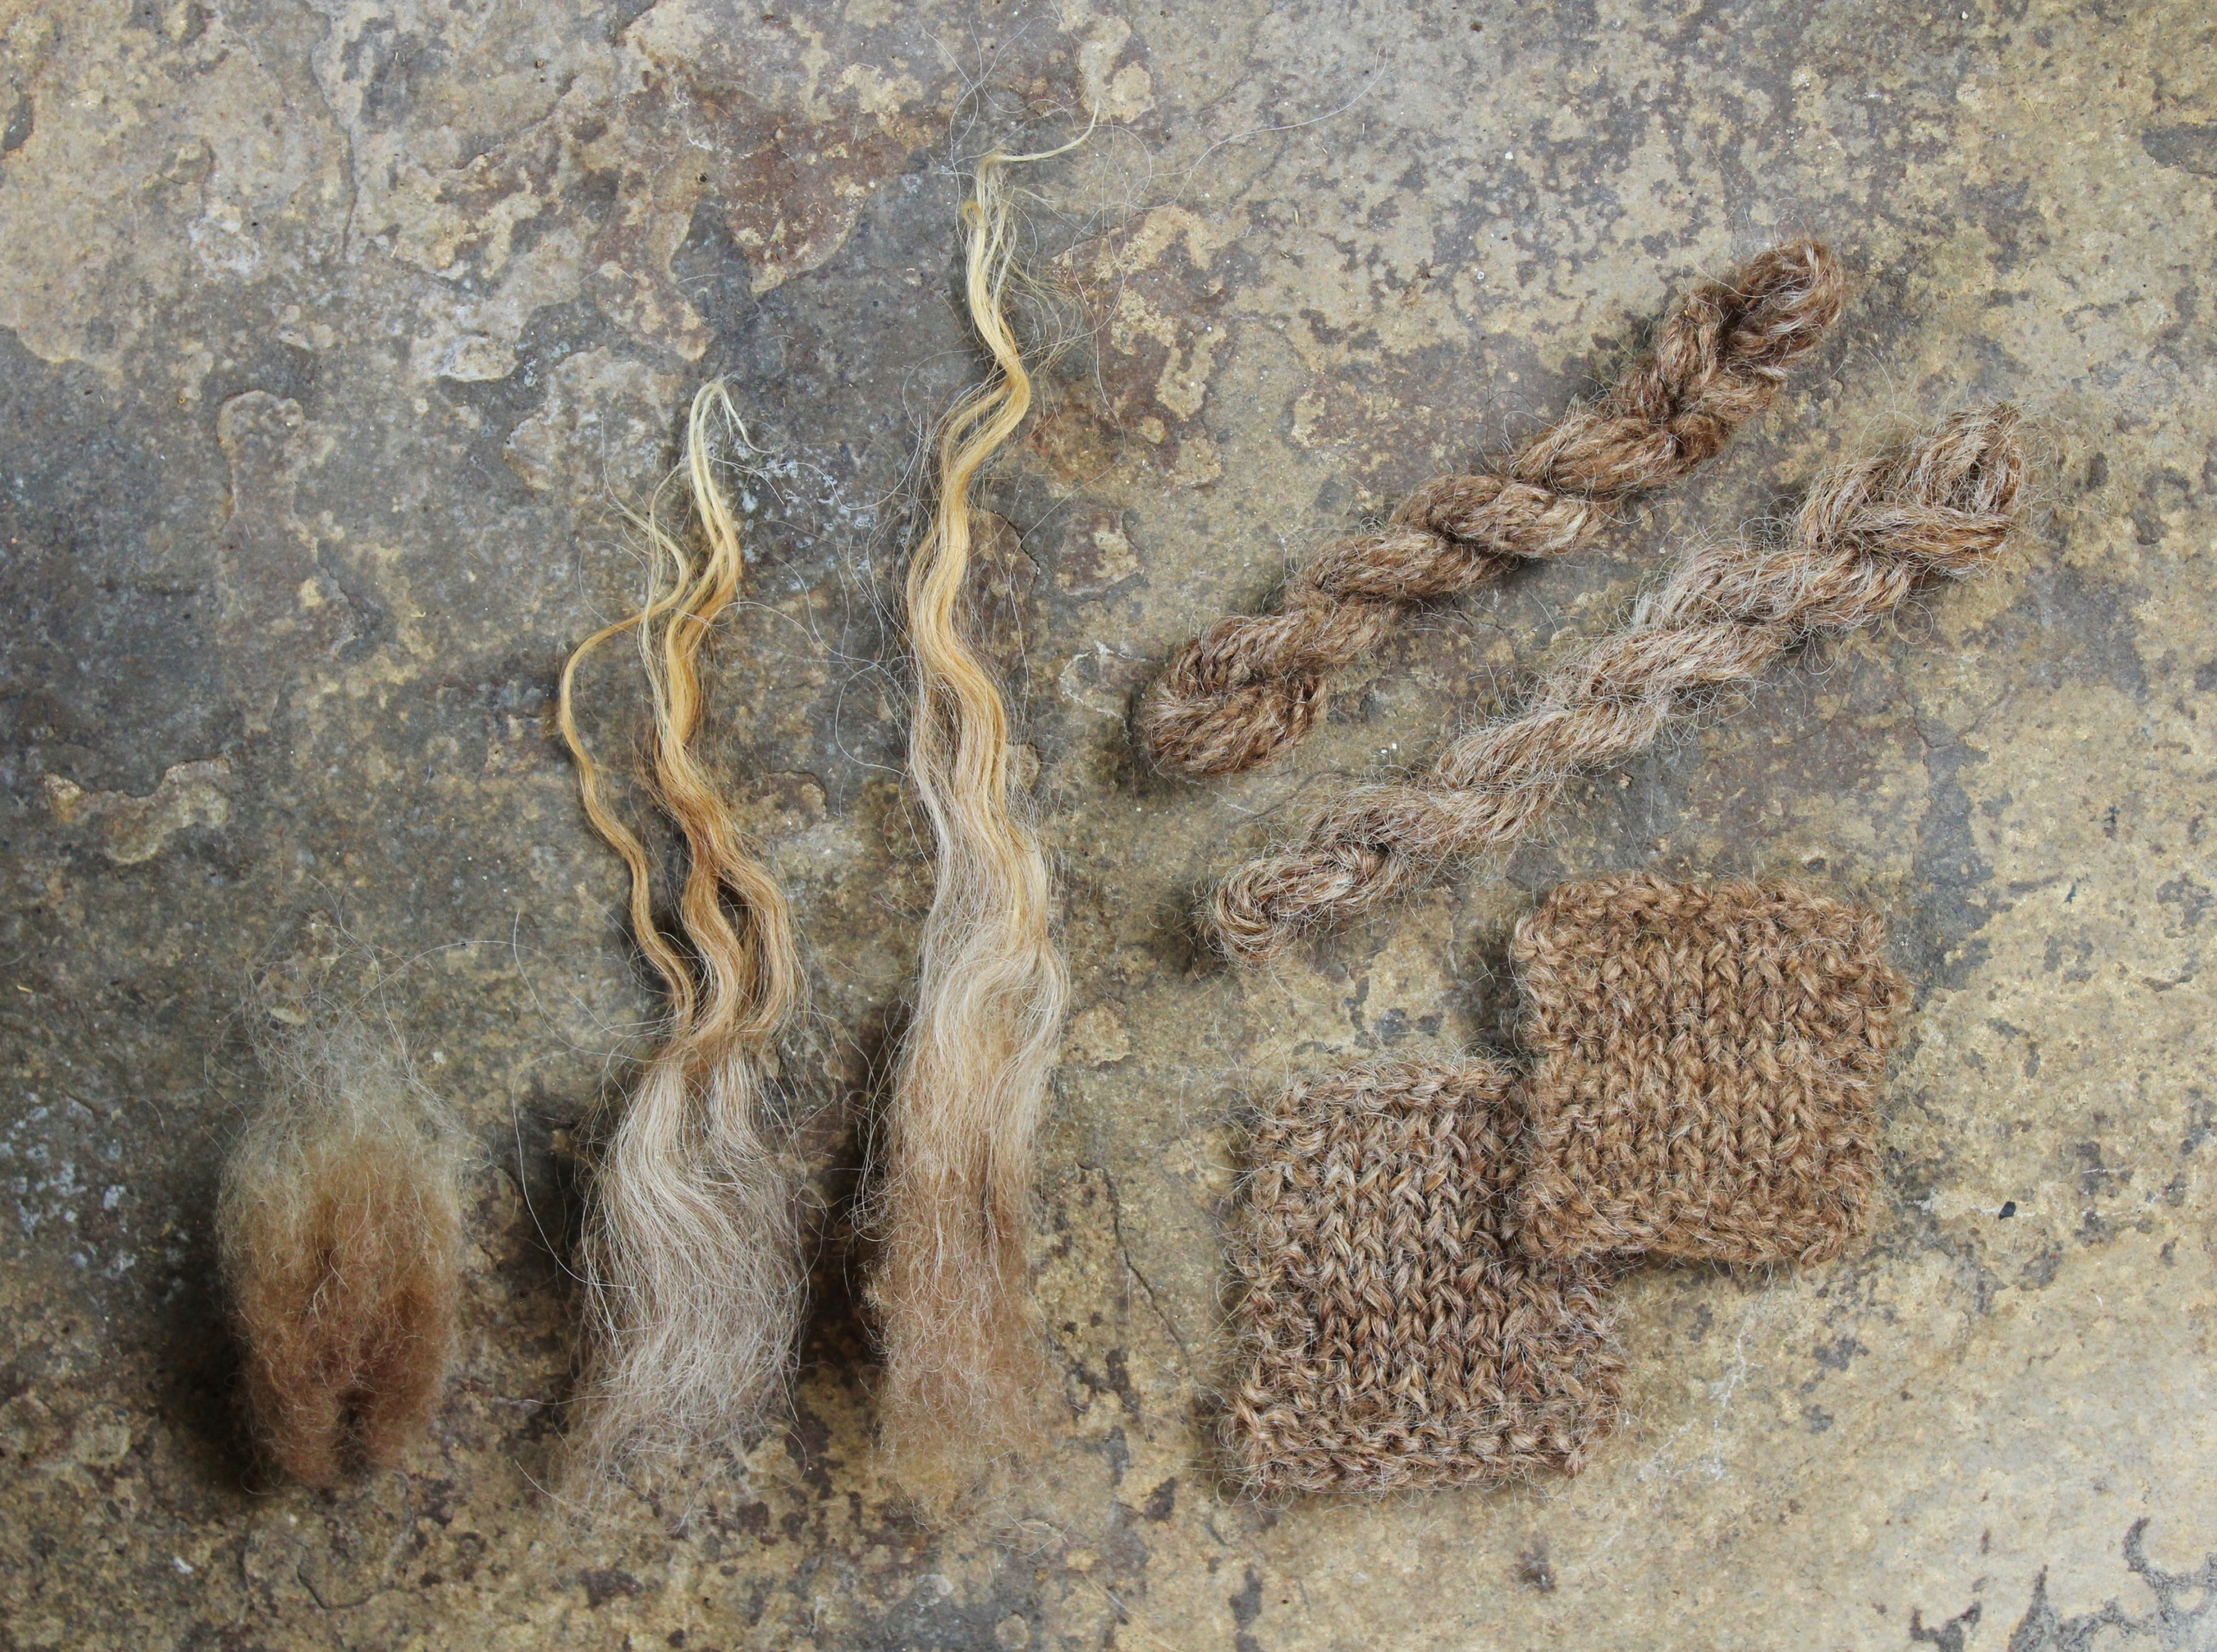
When a fiber artist chooses to separate and process a dual-coated fleece by hand, it is like unlocking two fleeces from one. A dual-coated fleece is an intertwined combination of a short-stapled, soft, downy undercoat and a protective, longer-stapled, coarser, hair-like outercoat. Once these integrated coats are separated, you will have two very different fibers requiring different preparation and spinning techniques, which will result in two very different yarns. One yarn is going to be airy, woolen, and softer and can be worn next to the skin. The other yarn is heavier, worsted, and tougher and can be made into outerwear.
Interestingly, in industrial textile milling, the process of mechanically separating dual-coated fleeces is known as “dehairing” or “fiber separation.” A mill utilizes a dehairing machine to divide a fleece’s outercoat from the undercoat. The mill will then use the newly separated undercoat to produce soft knitting yarns while using the outercoat for yarn durable enough for rug making. Typical mills, however, only take large batches of fleece – usually hundreds of pounds. Even an artisanal mill will have a minimum order requirement. A handspinner is generally working with a single fleece, which doesn’t meet the large thresholds for mill processing. Sending a small order of fleece to be “dehaired” at a mill could be cost prohibitive.
The good news
From the comfort of your own home or studio, you can easily separate a dual-coated fleece using the most basic fiber processing tool known to humanity – your hands. Fiber tools such as combs, carders, flickers, or hackles can be used to separate a dual-coated fleece, but not all fiber artists will have these items readily available. If you don’t work with raw fleeces often, you may not want to invest in hand tools you will only use occasionally. Here is how to separate your dual-coated fleece, in four easy steps, using only your hands:
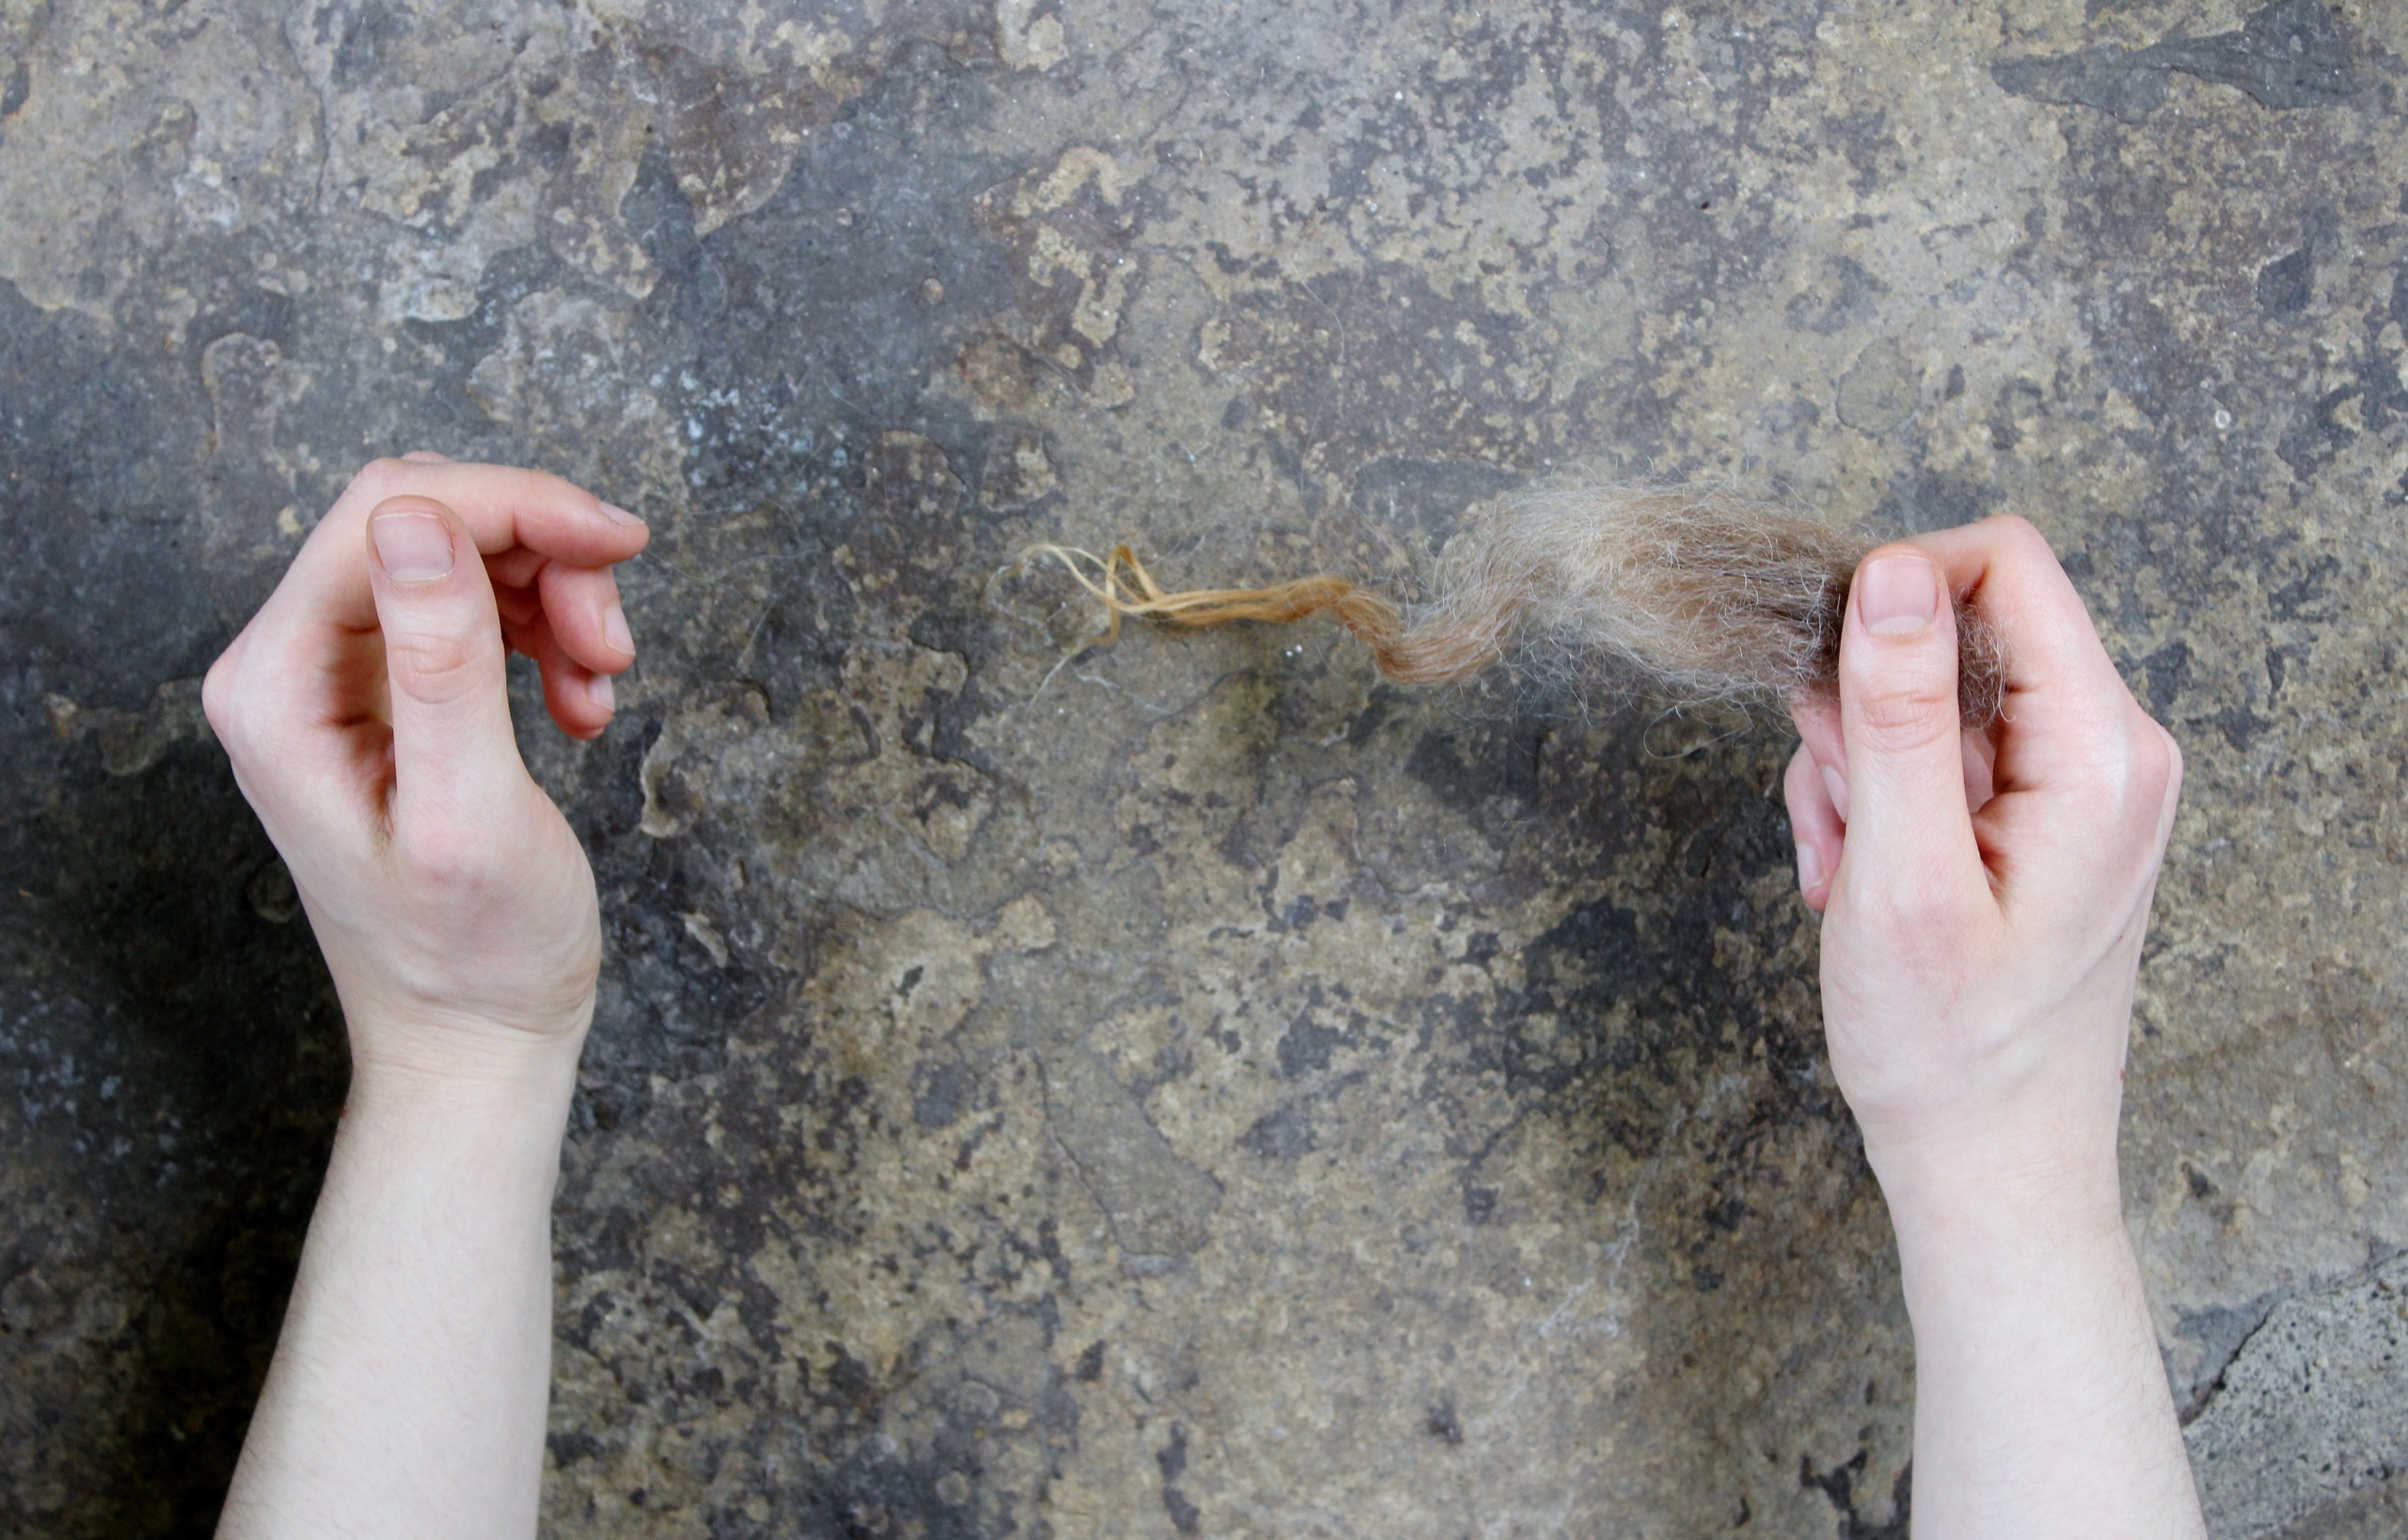
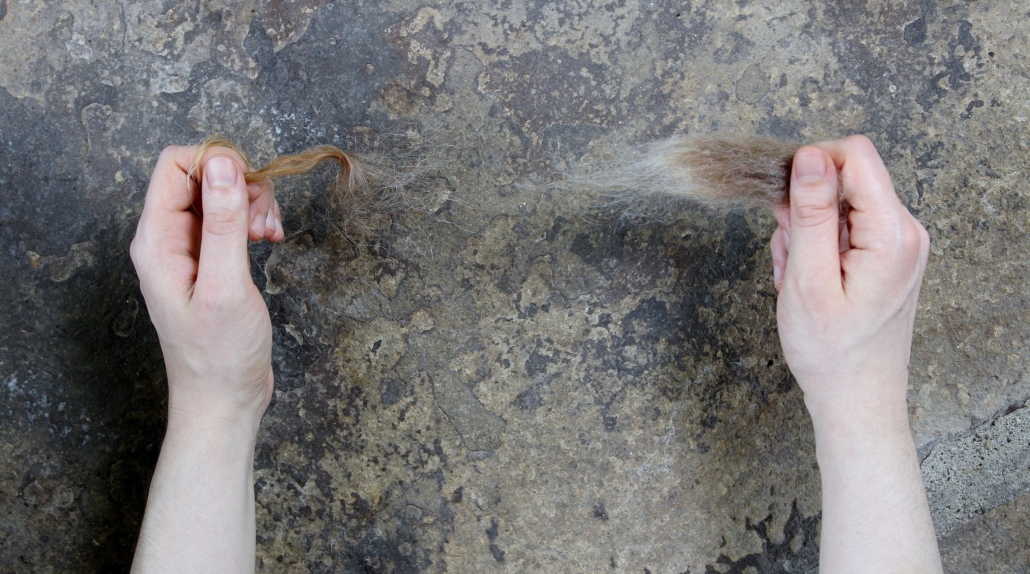
1) Take an individual lock of wool and secure the cut end of the lock between your thumb and index finger.

2) With your other hand, pinch or wrap the tip of the lock between your fingers.
3) Once your lock is in this position, hold the cut end firmly while you pull the tip away from the base of the lock until you have pulled the lock completely apart. This may happen with a single pull or you may need to repeatedly and gently tug the tip several times to separate the outercoat from undercoat.
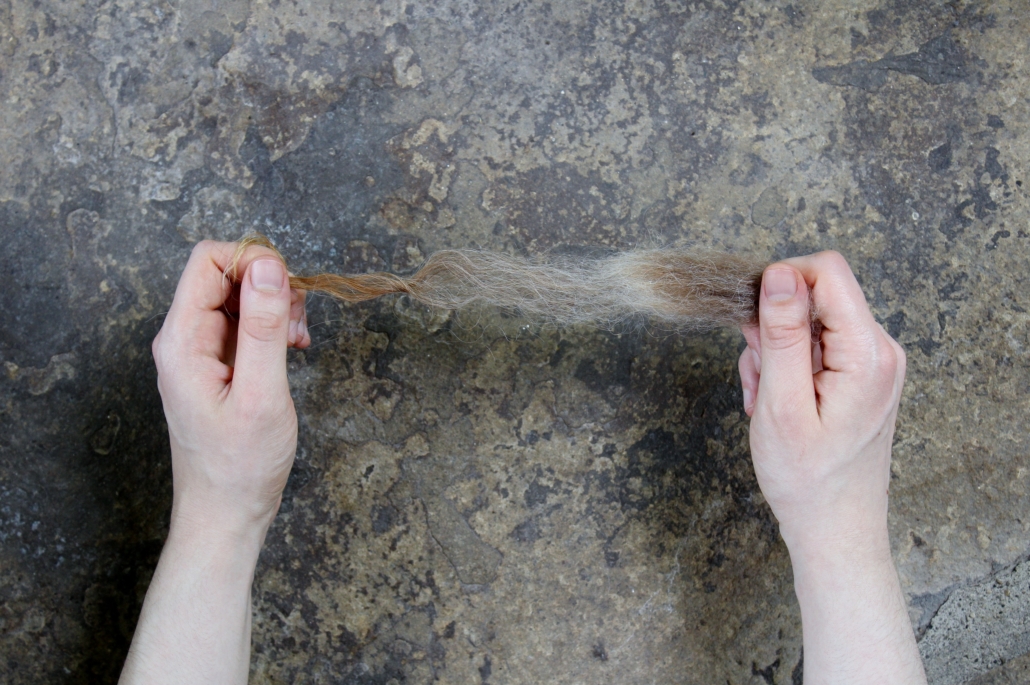
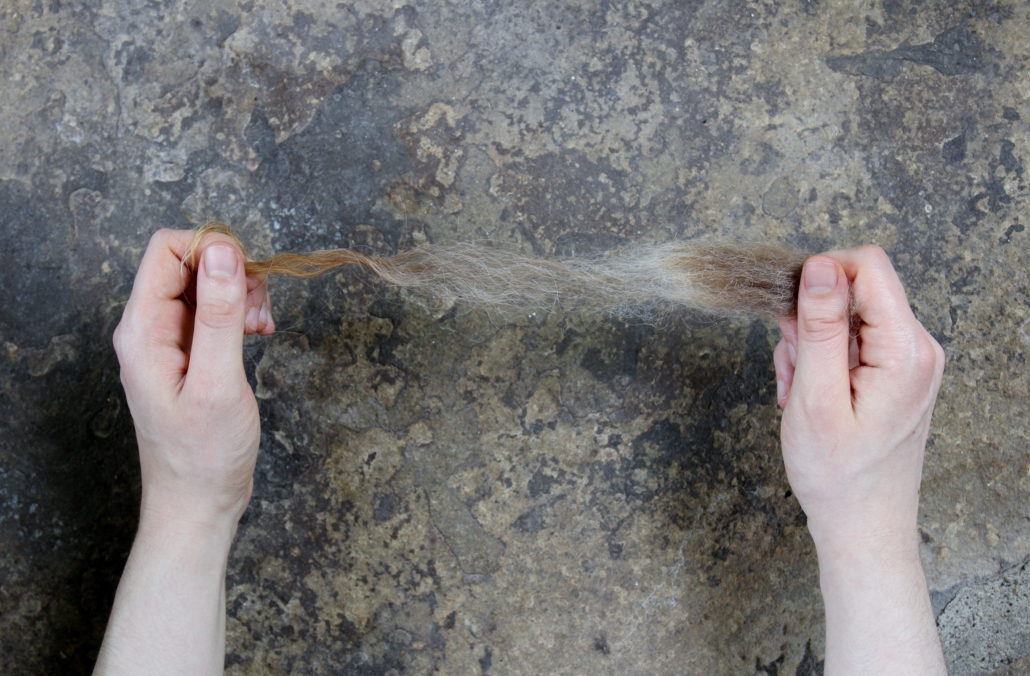
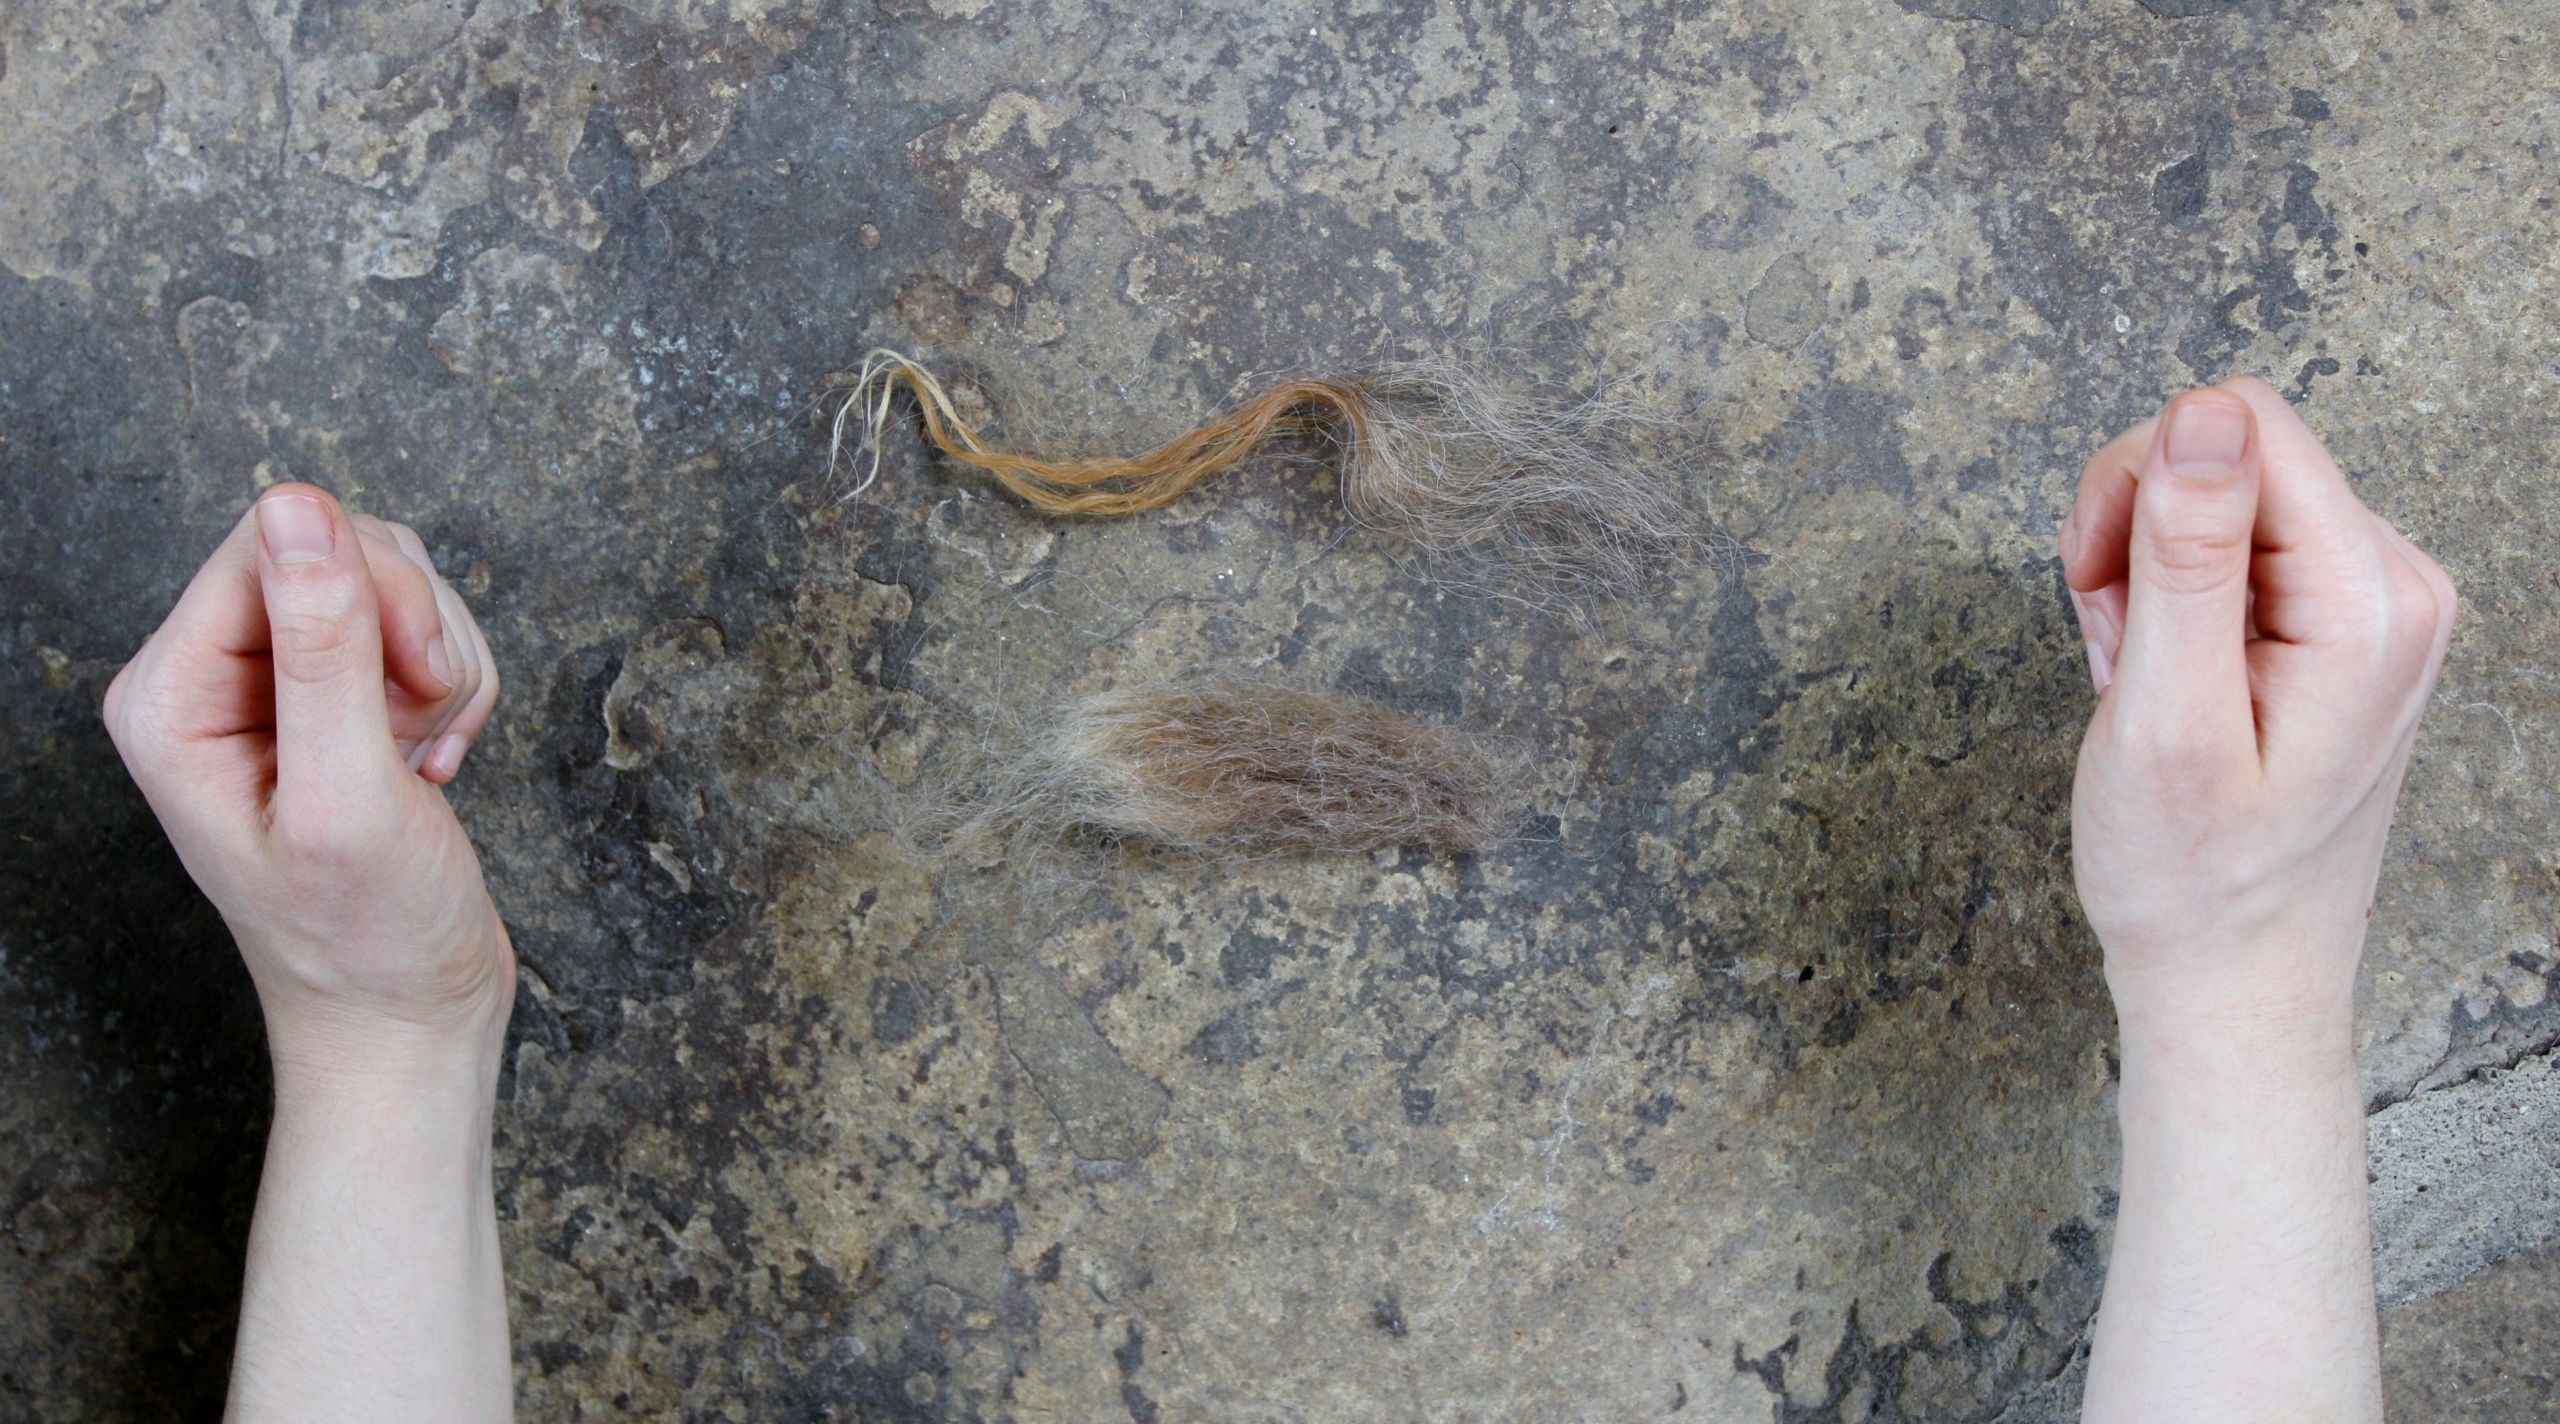
4) Repeat steps 1–3 until you have the desired amount of separated fibers.
It is a simple process, and your technique will improve with practice. Start slowly until you get the feel for it. The instructions work for both left and right handers.
Additional tips
Let’s start with an easy tip. Make sure to set up containers for the separated locks before you start. You want to avoid undoing your efforts.
Make sure your work area is well-ventilated and easy to clean. Even washed locks can still contain vegetable matter and dust that can be inhaled and tracked around. By anticipating the need to clean up after the process, you can aim to make less of a mess in the first place.
Depending on personal preference, you can hand-separate raw locks or washed locks with equal success. Raw locks will still contain lanolin, which can be a bit smelly and greasy, but the lanolin makes the fibers more slippery and therefore easier to pull apart by hand. The fibers from the separated raw locks can be washed later using your preferred fleece scouring method. Washed locks, on the other hand, will be clean and smell nicer but can be a bit harder to separate because the slipperiness caused by the lanolin is gone.
If your locks (washed or raw) have started to felt, don’t panic! There is still a chance for the locks to be hand-separated successfully if you carefully tease the lock apart. Gently tugging and pulling the ends of the felting lock should release the fibers from each other enough to be separated.
Final thoughts
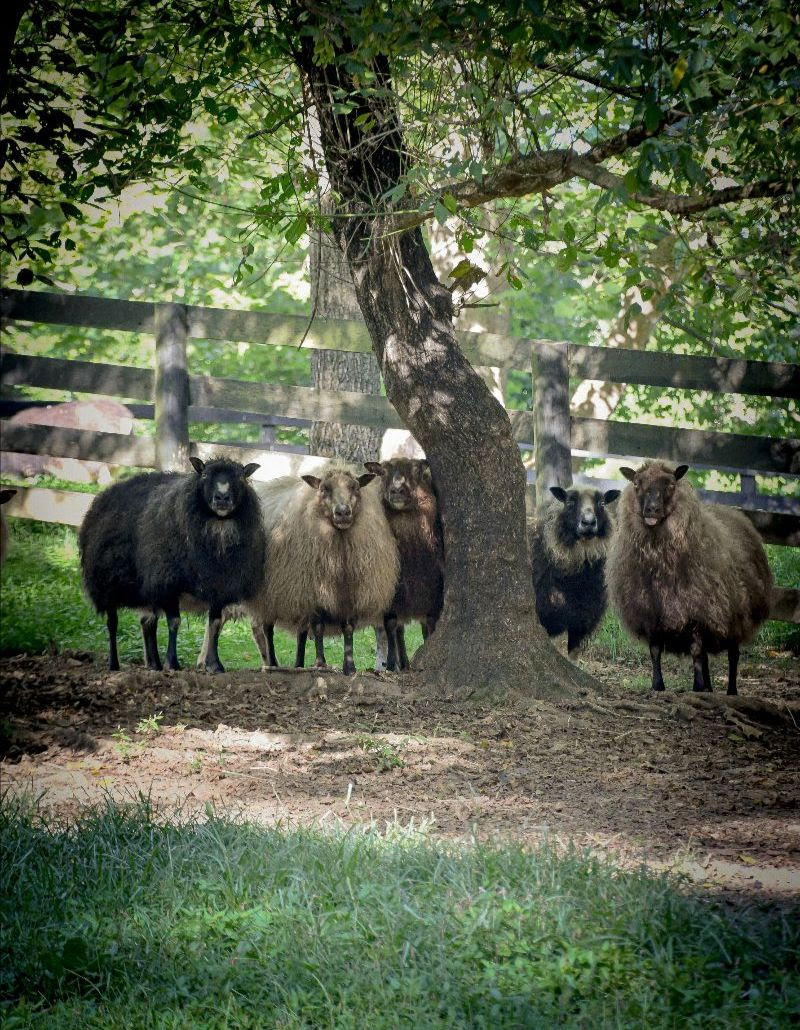
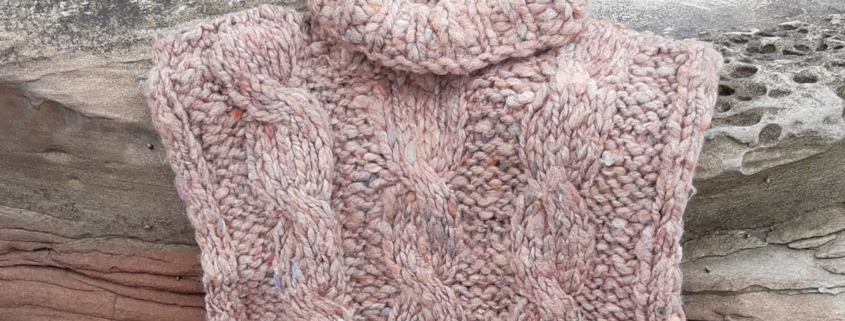
Dual-coated sheep breeds can be found all over the world. Shetland, Icelandic, Karakul, Navajo-Churro, and Soay are five breeds of dual-coated sheep whose fleeces are relativity easy to acquire from North American flocks. To demonstrate the hand-separation process, I used lovely milk-chocolate locks from a dual-coated Icelandic yearling-ewe fleece sourced from North America. The technique for separating dual-coated fibers explained here can be used for other non-sheep, fiber-producing, dual-coated animals, such as qiviut, bison, yak, and cashmere goat.
A dual-coated fleece has much to offer to those looking for a project that can inspire and surprise. It is rewarding to take a raw fleece to an unusual and unexplored place. So what are you waiting for? Start towards the next destination in your fiber arts journey.

Jacqueline Harp is a freelance writer and multimedia fiber artist who spins, felts, weaves, crochets, and knits in every spare moment possible. She is also a certified Master Sorter of Wool Fibers through the State Univ. of N.Y. (Cobleskill) Sorter-Grader-Classer (SGC) Program. Her Instagram handle is @foreverfiberarts.
PLY Magazine believes that Black lives matter, as well as LBGTQI+ lives. Those most vulnerable and persecuted in our communities deserve our love and support. Please be good to each other.