

Hacking Yarn Tools: How to Twist Skeins with a Power Drill
words and photos by Carrie Sundra
Twisting skeins – it’s a deceptively tricky process which generally takes some practice to produce consistently tight and tidy results. Even so, I definitely encourage everyone who handles yarn to put the time into learning how to do this by hand. When you get it down, it can be a very quick and easy way to package your yarn into a non-tangling, easy-to-store, and easy-to-ship bundle.
That said, there are many reasons as to why a person may seek mechanical help with this task. One of the most common pieces of feedback I hear after a yarn dyer uses our production tool, the SkeinTwister, is that it has enabled them to perform this task without pain. Many people have injuries, arthritis, or other medical conditions that affect their shoulder, elbow, wrist, or finger joints, and the process of manually twisting skeins can by physically painful. Eliminating the majority of the twisting motions can reduce, if not entirely eliminate, that.
Hand-twisting skeins can also be a special kind of terrible when the weather is humid. The yarn should slide easily around your fingers (or thumbs if you’re a thumb-twister!), but in humid weather, it can stick to your skin and bind. Not only can you get blisters if you’re twisting a lot of skeins, but because of the binding and uneven tension, your twisted skeins won’t come out as nice and tidy-looking.
So I’m sharing with you a DIY method for twisting the occasional skein with some mechanical help – a power drill! You can also find these instructions on our Hackaday.io page and we’ve made a short video showing you the whole process:
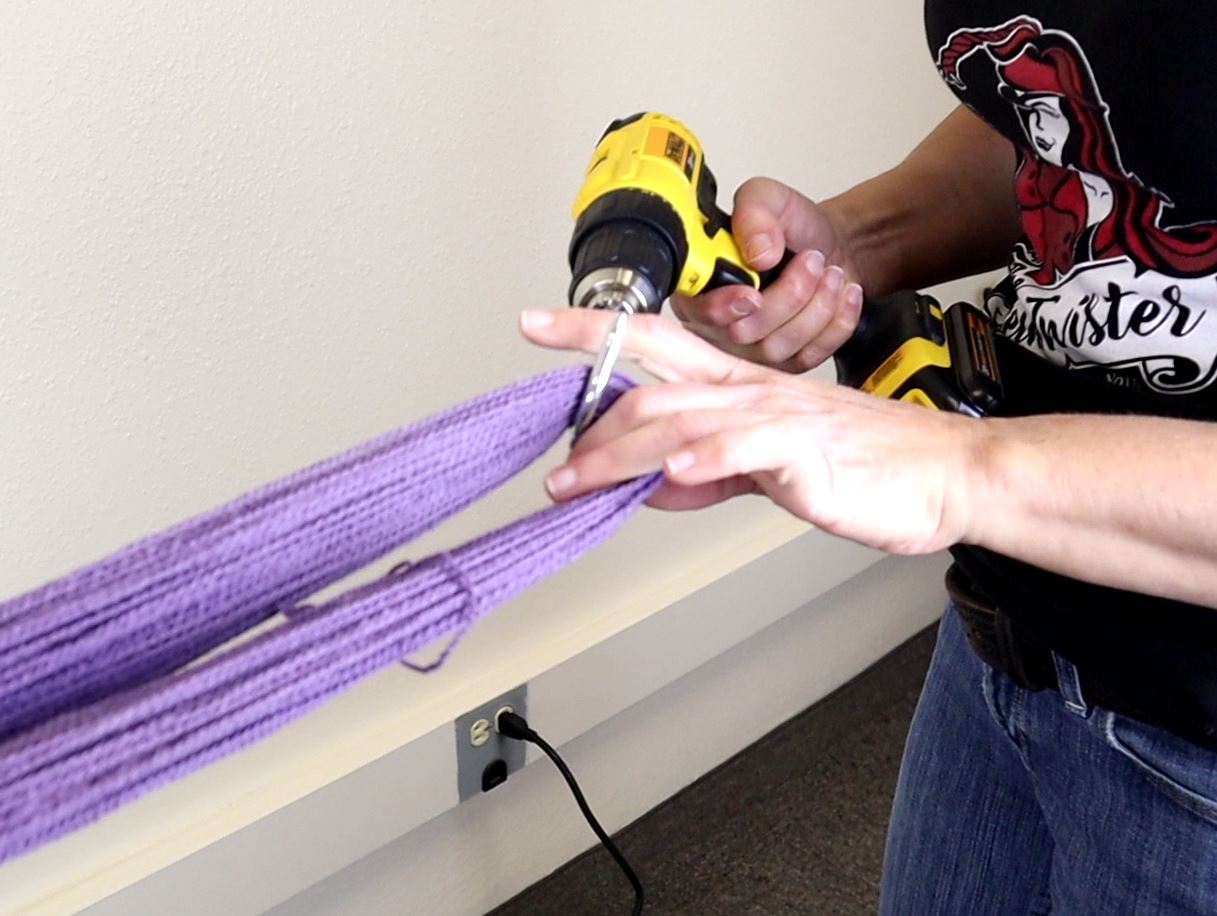
Step 1: Hook the drill
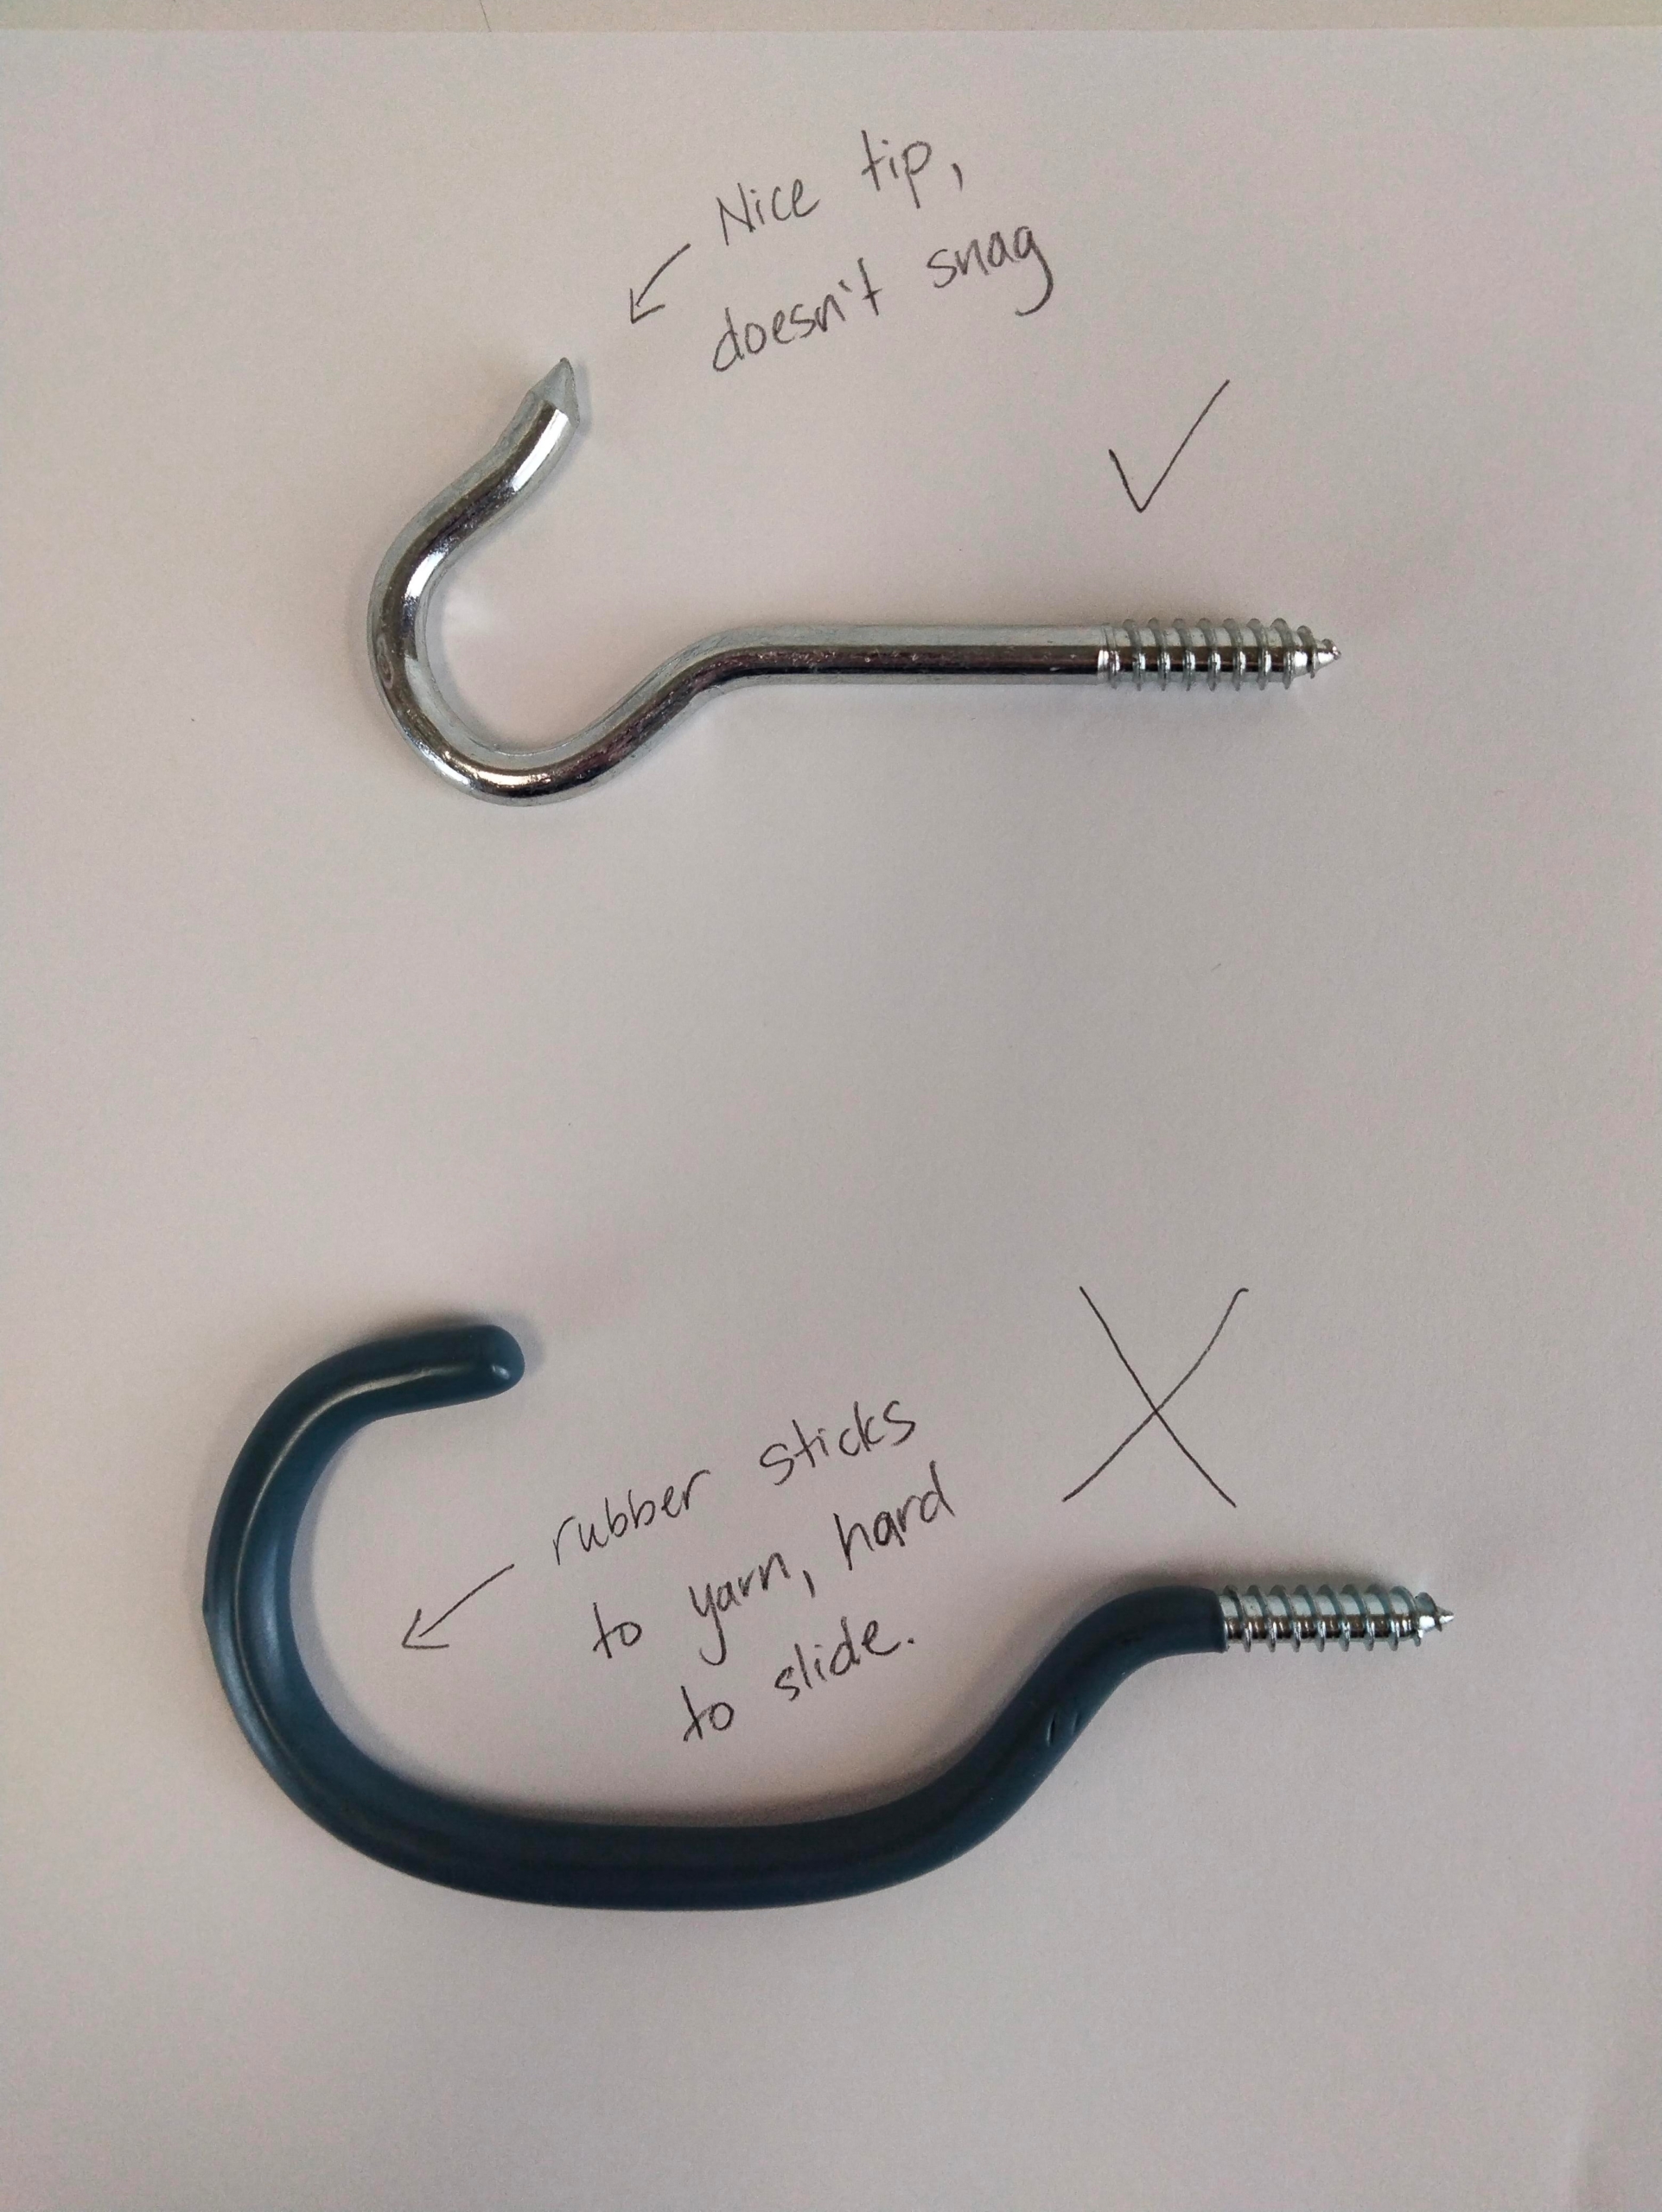
You’ll need a power drill with a typical 3-jaw clamping chuck and a hook. I did a survey of the hooks available at our local hardware store, and even though it’s a little smaller than ideal, I liked the metal one best, even better if you can find one with a pointed tip. I do NOT recommend a bicycle hook – the plastic coating on these isn’t slick enough and the yarn is more difficult to remove.
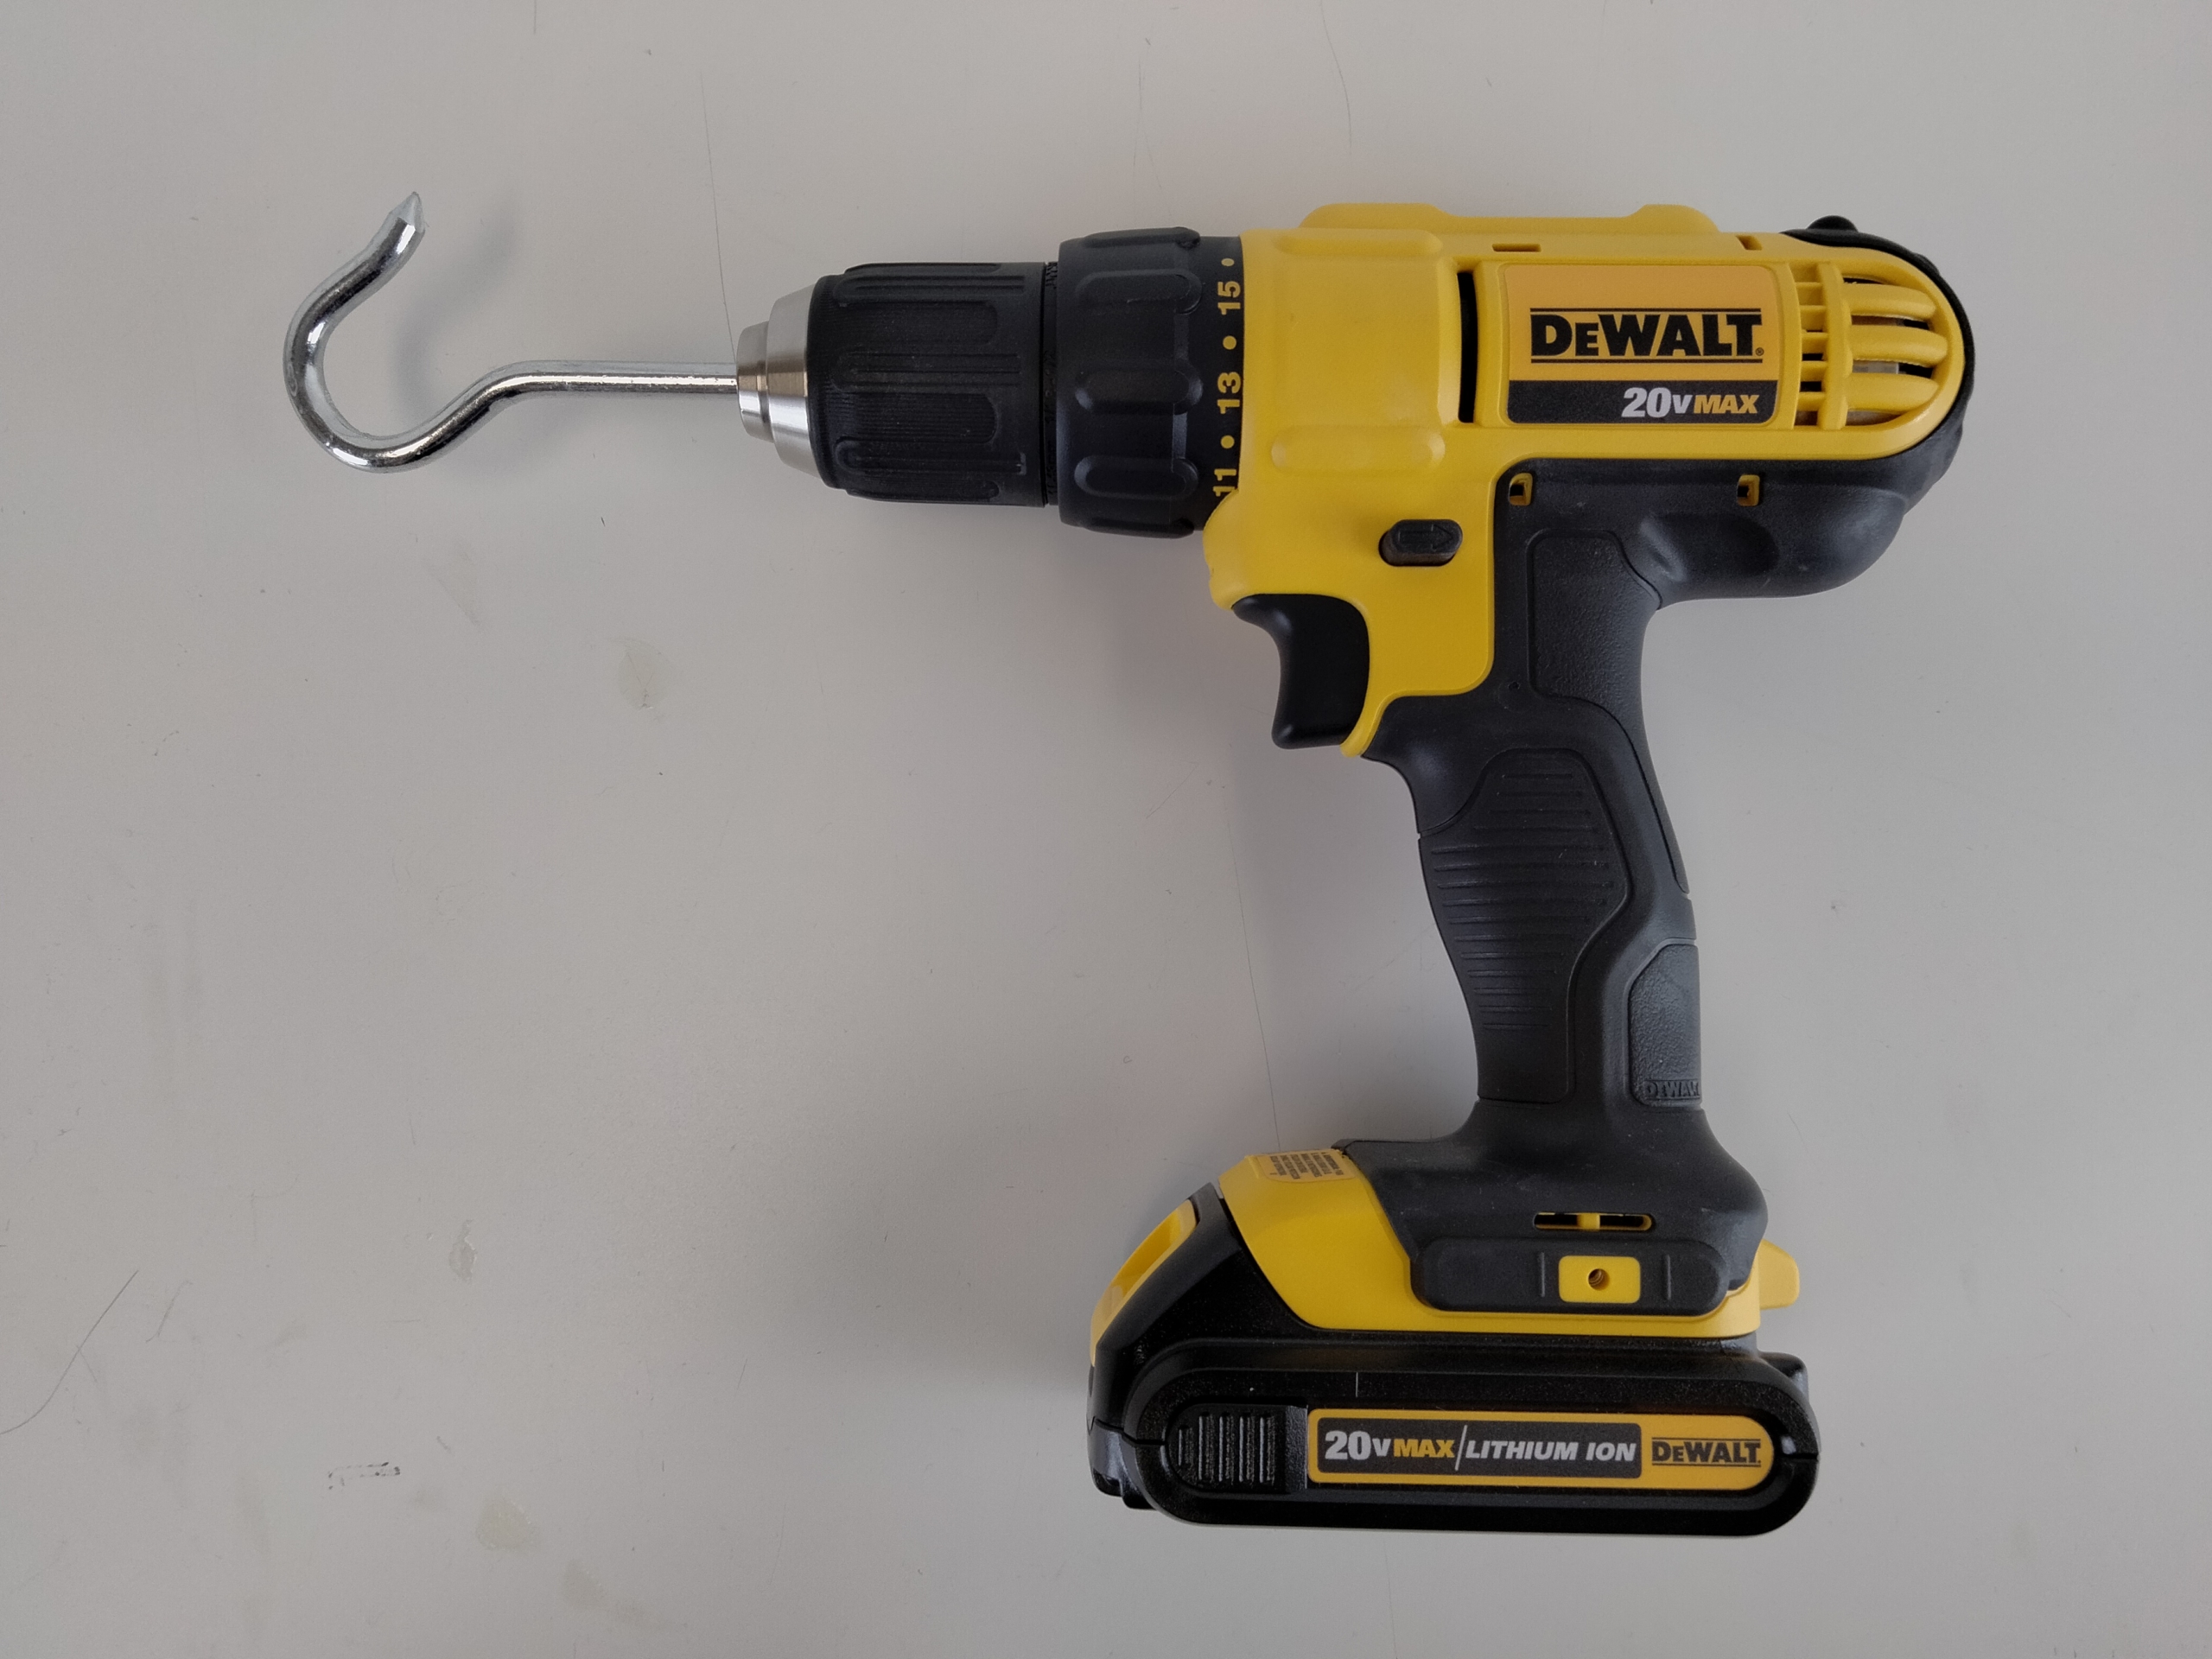
Clamp the hook tightly in your power drill, threads and all.
Note: It’s possible to use an electric screwdriver instead, but only if it has clamping jaws. Most have magnetic hex chucks, which won’t hold a threaded hook.
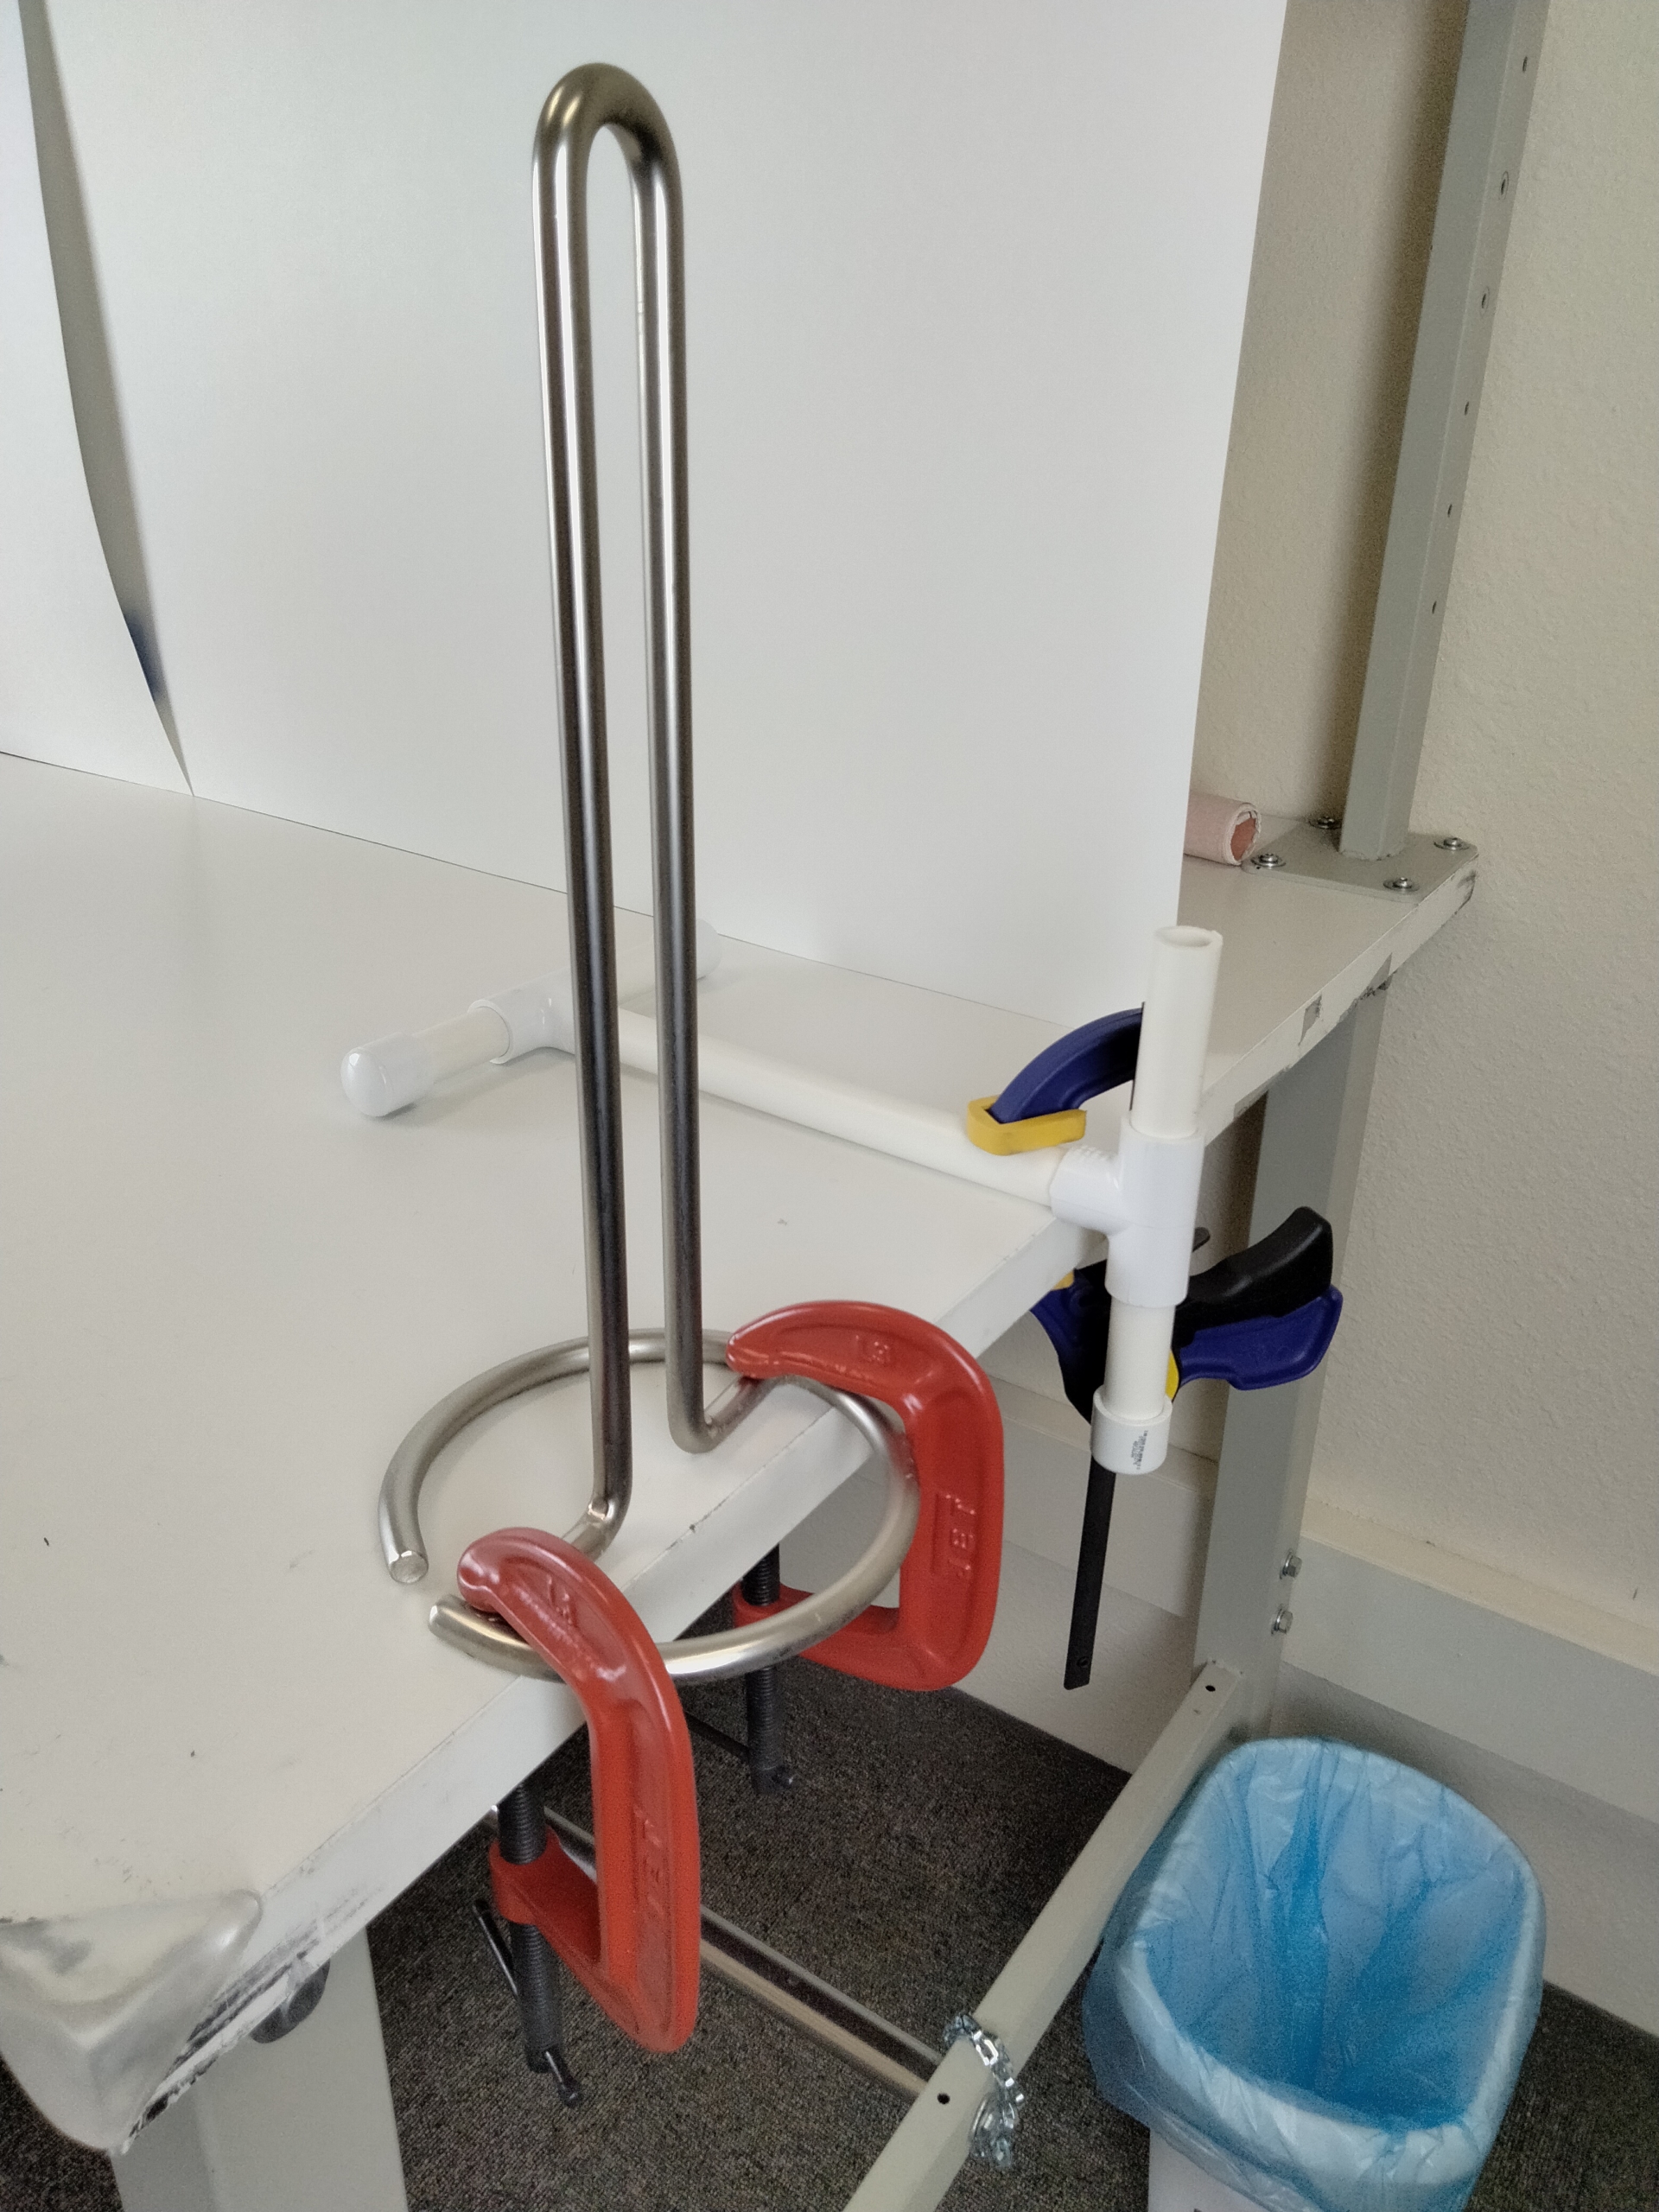
Step 2: Rig something solid to pull against
The drill and hook is going to be in your hand, on one end of the skein. The other end will need to be firmly fixed to a table, rod, or shelf, enough that you can pull with 10–15 pounds of force against it. I settled on two different ways of doing this.
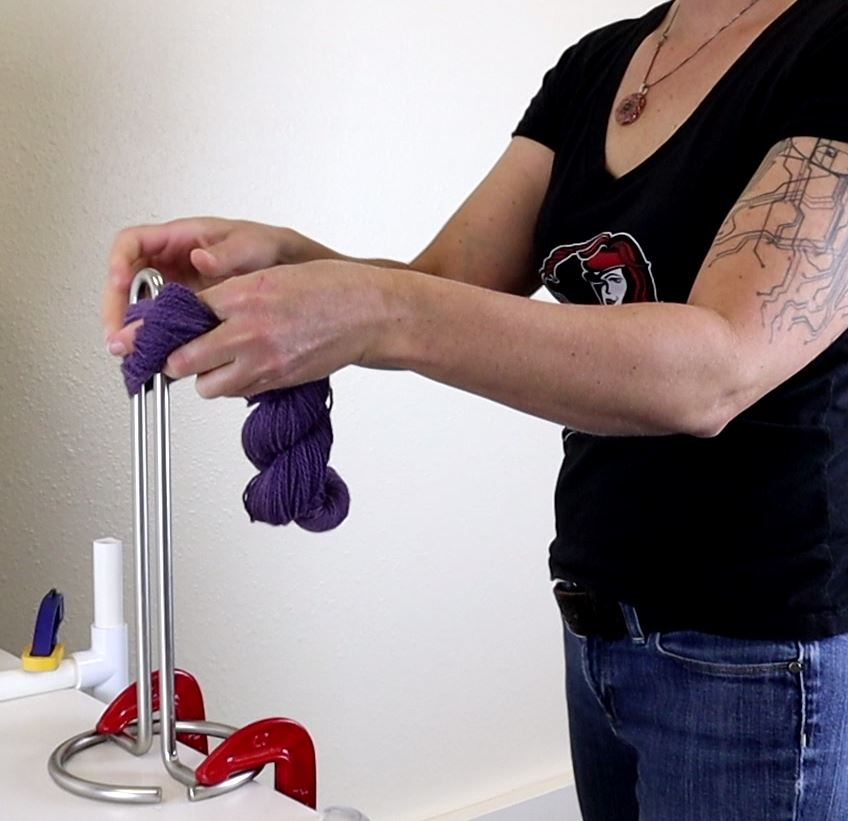
Method 1: Clamp a post/peg to a sturdy table. I used both a wide paper towel holder (without a bulb at the top) and a PVC niddy-noddy (“release” arm pointed up). It’s important that your post or peg be at least 1 inch in diameter because you want the skein to be held a bit open at this end, even after it’s twisted.

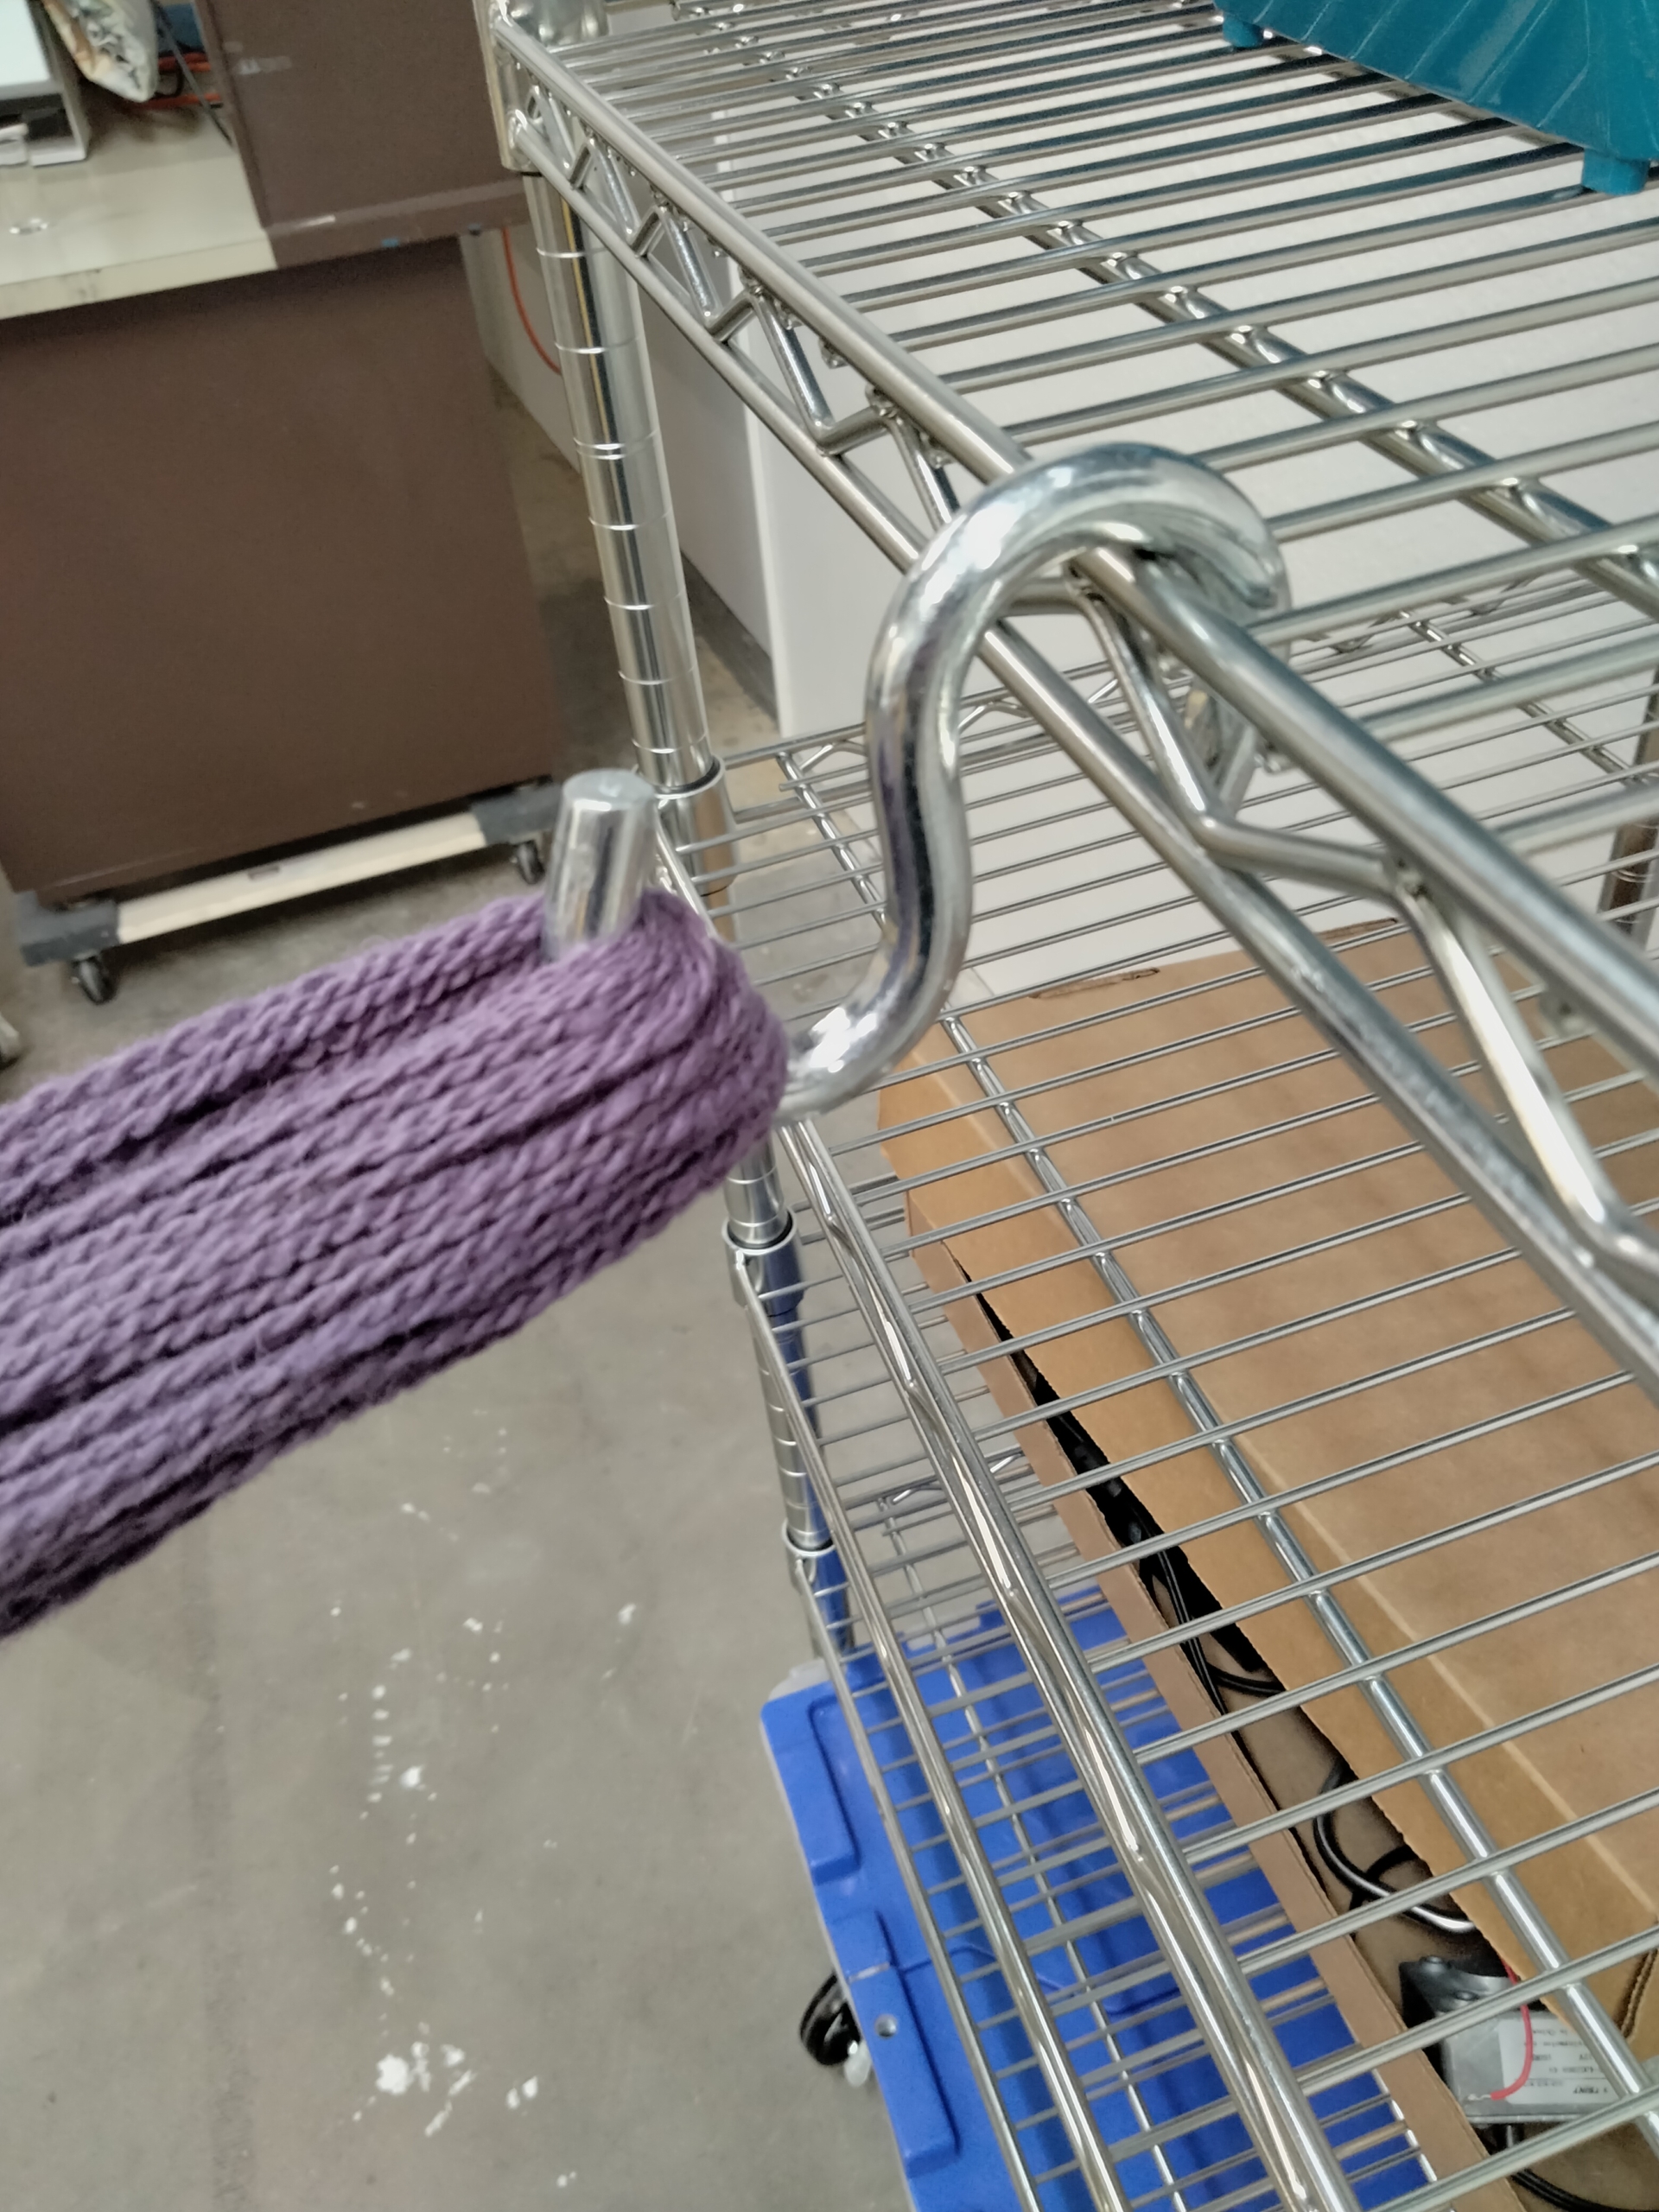
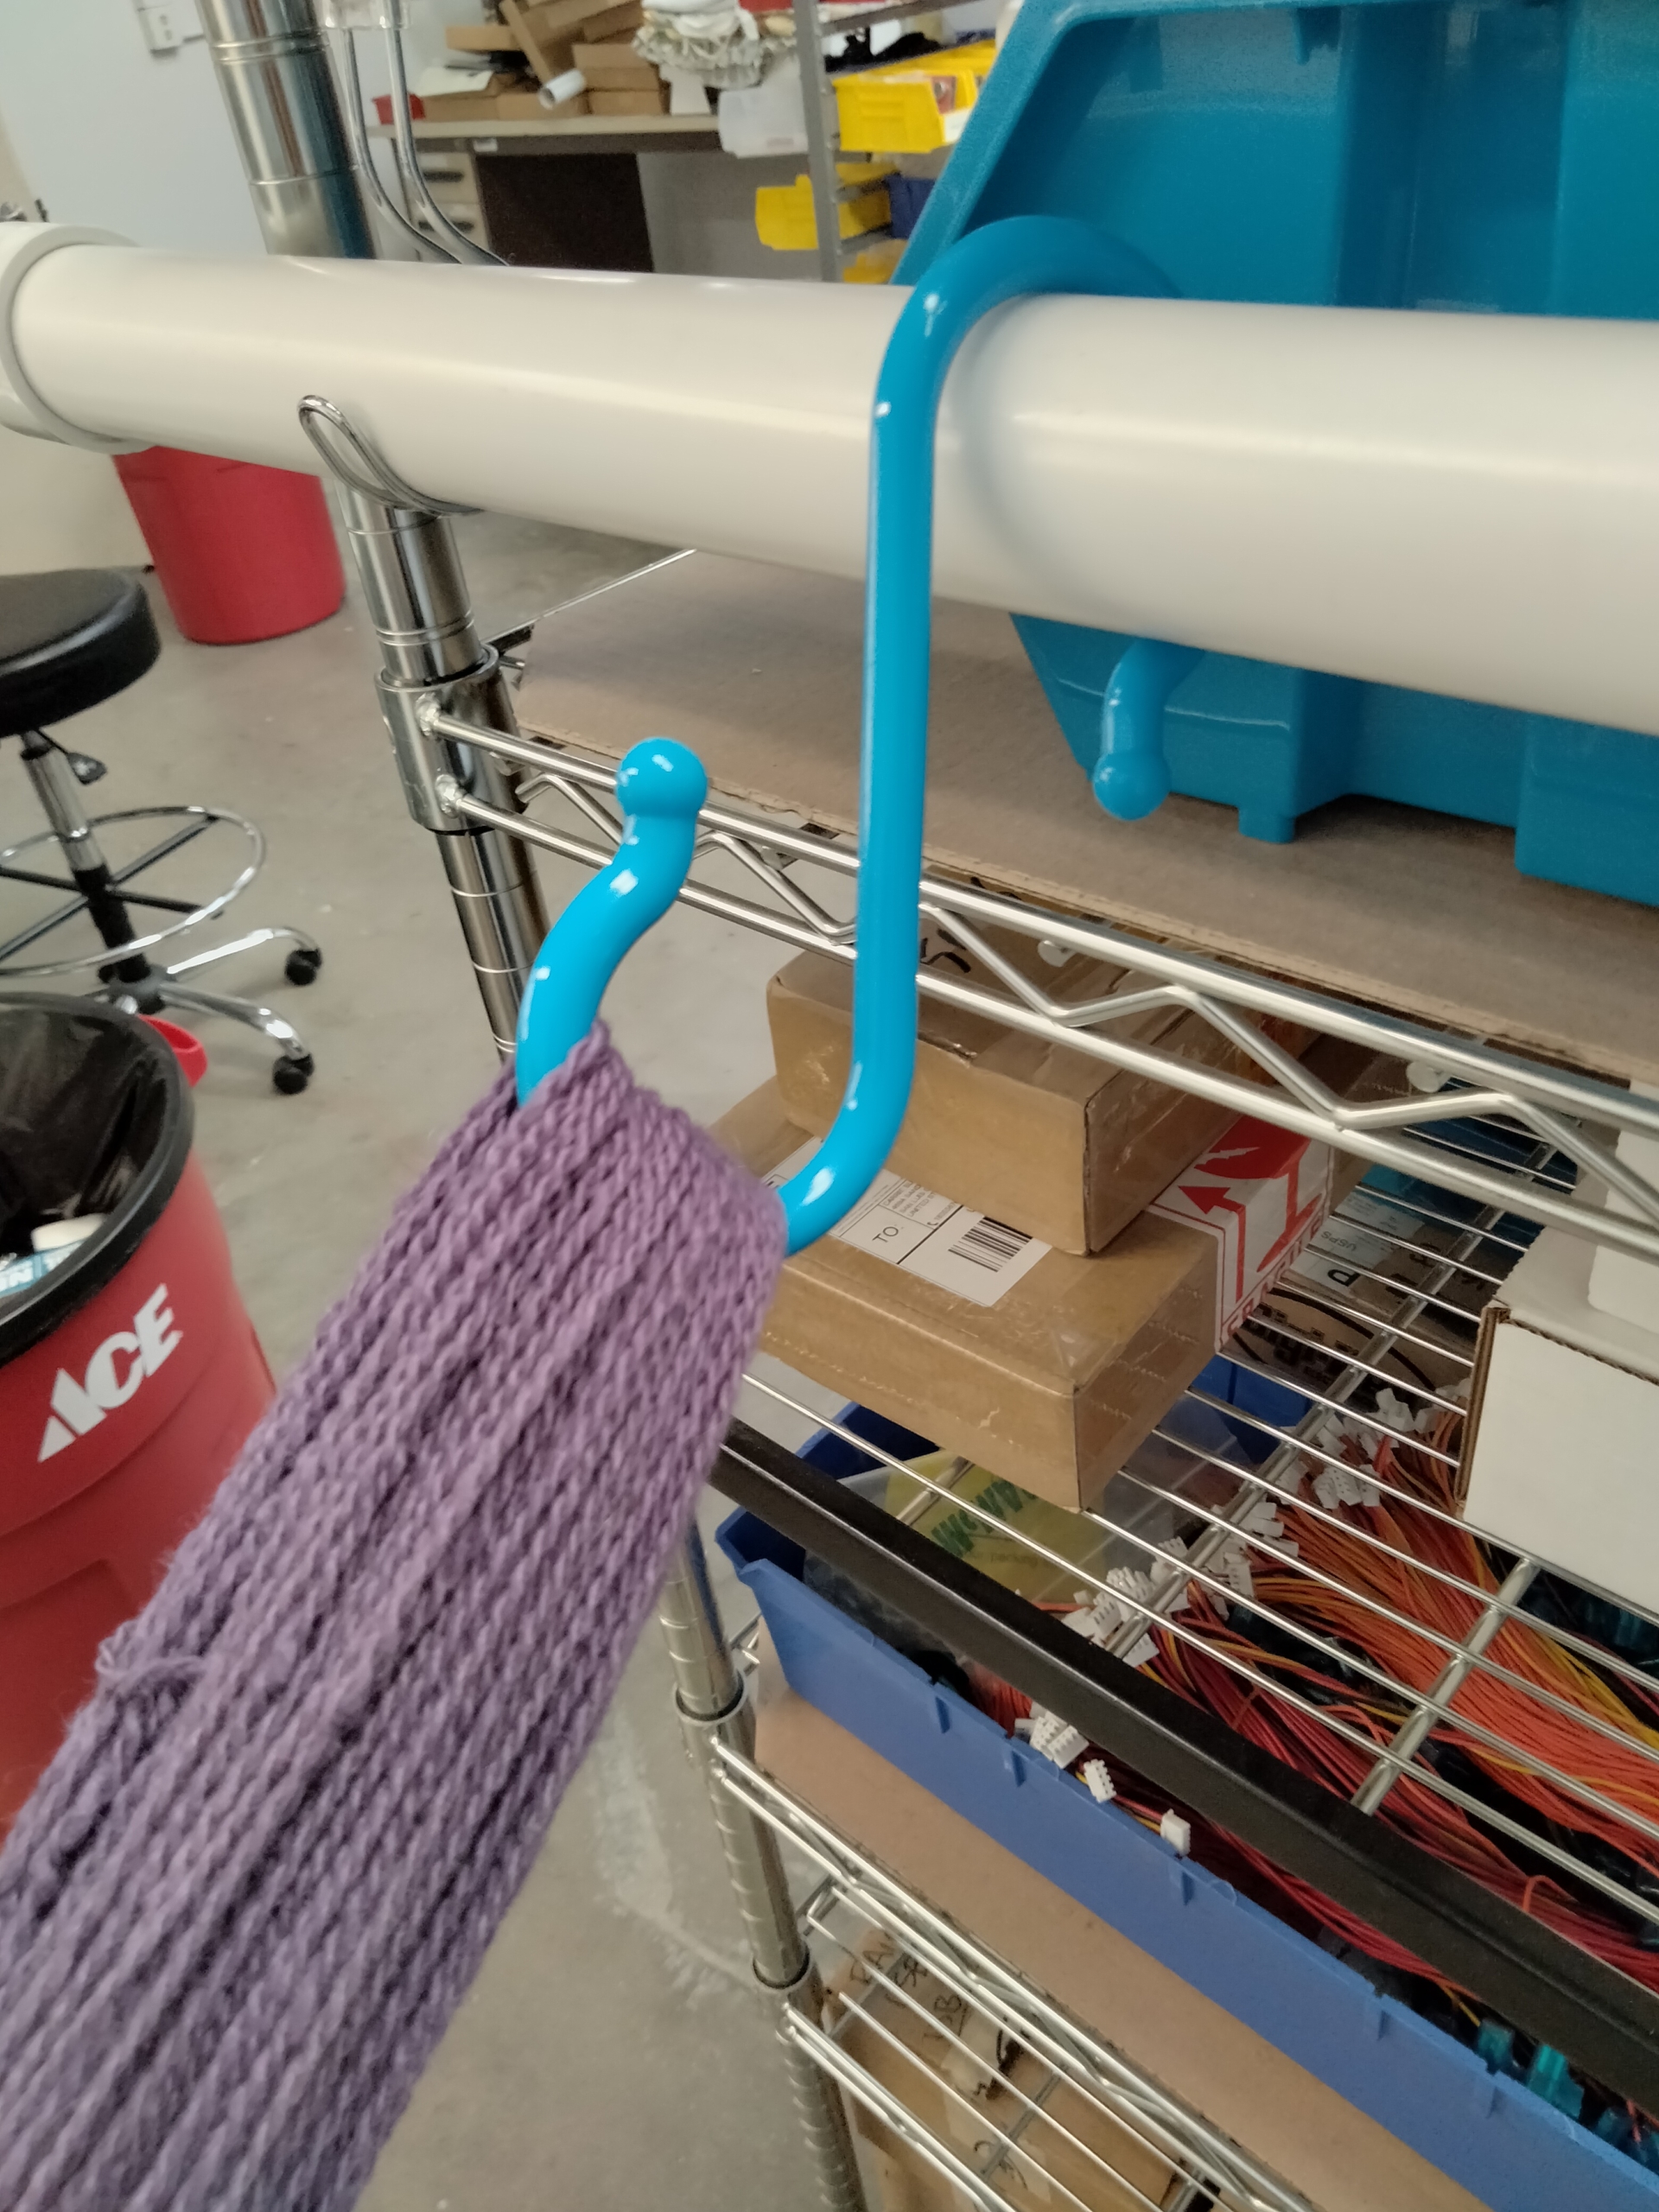
Method 2: S-hook to a very sturdy shelf or rod. This way isn’t bad either. I used the largest S-hook I could find at the hardware store and also tried a large plastic hanger S-hook. This method tends to be a little fussier because the skein isn’t held as open at this end, and the ball at the end of the plastic S-hook dragged against the yarn a little when un-hooking it. I prefer Method 1 but wanted to give you the option to use other items you might already have around the house.
I do NOT recommend having a friend hold the other end of the skein – with a power drill, it’s easy to overshoot and end up painfully squeezing their fingers. You have been warned!
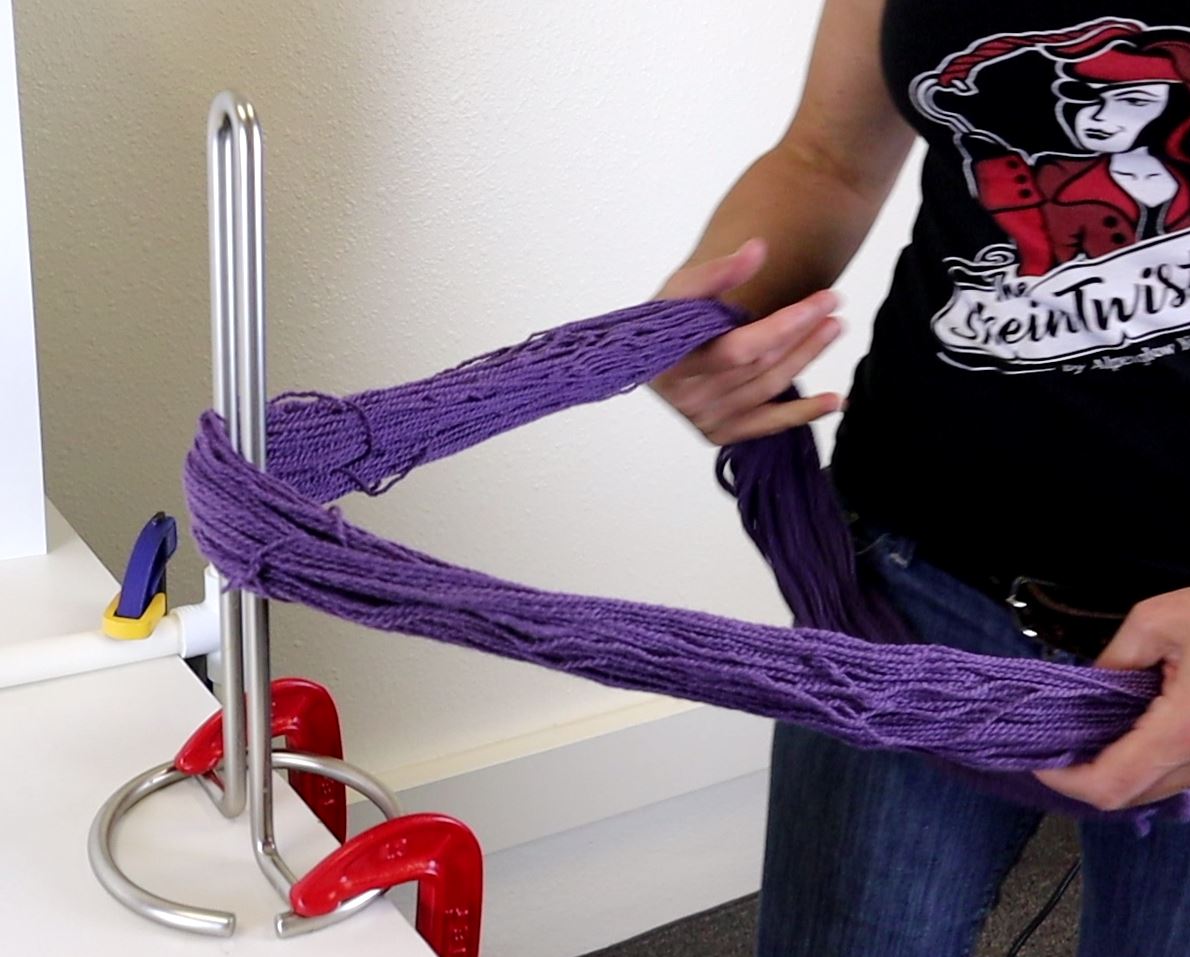
Step 3: Hook the yarn
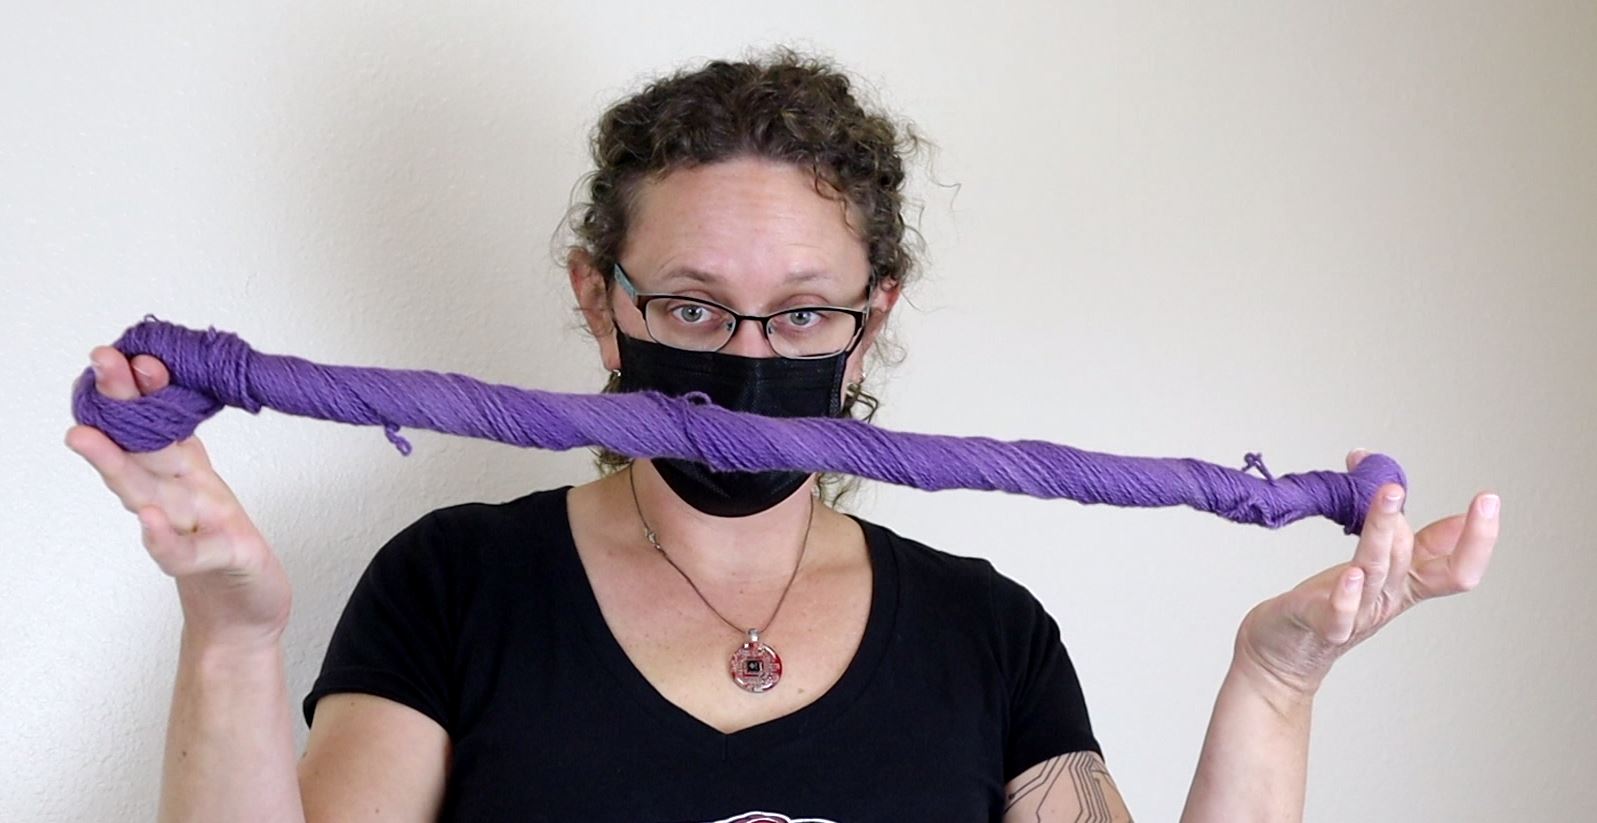
First, snap the skein between your hands a bit. This will even out some of the strands and help with consistent tension. Then hook one end of the skein around either your peg or S-hook. Hook the other end of the skein around the hook in the power drill. Take a few steps backwards so there’s a slight bit of tension on the skein.

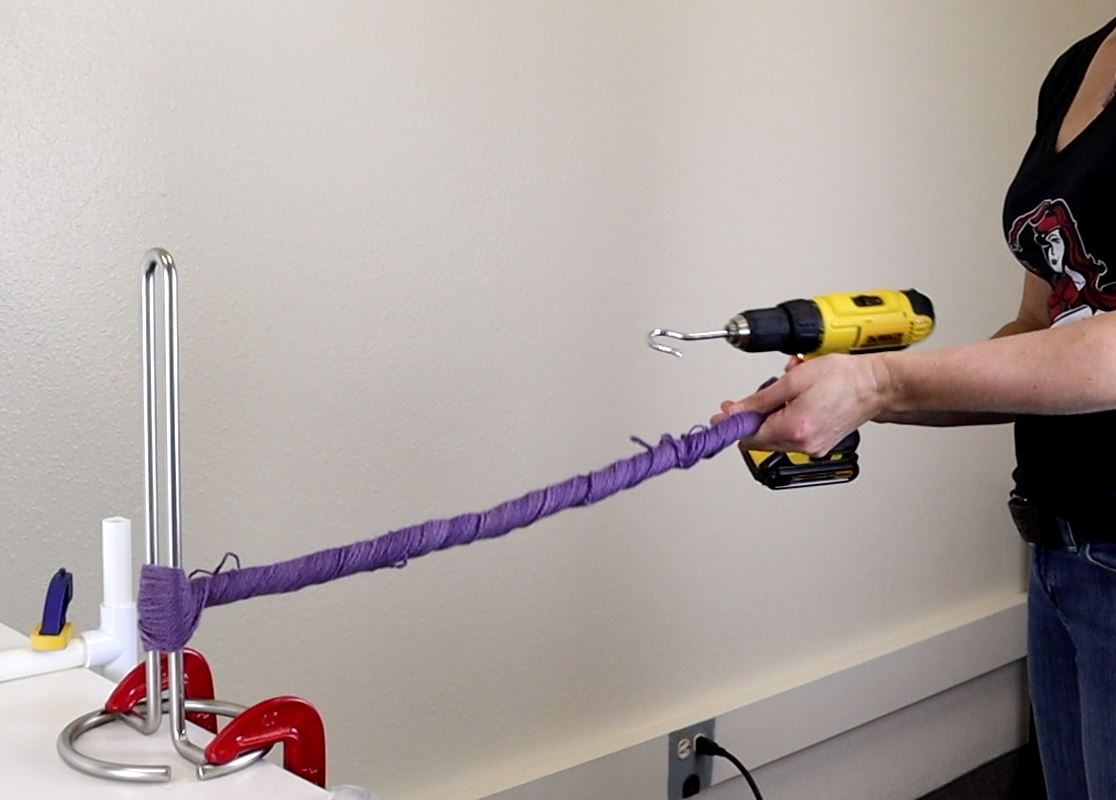
Step 4: Twist!
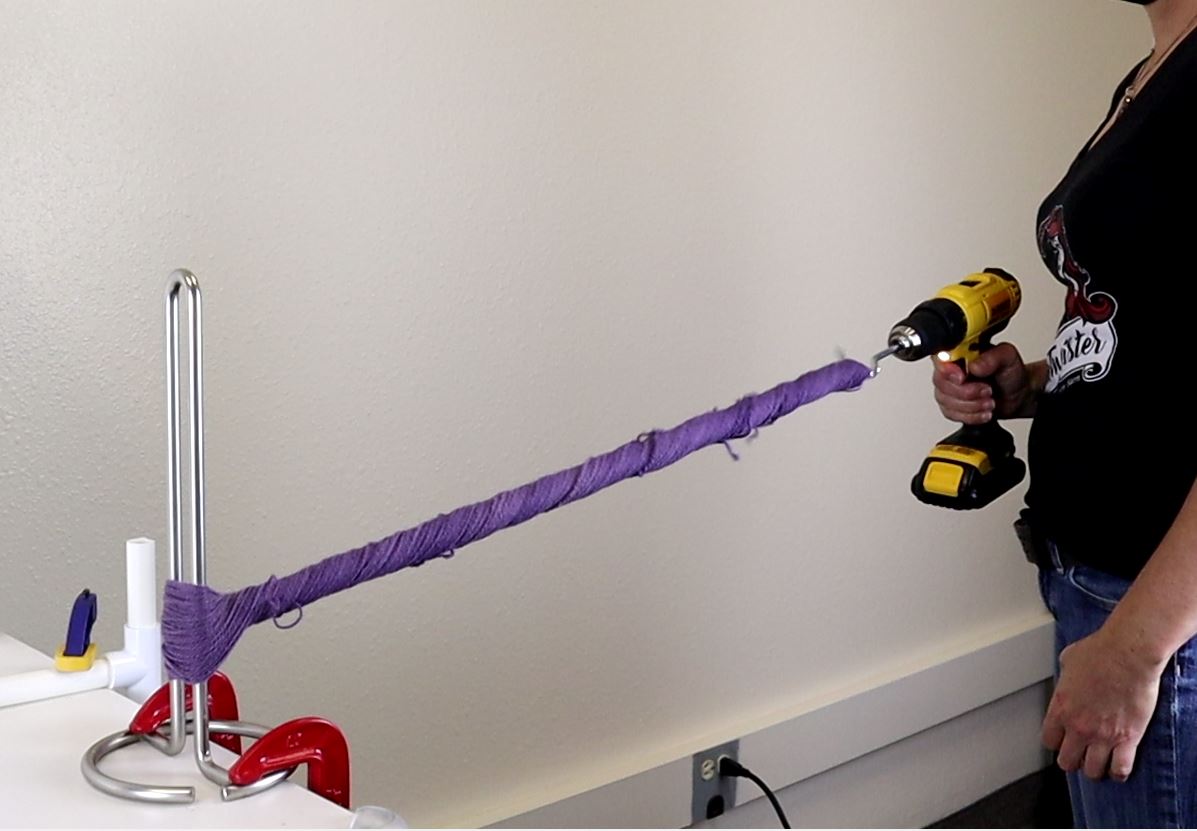
First, make sure that your power drill is on the slowest speed setting. Then gently pull the trigger just for a second or two. Power drills can spin very fast, so go easy at first and don’t overdo it! As the twist builds up, you’ll have to pull against the skein more and more to keep tension on it. If you don’t, the skein will twist up on itself like a phone cord. Once this has happened, it’s almost impossible to undo, so just pull the skein off the hook, let it untwist, and start over. The right amount of twist is reasonably tight but not hard as a rock. You’ll have to practice this to get the feel for how much twist you like, and it’ll vary with fiber content and skein size.
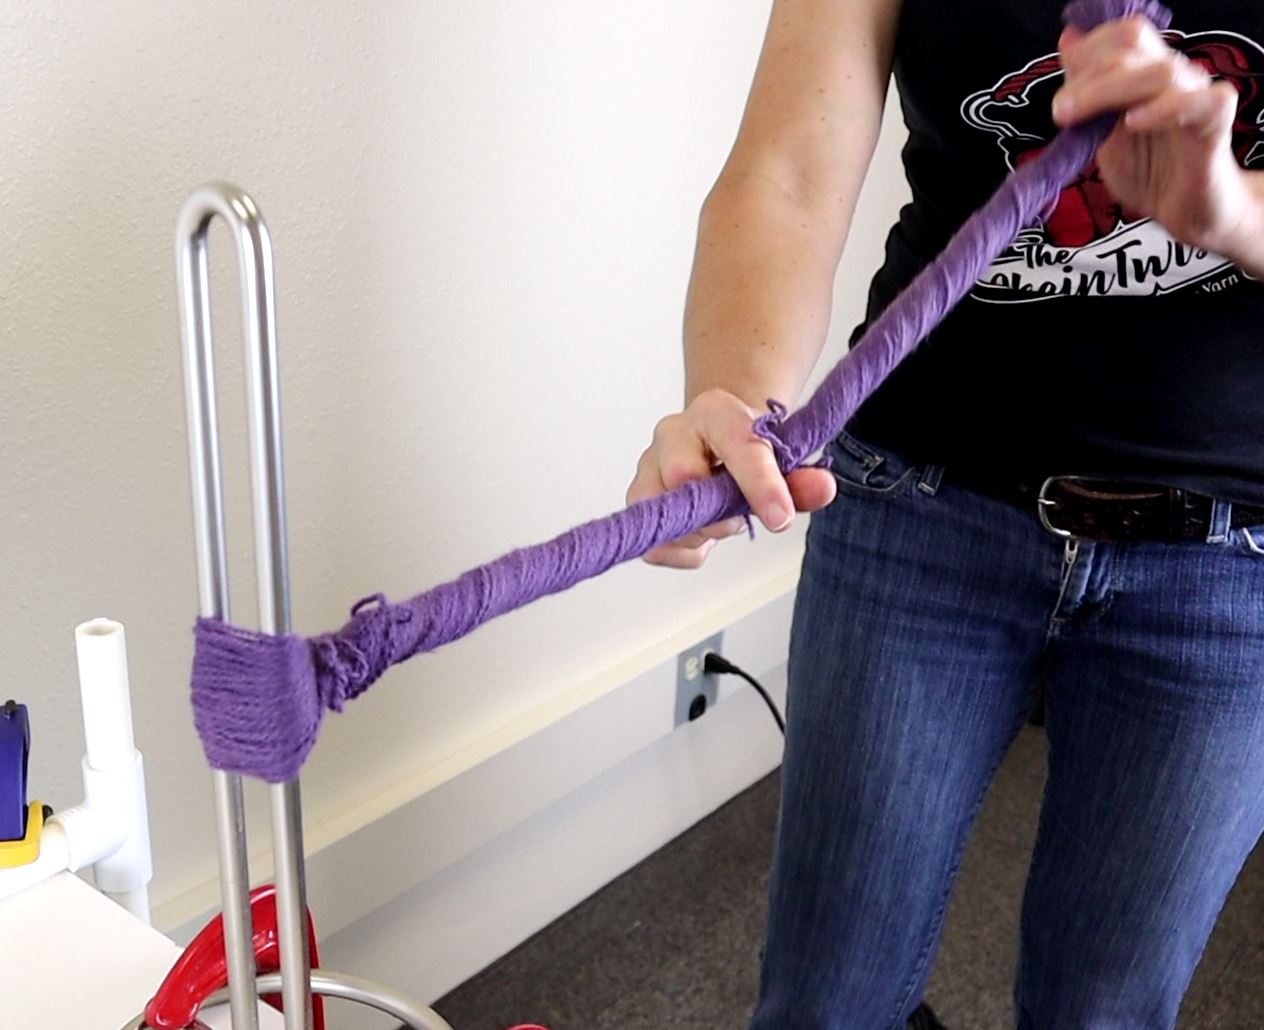
Step 5: Fold the skein
You now have a skein that’s twisted just right, still attached to the power drill. Keeping tension on the skein, pinch it at the power drill using your free hand. Slide the hook out of the skein, and set the drill down (or hook it on your belt loop for a sweet yarnslinger look!). Still keeping tension on the skein, take your newly free hand and pinch the skein an inch or two over the middle, closer to the peg or S-hook end. Also keeping tension with that middle-holding hand, fold the skein in half. The end that’s in your other hand should be an inch or two past the peg or S-hook. Release the hand in the middle. If you’ve done a good job keeping good tension on the skein the entire time, it should perfectly twist back up on itself. You may find that releasing the tension slowly and twisting a smidge helps guide the twist and produces a more consistent result.
Step 6: Tuck tail
Everyone does this last step a little differently, and it depends on your setup, whether you’re using a peg or a hook at this end, and what feels comfortable. I like removing the skein from the peg or hook in a way that allows me to keep that end an open loop with both hands, and I push the tail through the loop with both thumbs. Others like to hold the loop open with the thumb and forefinger of one hand, grab the tail from the other hand, and pull it through. There is no right or wrong way of doing this. This step also requires motions that are totally different from hand-twisting, so expect to practice and experiment a bit before finding the way that’s right for you.
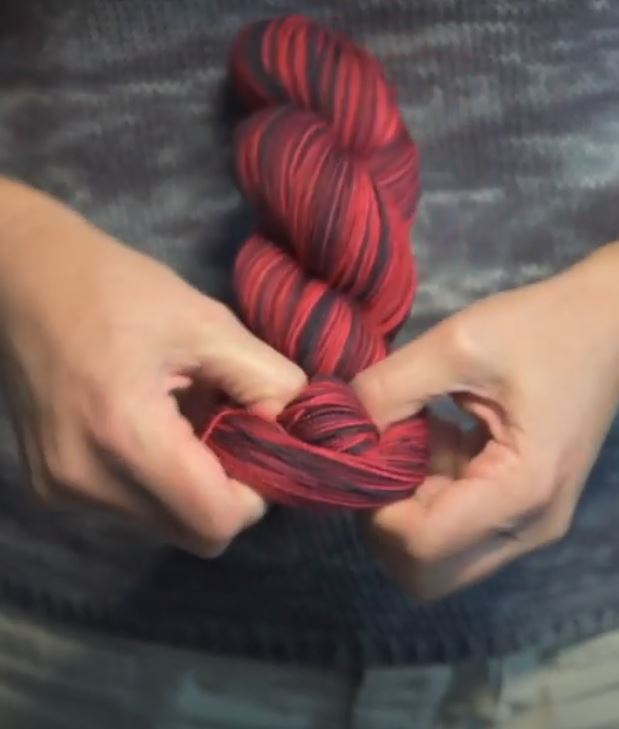
Pushing Tail 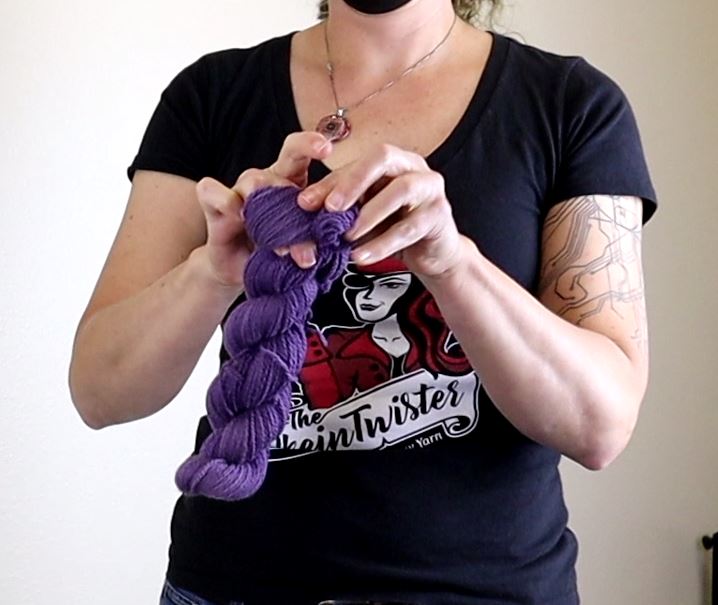
Pulling Tail 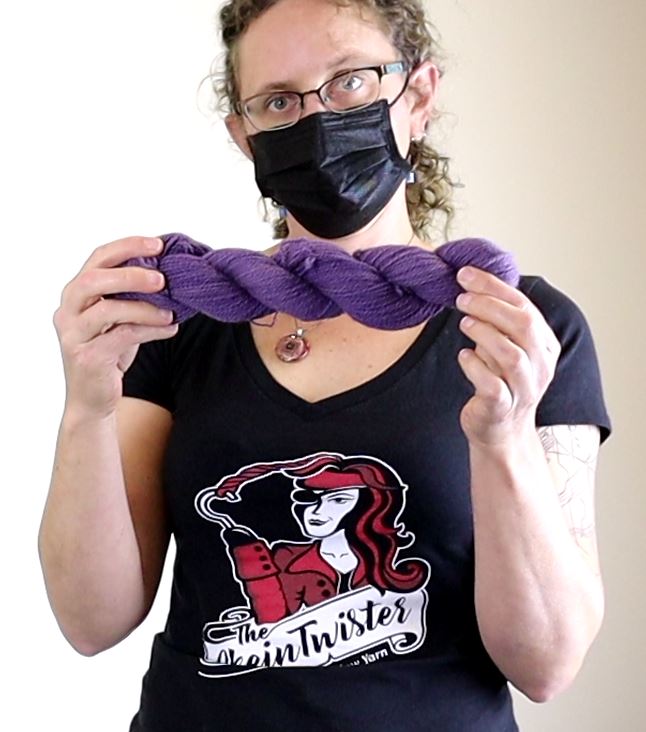
Happy twisting!
P.S. Sometimes people mix up terminology, which can be very confusing. This process is called twisting, not winding. Winding is the process of wrapping yarn around something in a circular motion, like winding yarn on a bobbin or winding a skein from a cone with a skein winder. Twisting is the process of wrapping two things around each other – like twisting fibers together to make yarn or twisting strands of yarn together to ply them, or twisting a skein back on itself to make it a tidy bundle.
Carrie Sundra is an engineer with a serious yarn addiction, who decided to leave a life of electronics and high-tech spy planes for hand-dyeing and knitting. Alpenglow Yarn started in 2009 with 3 words: Glowing Natural Color. Her most well-known products, the SkeinMinder and SkeinTwister, add automation to winding and twisting operations, make the process more efficient, and help scale up production. You can find out more at alpenglowyarn.com.
Did you know we also have a monthly PLY newsletter? Sign up here!
PLY Magazine believes that Black lives matter, as well as LBGTQI+ lives. Those most vulnerable and persecuted in our communities deserve our love and support. Please be good to each other.


Leave a Reply
Want to join the discussion?Feel free to contribute!