

Mixing Things up for a Sweater
words and photos by: Johanna Carter
I always admire those who are able to spin mountains of yarn for a big project, ready to knit a wonderful sweater or cardigan. It is a satisfying feeling when you finish all that work, especially if you started with washing and combing the wool or even raising your own sheep.
Mixing spinning and knitting
The typical way to work through a larger project is to spin all the singles first and ply them in a particular order so you get the yarn even throughout the whole project. I don’t have so many bobbins, but my bigger problem is that I am quite impatient and want to get on with knitting once I have an idea. And normally, my brain is full of ideas for fibre work and the limit is the time, as I am a musician and teacher. I can’t sit at the spinning wheel for a long time if I’m not on holiday, so during the school year I mostly knit, and during the holidays I can dye, spin, use my drum carder, and do lots of fibre work. The only time I was able to produce bigger quantities of yarn before I knitted them up was during the Tour de Fleece in the two years during the pandemic, when we did not go on holiday at the beginning of July.

A highly photogenic collection of naturally dyed fibres.
I like to finish knitting one big project like a sweater or cardigan before I start the next one, or at least until I can’t carry it in my bag easily anymore, so I have an excuse to begin the next one. Sometimes it is good to have a second project on the go – I call it mindless knitting, where I don’t have to look very much – which I can keep my hands busy during Zoom or other meetings, which helps me listen.
Mixing colours and fibres
Usually I dye my yarn with plants which I collect in the woods or get from garden flowers. I also use cochineal and indigo, which I buy, to get lots of different colours. I really love the greens and blues I get from dyeing with indigo. I have lots of dyed wool, and all those colours give me inspiration for further projects.

Beautiful greens and blues dyed by the author using indigo and other natural dyes.
Blending the wool on the drum carder I can get even more shades. I like to blend with fibres like silk, alpaca, or plant fibres, and I love sari silk, to get those little bits of colour in my yarn.
Fibres of different types and colours are blended on a drum carder for elegant results.
When I have an idea for the next sweater, I start carding, and then I can begin to spin. Once I have spun enough yarn – say, for one day – I cast on and start knitting, usually top down, so I don’t have to decide too much in advance about length and width.

An idea for the author’s next sweater in the gathering stages.
When I spin on my wheel, I have to sit at home, but while spinning I can read a book or talk to others during online meetings. I also like to spin on my spindles, and that works on a walk, or a museum visit. I take them on holiday as they don’t need much space, and when I spin for a lace shawl, I don’t even need much wool either. At home there are spindles all over the place; I can spin when I am waiting for the kettle to boil, when the computer is slow, when I am cooking. Like that I can make good use of a short time and the yarn still grows.

Knitting as soon as the yarn is spun helps the author complete sweater projects in a timely manner.
I can take my knitting almost everywhere, which is why I don’t want to wait to get started until I have spun all the yarn for a whole sweater. I knit at home, on the bus or train. The only thing I have to make sure of is to be one step ahead with the yarn.
I love to knit Fair Isle sweaters. My favourite method is to use only one bobbin, which I don’t even fill, because I need smaller quantities of lots of colours. Then I wind a ply ball and ply it on itself. For that I put my thumb through the ball, so I can tension the two singles with my fingers and they don’t get tangled, as long as my thumb (or a cardboard roll or a pencil) stays in the middle. I don’t have any leftovers from plying, and it is quick when I suddenly need more yarn.

Several charming sweaters dyed, spun, and knit by the author.
I have never had problems with the yarn not being consistent enough throughout a project. I just know what yarn I want and my fingers seem to remember what to do. I am sure it is good advice to have a little card tied to the spinning wheel with a bit of the singles you are aiming for, so you can check and make sure you are spinning a consistent yarn.
Mixing breeds
There are so many different breeds, but some of my favourites are Shetland, BFL, and Jämtland – a Swedish breed. After dyeing them, I often forget what I have used, so when I do a new project it often turns out that I have used different breeds and fibres just to get the right colour. For the Fair Isle knitting I want to juggle lots of colours, which is more important to me than making a sweater out of only one breed.
Recently I made a pullover for my husband using about 12 different breeds and colours, even mixing short and long draw. For me it was a breed experiment and a way to use up lots of smaller quantities of wool I had in my stash. For that sweater I used combed top without blending.

Mixing in knitting during the spinning process is a wonderful way for a spinner to avoid being overwhelmed during a sweater project.
My feeling is that some people don’t dare to start spinning for a bigger project because they get overwhelmed by the quantity they have to spin and then all the knitting there is to do, especially when you want to spin the yarn entirely on spindles. Mixing the spinning and knitting for the same project is more interesting; you get more variety and more freedom to choose what you want to do next as long as you don’t run out of yarn. It breaks the project down into smaller, less daunting parts. The only thing you might want to plan is to have enough fibre at the start, but even that is not necessary, there is always a sheep growing more wool.
Whidbey Weavers Guild Spin-In
If you’re in the Washington area, be sure to check out the Whidbey Weavers Guild. In particular, the guild is hosting a spin-in in April with a special guest and a presentation, workshop, and marketplace.
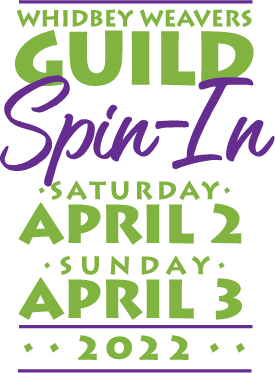
When: April 2-3, 2022
Where: Oak Harbor High School, Oak Harbor, WA
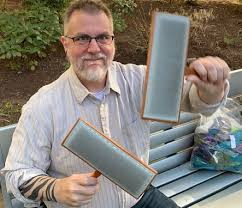
Featured Spinner: Michael Kelson
For more information, visit the guild’s website.
Do you know about something new or hot or rare — fiber, tools, events? We’d love to feature it on our blog or newsletter. If you’re making/planning something new you think people should know about, let us know!
PLY Magazine believes that Black lives matter, as well as LBGTQI+ lives. Those most vulnerable and persecuted in our communities deserve our love and support. Please be good to each other.
Did you know we also have a monthly PLY newsletter? Sign up here!
Did you know we also have a monthly PLY newsletter? Sign up here!
October Vlog with Jacey and Jillian
Jillian starts by sharing the businesses who contributed tools and fiber to the Consistency issue (listed on Independent Spinner page and below) and then explores her favorite parts of this issue. Jacey shared several videos illustrating some of the techniques used in the issue. Jillian explains and shows her favorite spinning tools from HipStrings—WPI tools and twist angle gauges. Jacey asserts the importance of measuring yarn (such as twist angle) before it is finished so it is easier to re-create that yarn. Jacey gives a preview of the upcoming Winter issue—Head and Hands—and discusses plans for PLYAway 2022. Finally, Jillian and Jacey encourage everyone to submit ideas for writing for PLY, especially for experiment-type articles where you don’t have to know any answers beforehand and just take the readers through your experiment and conclusions.
Specific information about PLYAway!
PLY Away 2022
April 19th-23rd, 2022
Plyaway.com
It’s happening, it’s really happening! After much stressing and debating, PA22 is on! For everyone’s safety, health, and feeling of security, we will be requiring all teachers, attendees, and vendors to be fully vaccinated. If there are changes in the Covid-19 situation, we will adapt and change as well.
Because of all of this, there has been some juggling and shuffling. On October 18th, the full list of teachers was posted on the website. All the fiber-rific classes were revealed on October 20th. Registration will open Oct. 30th at 11am Central for everyone who was registered for PA20 (you’ll get an email and registration code) and on Oct. 31st at 11am Central, registration will be open to all.
If you were set to vend at PA20, we’ll be reaching out about PA22.
Finally, we’re always looking for fibery goodies for the PA goodie bags (we are thrilled to exchange bazaar ads for goodie bag items). Silent auction items and door prizes are also welcome! Everyone gets mentioned in the PA program too! Get in touch with Jess.cook@plymagazine.com for more details.
Links mentioned in this quarter’s video:
Wheels
Did you know we also have a monthly PLY newsletter? Sign up here!
PLY Magazine believes that Black lives matter, as well as LBGTQI+ lives. Those most vulnerable and persecuted in our communities deserve our love and support. Please be good to each other.
Did you know we also have a monthly PLY newsletter? Sign up here!

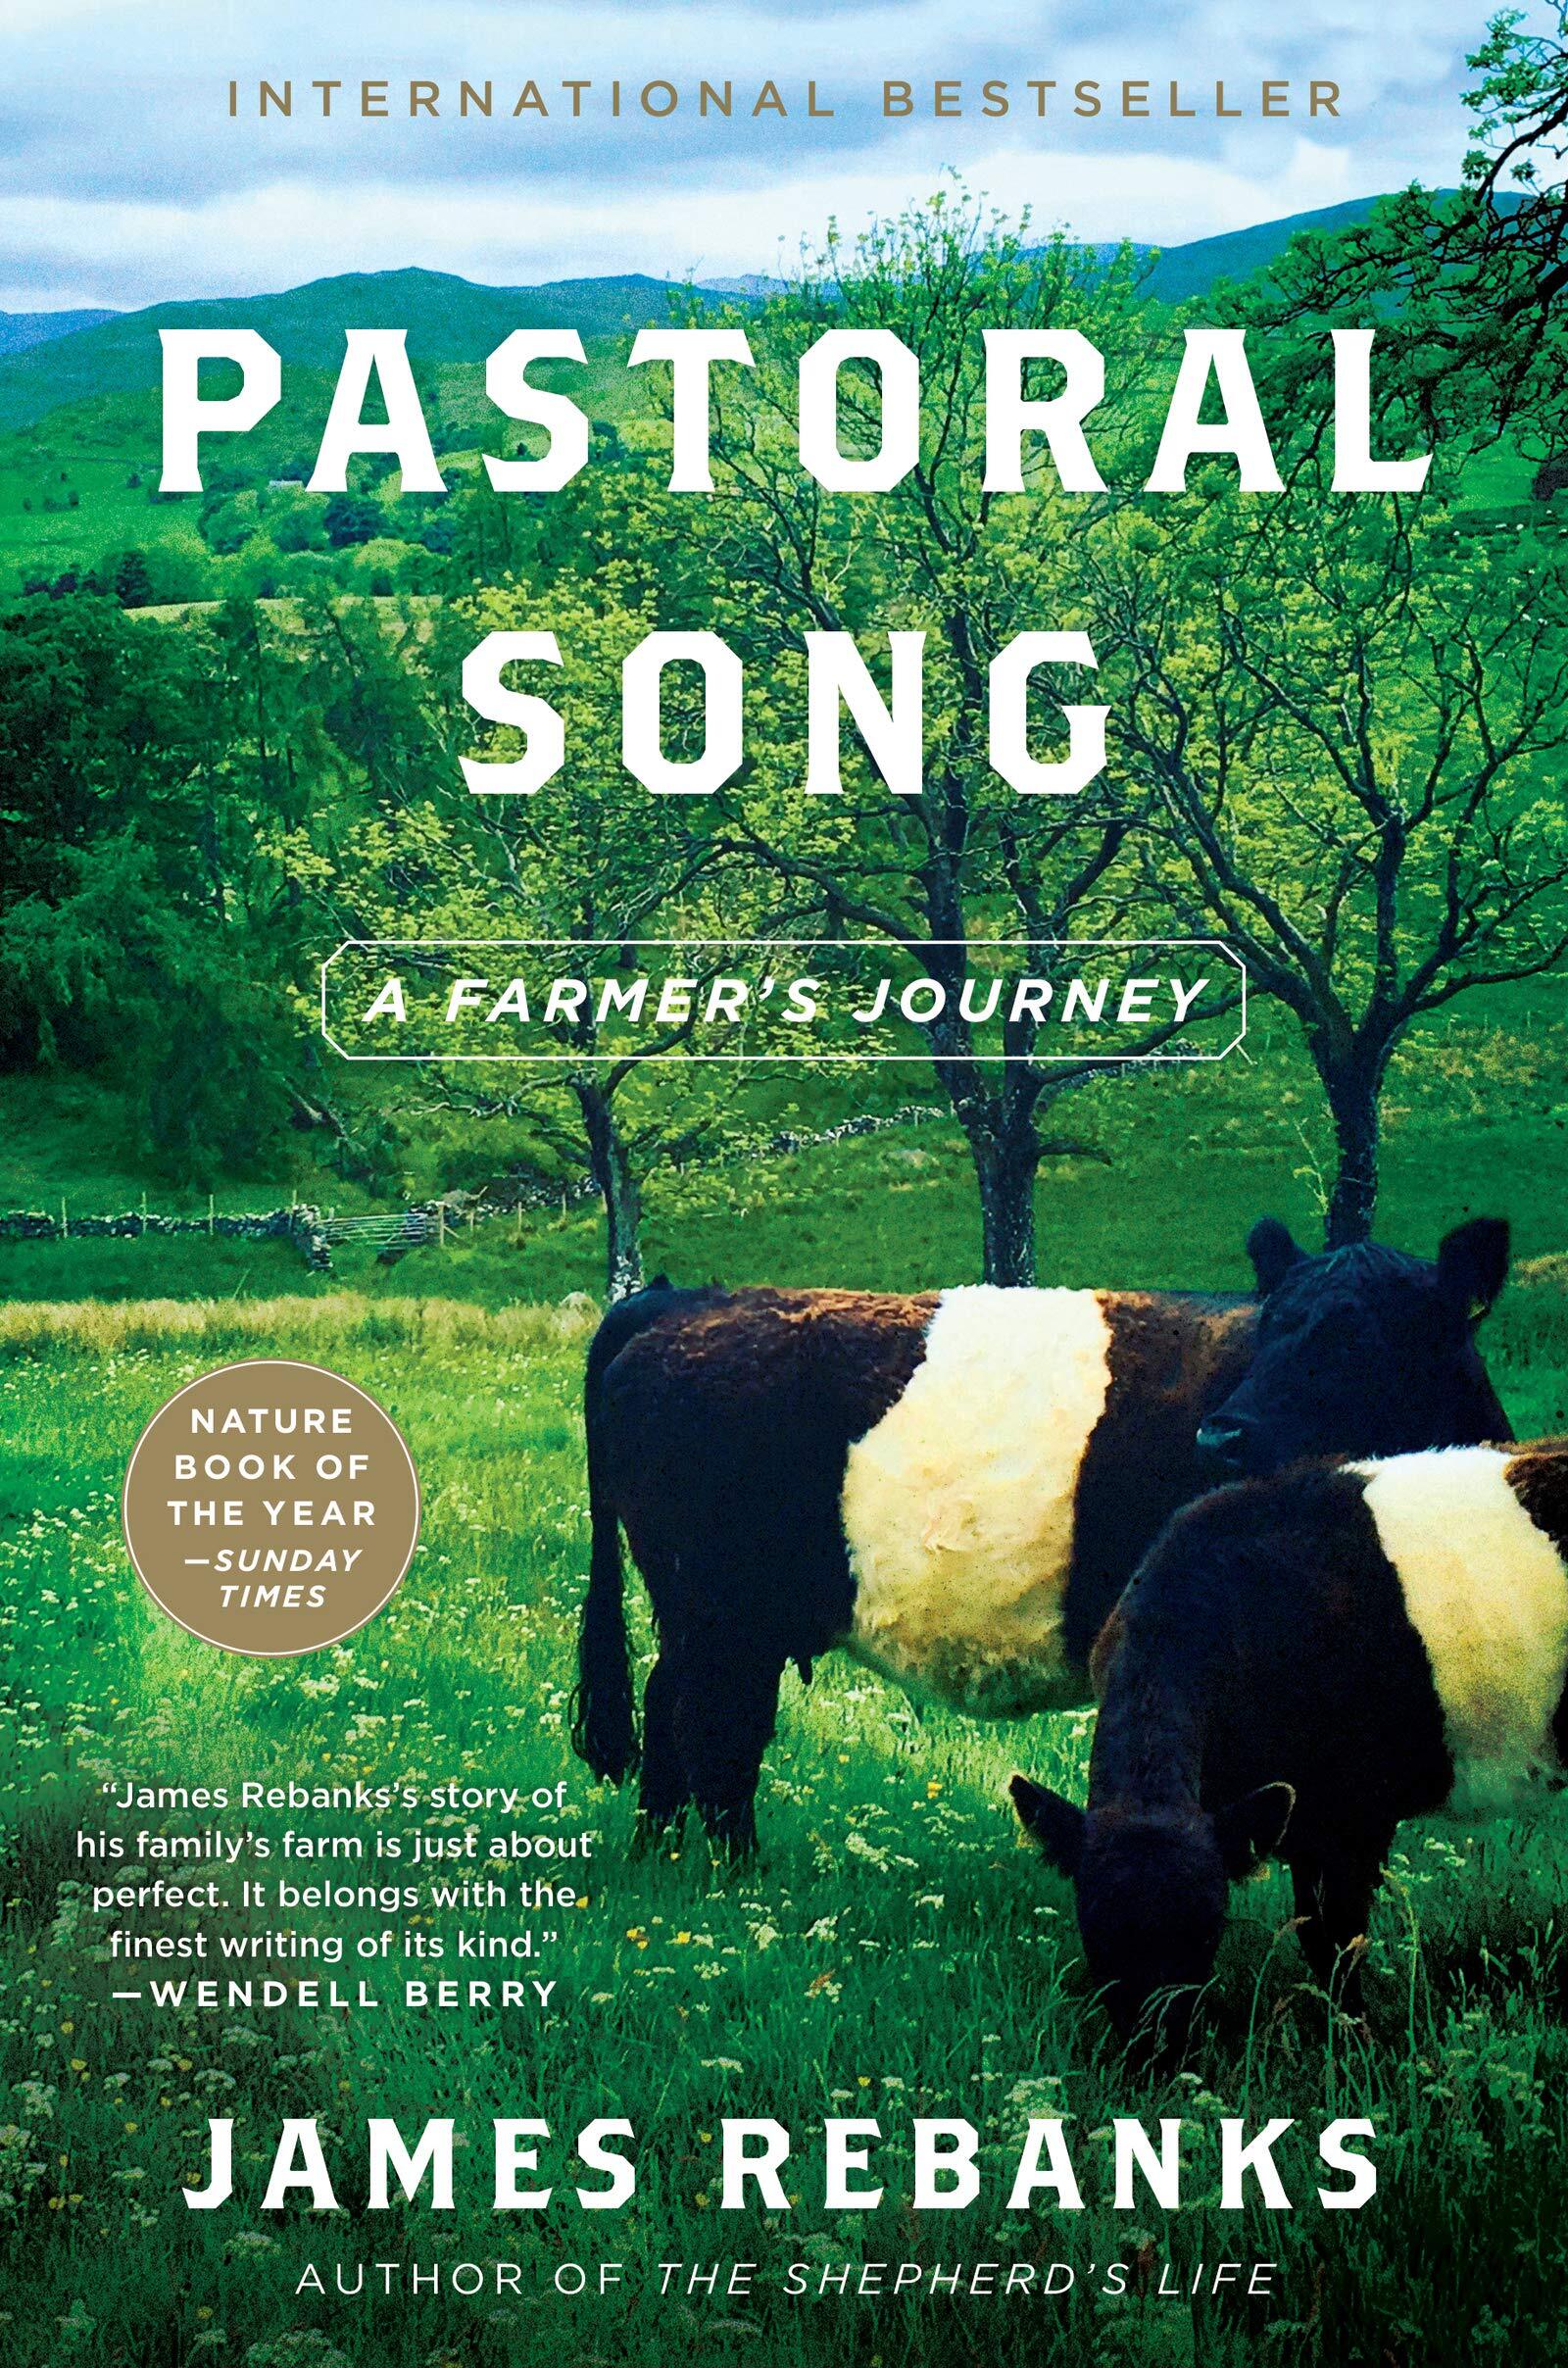
Book Review: Pastoral Song: A Farmer’s Journey
book by James Rebanks
reviewed by Jillian Moreno
I’ve read this book twice, first when it was released in England last year, and just recently I listened to the audiobook. My first read told me it was important information, but I let myself be carried along, entranced by the storytelling.
The deeper information about farming and how farming has changed hooked me, subtly but deeply. I started reading more about farming and sustainability as articles came across my various feeds.
When I listened to the book for my second read, the importance of sustainably growing food and raising animals is all I heard.
James Rebanks is an excellent writer; he can put you squarely in a moment or a place. He currently farms and raises sheep and cows with his family. This land in the Lake District in the north of England has been in his family for 600 years, and he gives it the respect it deserves.
The book is divided into three sections.
Nostalgia presents the type of farming he remembers from his youth, how his grandparents farmed. It is rotational farming, working with and preserving the land.
Progress is the farming he saw in his teens and twenties, his father’s farm. The farming focused on increased production at the cost of everything else; the health of the land, the animals, the farmers, and the consumers can be damned as long as inexpensive food is on the shelves. This is the era of giant tractors, pesticides, growth hormones, and single crop farms. Much of the world still farms this way.
Utopia closes the book. This is the farming Rebanks and his family currently practice. It’s mostly back to the ways of his grandfather, with modern “progress” only where it makes sense to the bigger environmental picture.
He doesn’t sugarcoat how hard this type of farming is. He works with environmental agencies and receives subsidies to farm in favor of the land and animals, to restore and maintain the biodiversity of his land, but he still has to do work away from the farm to make ends meet.
This is the type of farming we should be striving toward, and this book gives me hope it can happen if we respect and focus on the well-being of the land, animals, the farmers, and our own health.
James Rebanks gives me hope for the future of farming and our environment.
Did you know we also have a monthly PLY newsletter? Sign up here!
PLY Magazine believes that Black lives matter, as well as LBGTQI+ lives. Those most vulnerable and persecuted in our communities deserve our love and support. Please be good to each other.


Leave a Reply
Want to join the discussion?Feel free to contribute!