

As is the case with many others before me, the more I knit the more I wanted to know about wool. For years I was attracted by the rainbow of colors available. I’d done a lot of dyeing, but a real game-changer for me was seeing a heathered yarn for the first time. After studying it, I realized it was not something I could dye; rather, it was something that had to be spun. I had to learn how.
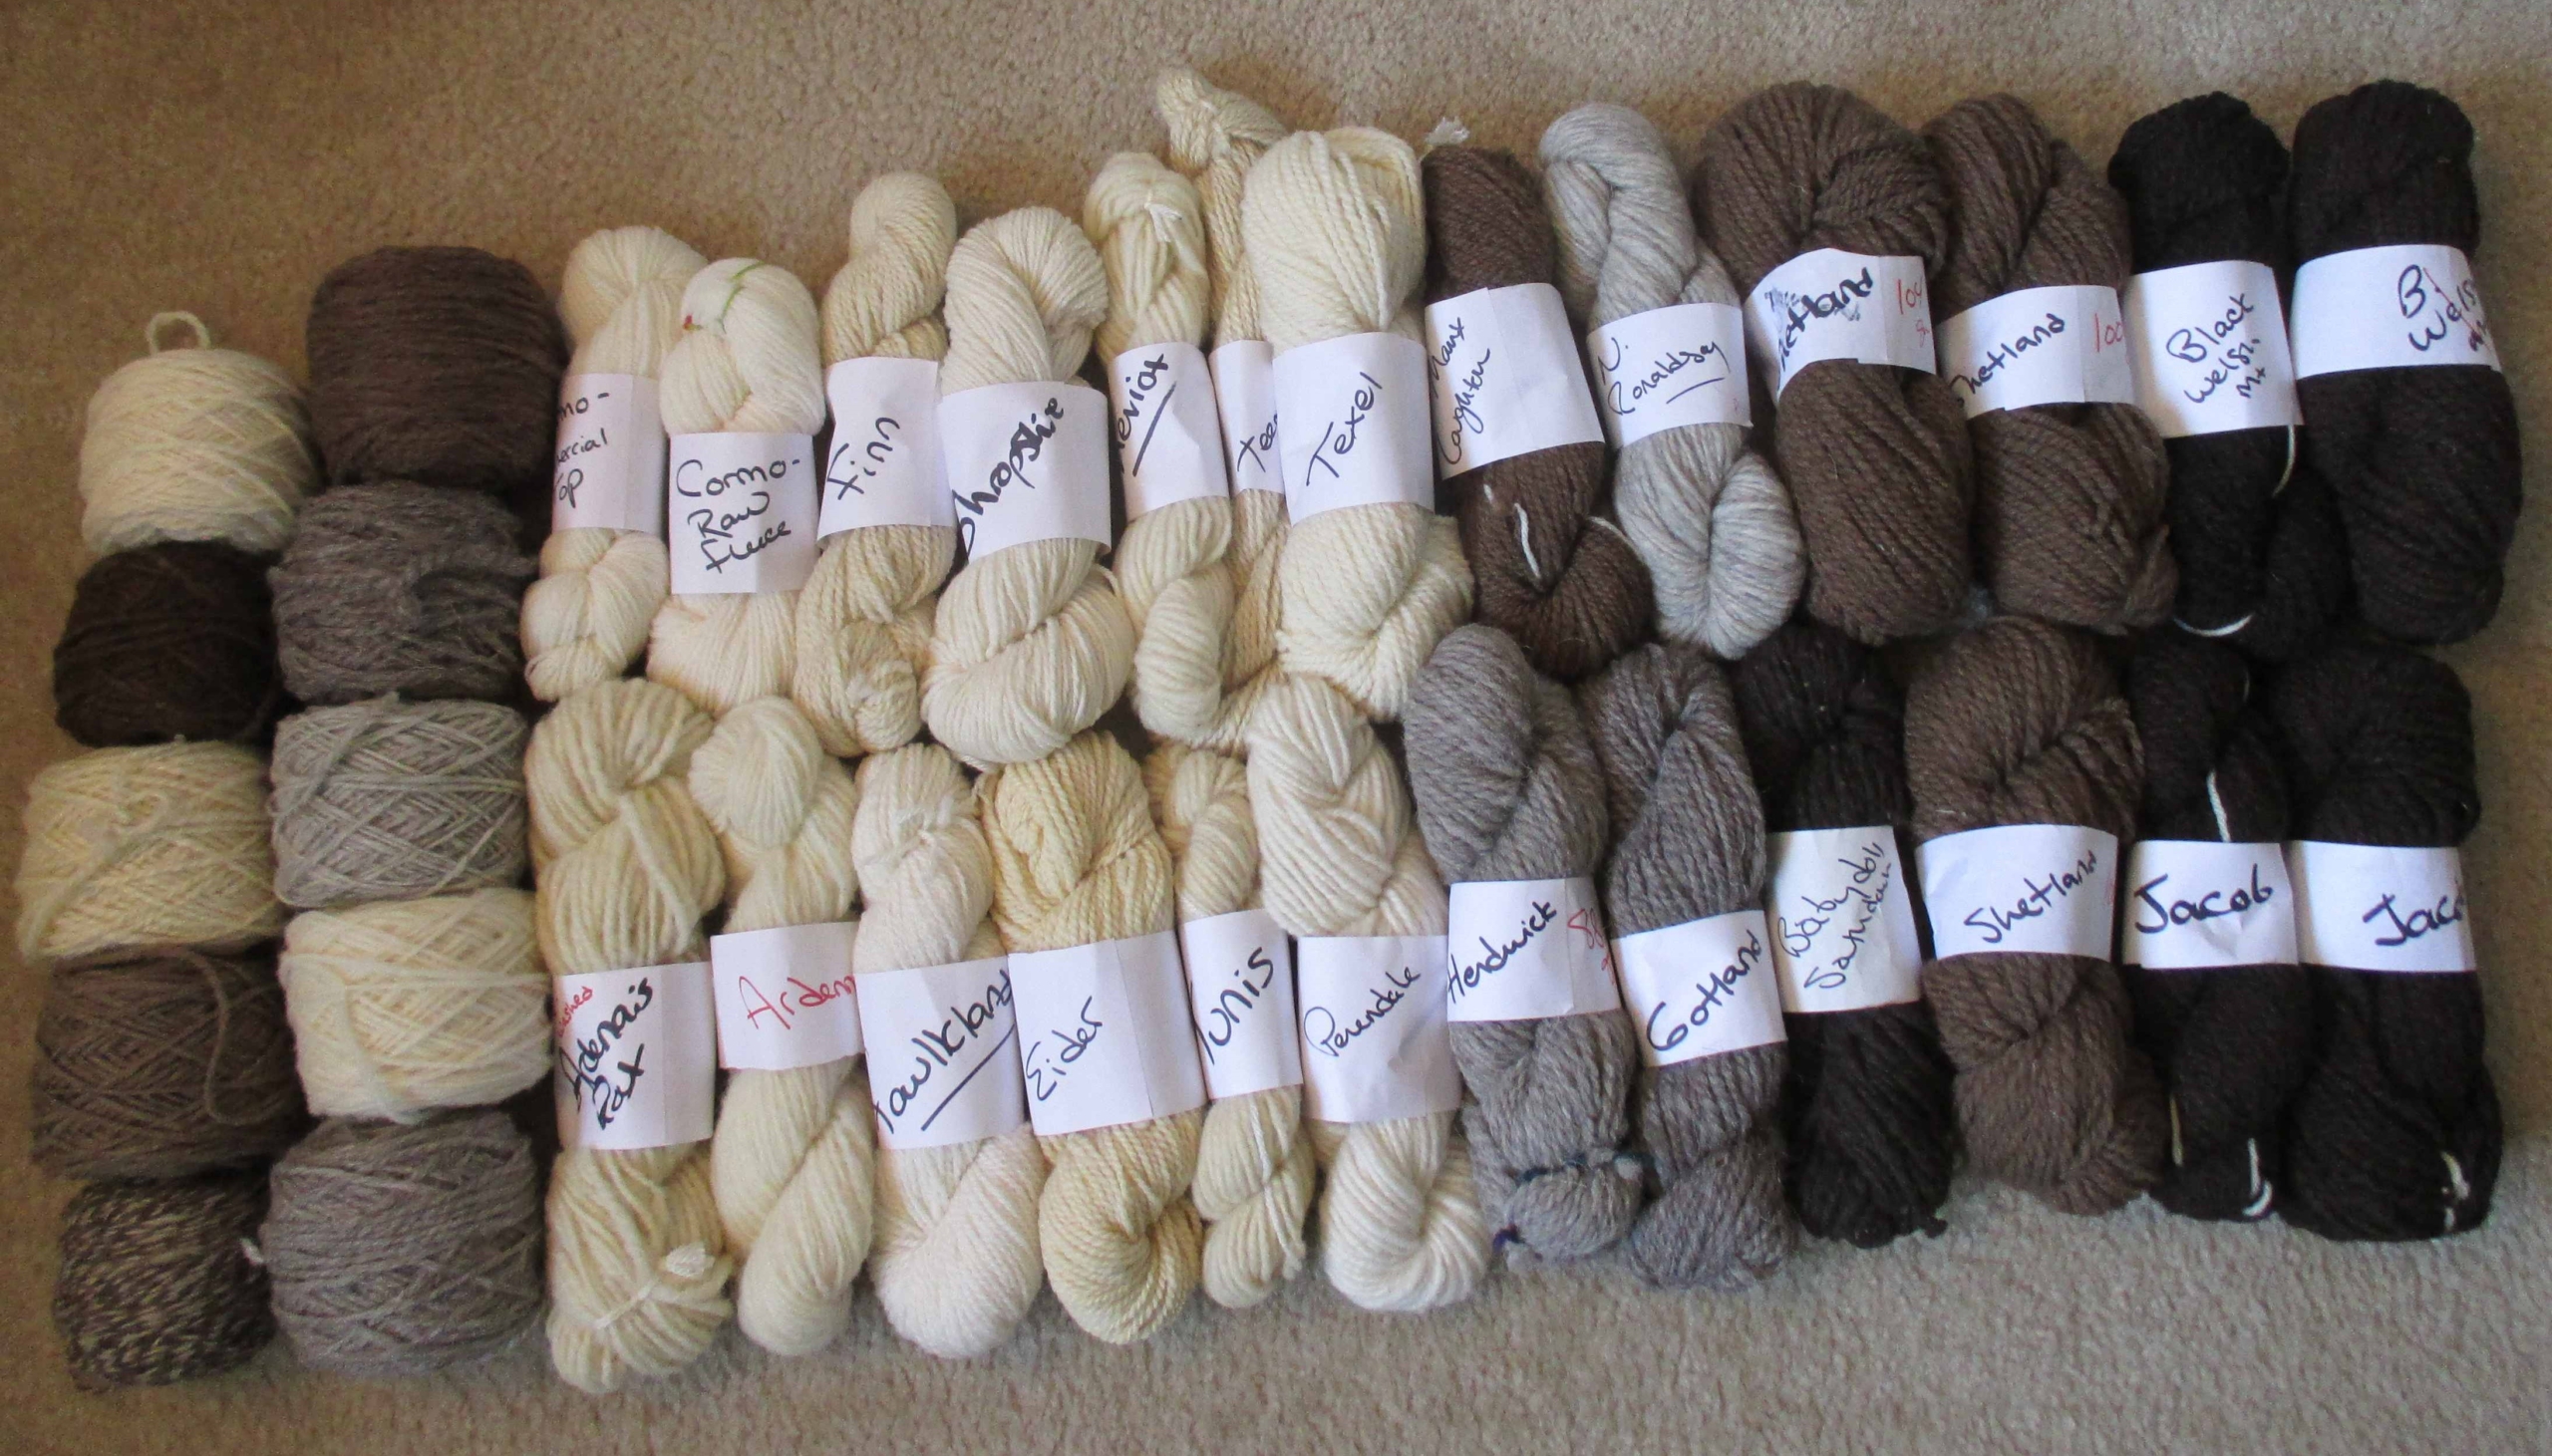
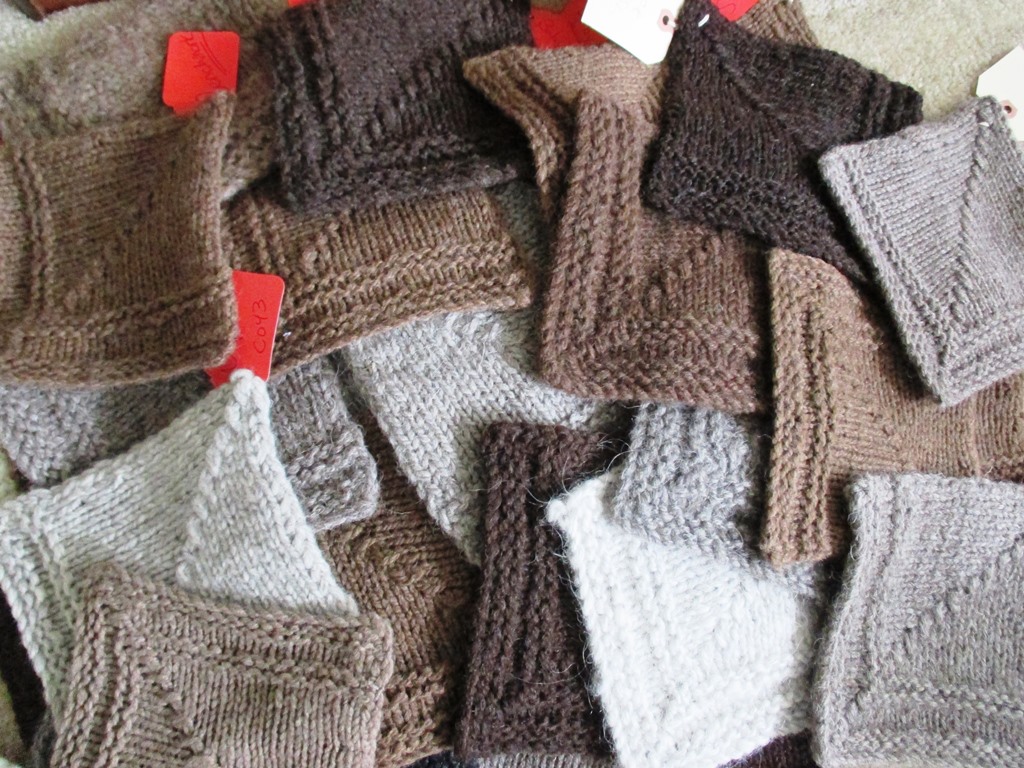
I have been fortunate in my travels to visit many fiber festivals, mills, and farms, which I now saw with new eyes. As a spinner, I couldn’t stop staring at what I’d looked past before: the rich, warm colors of natural wool. What a surprise it was to see the extraordinary range of colors right off the back of the sheep. How could there be so many shades of white? And brown and black and grey? Extraordinary!
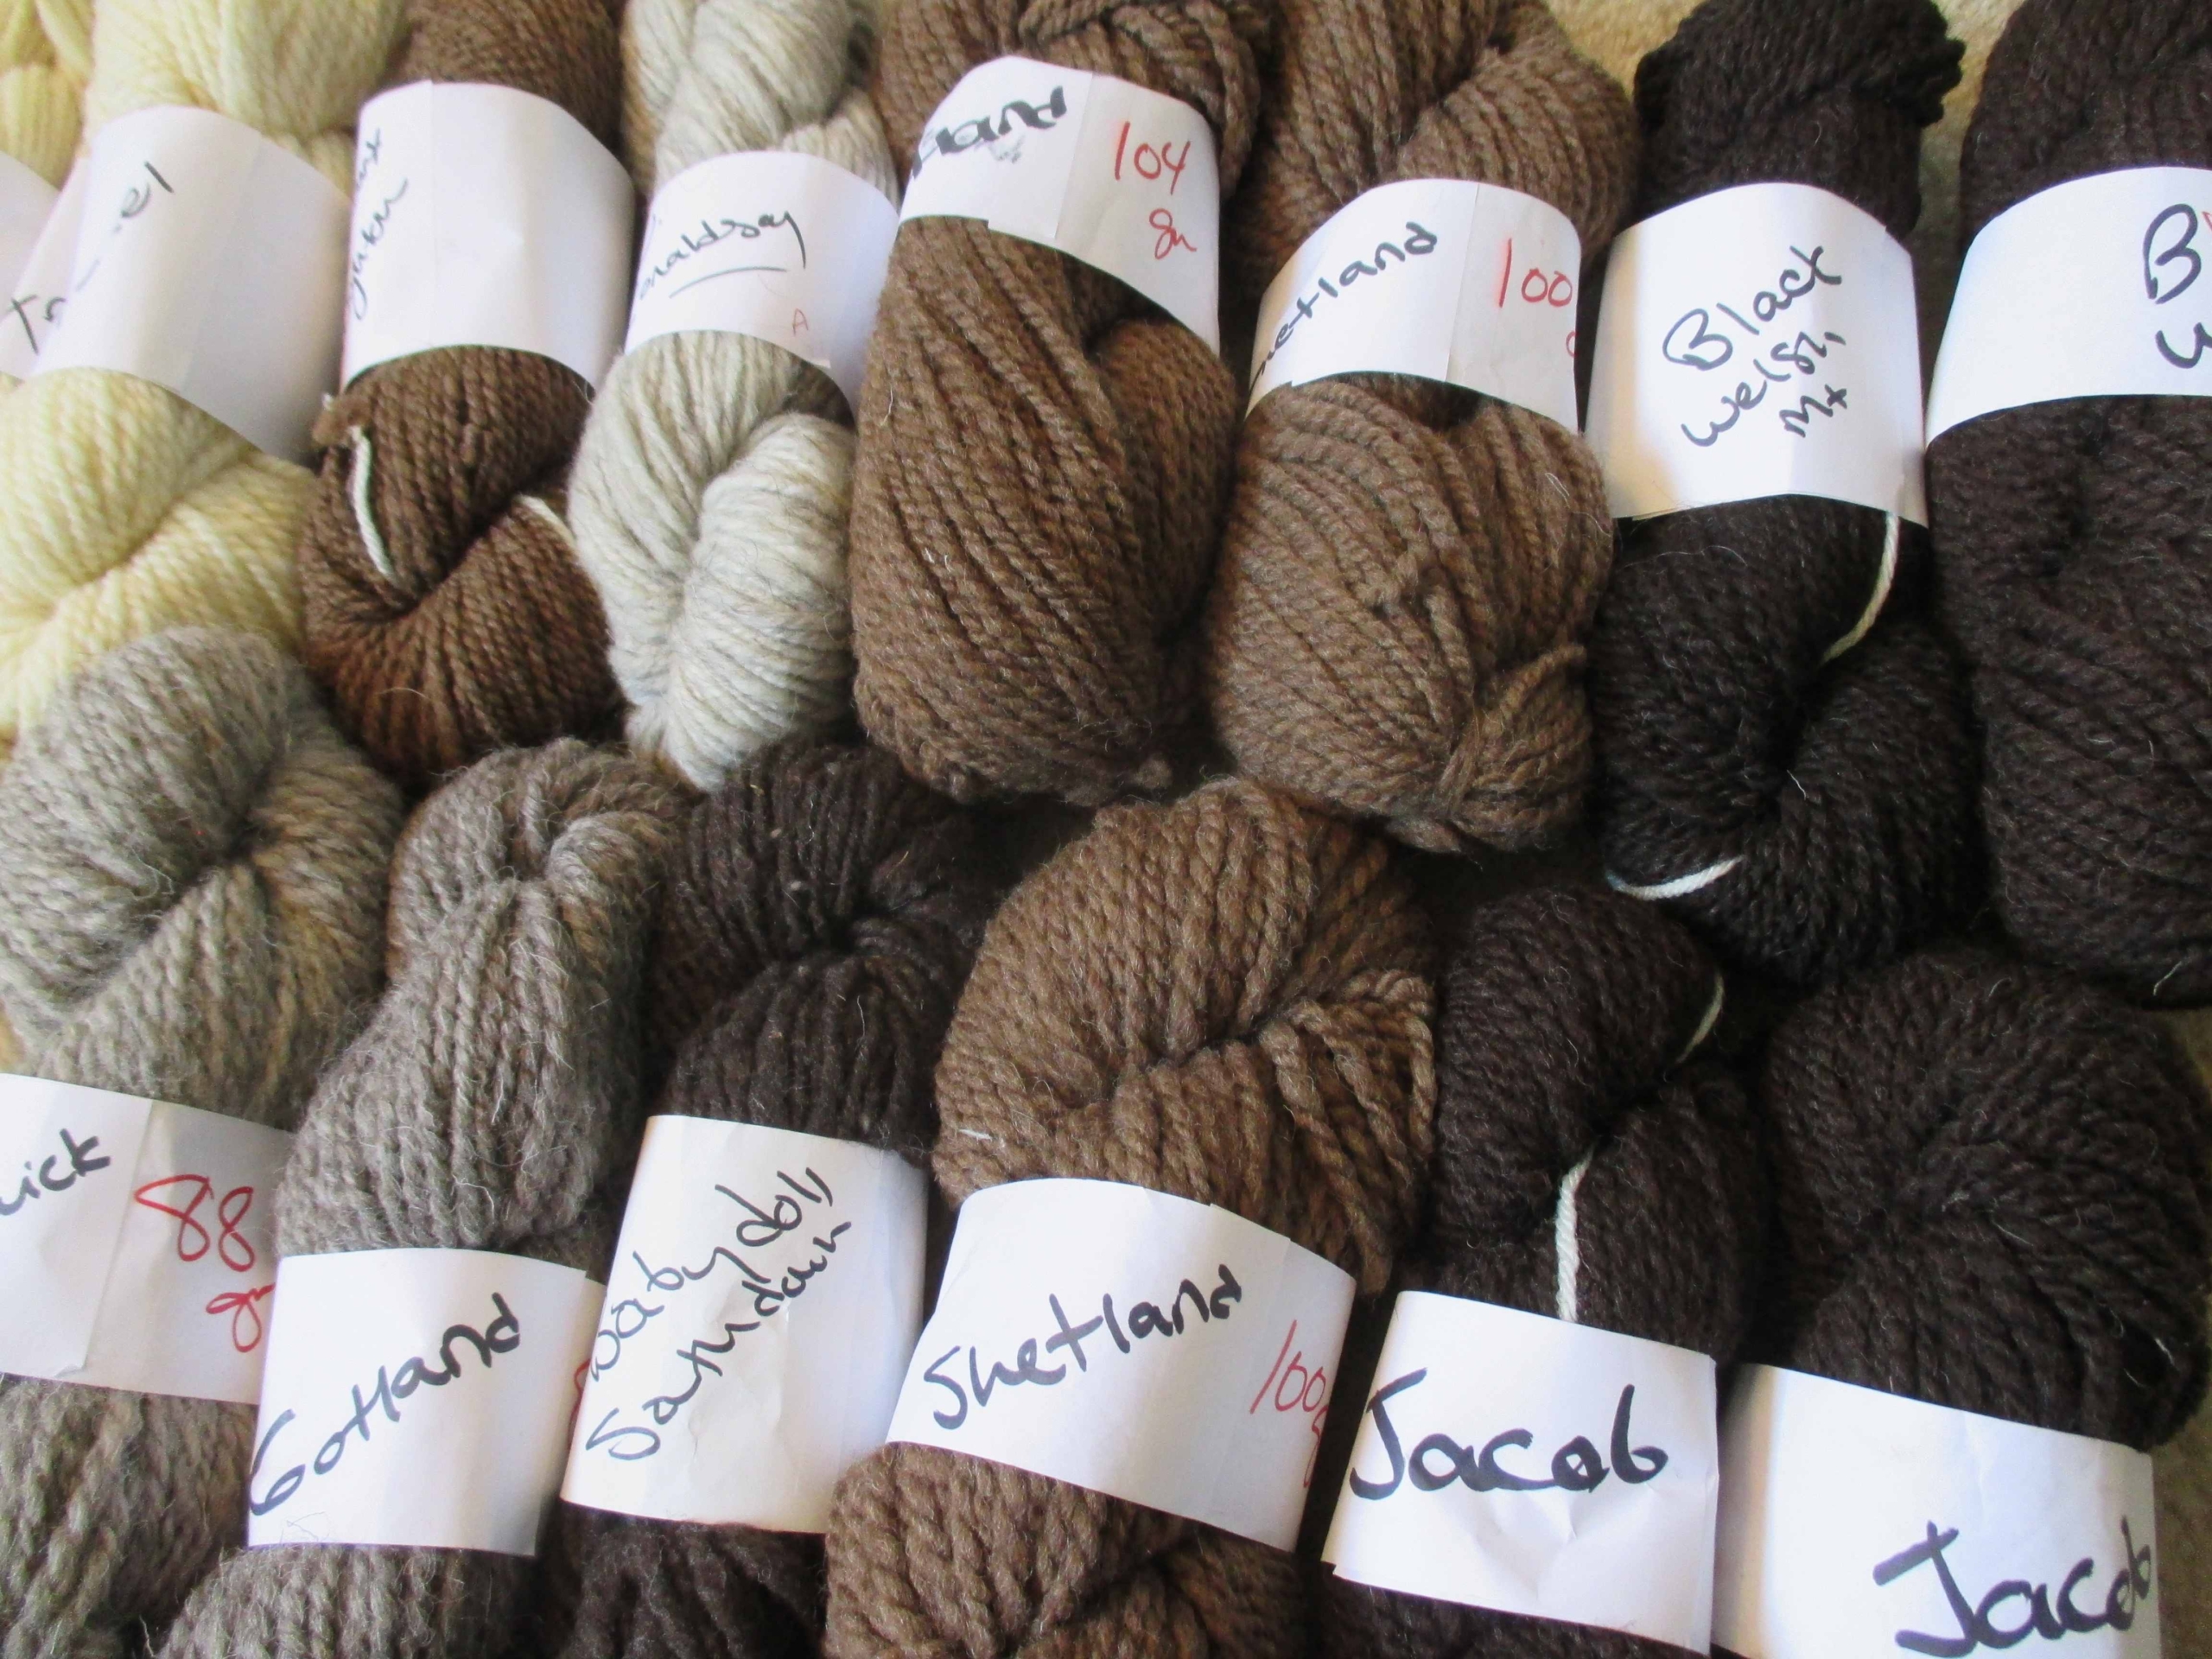
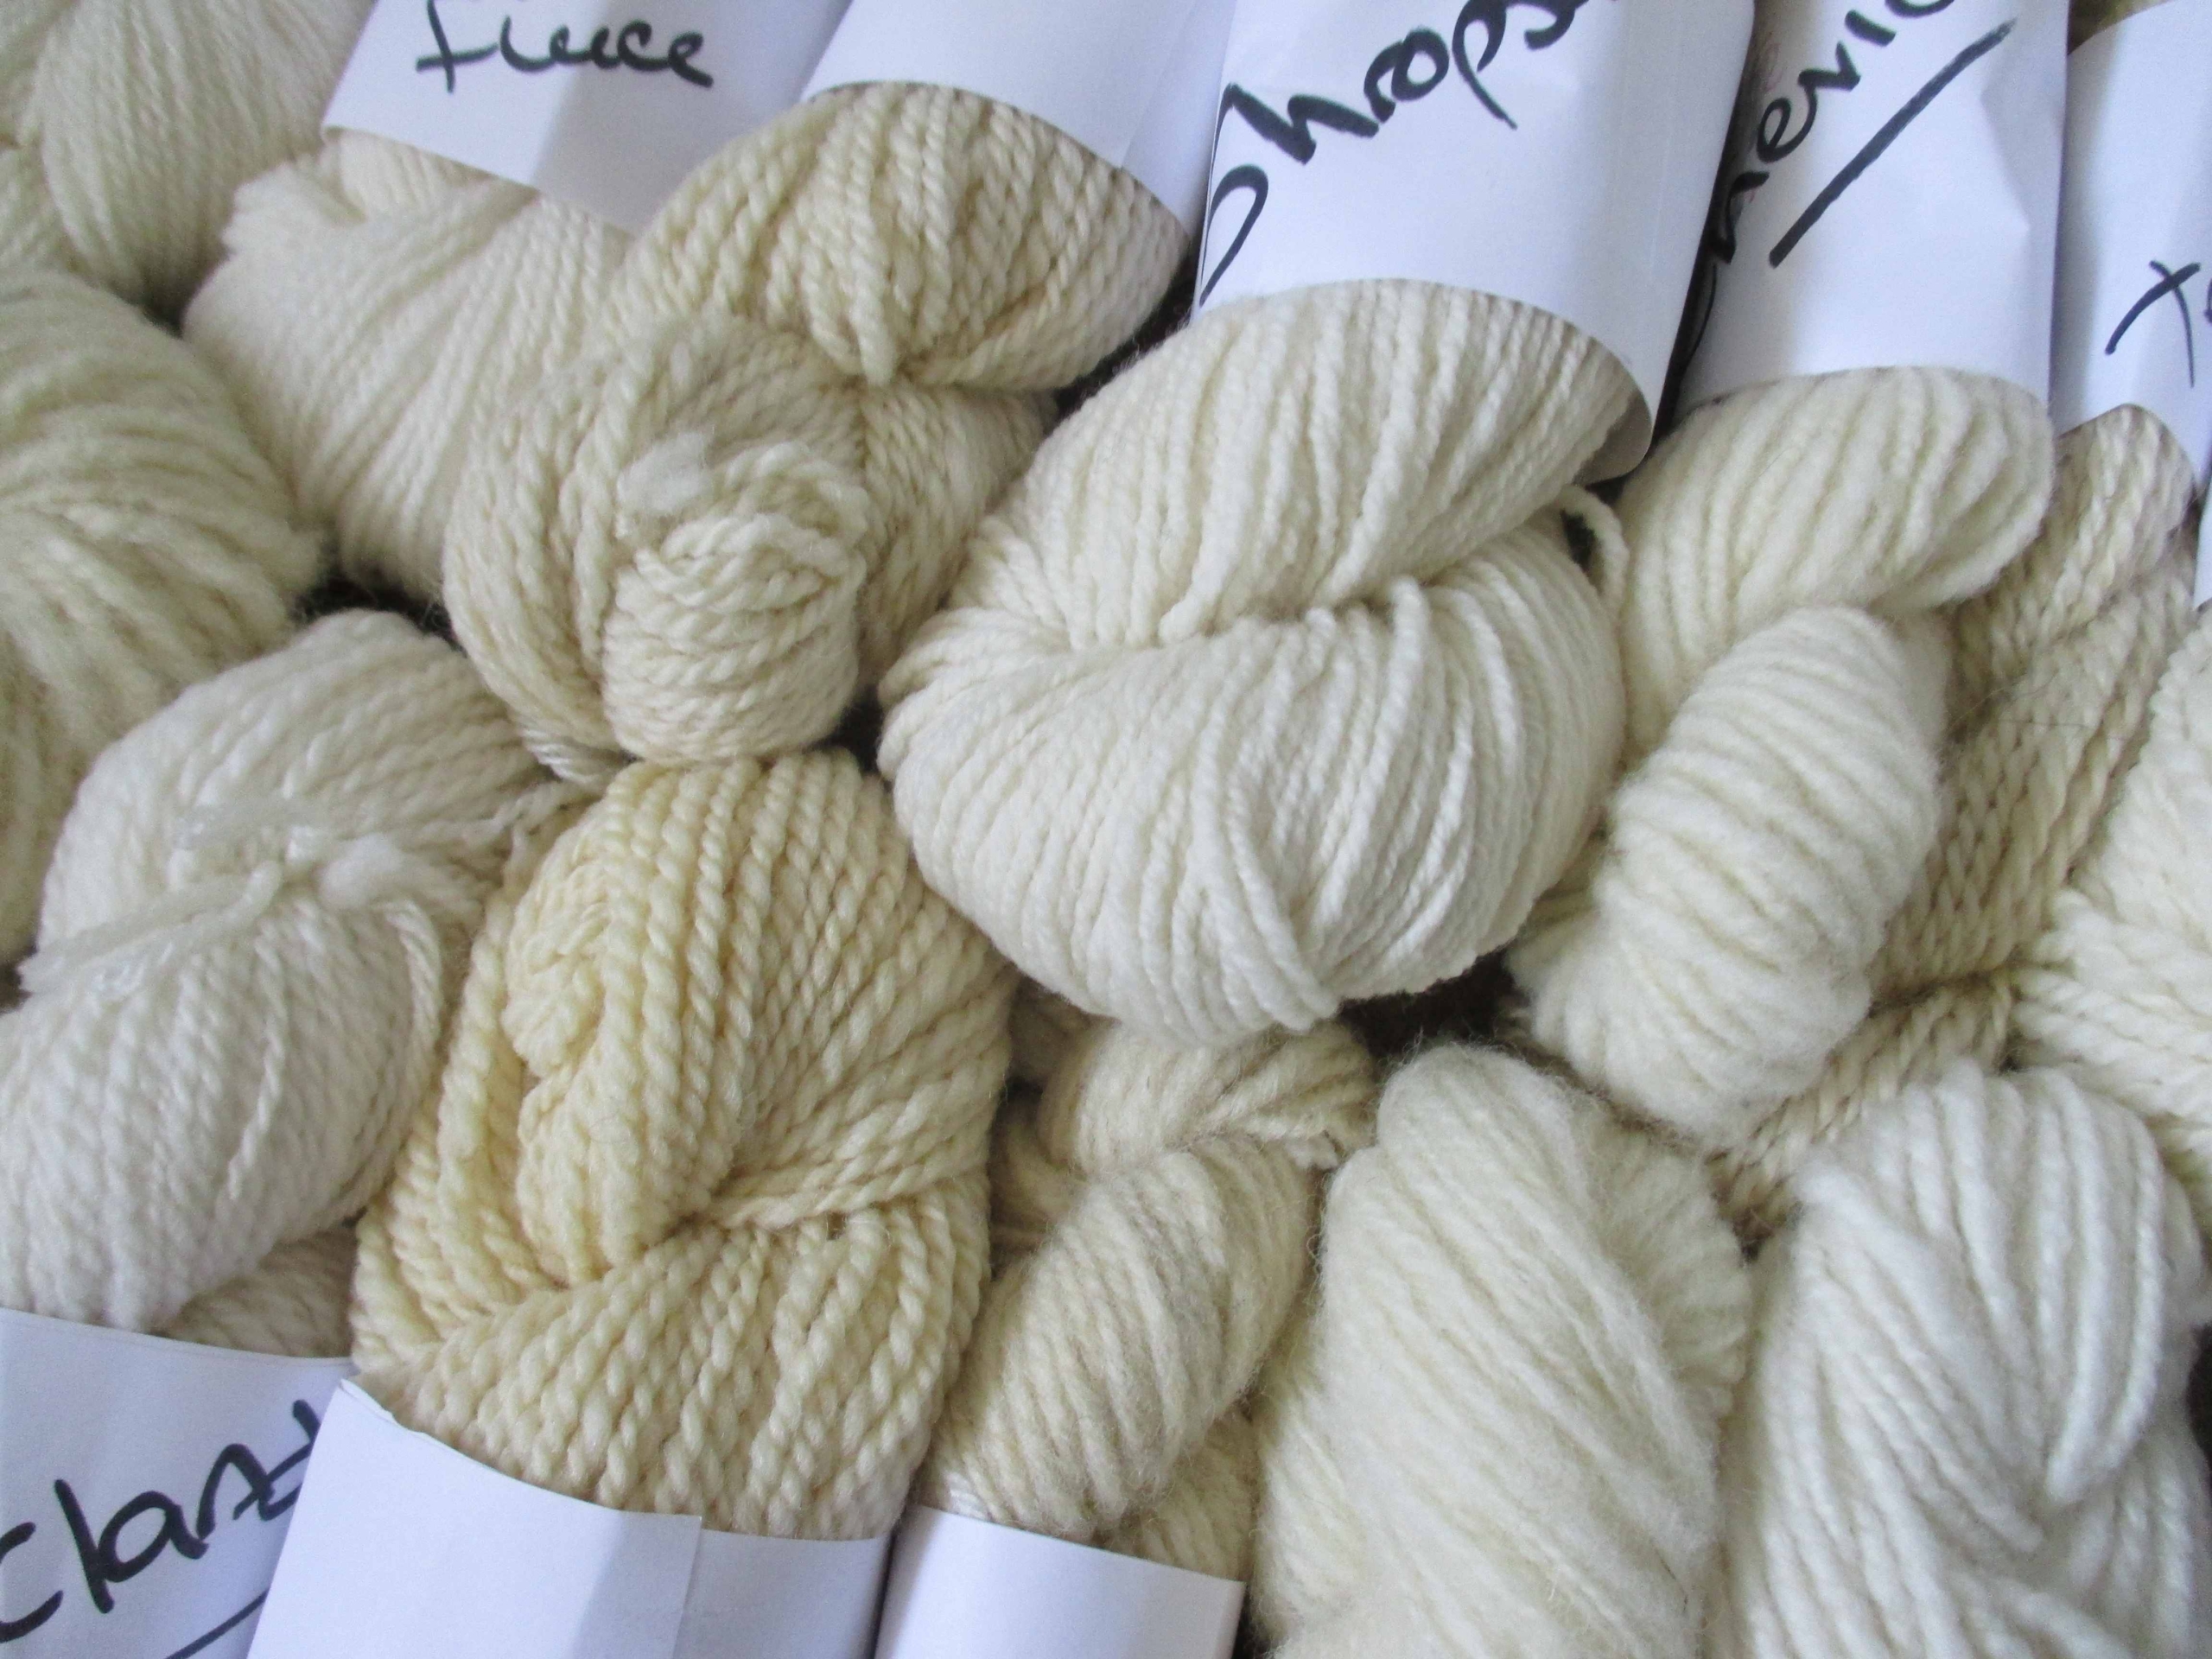
Being a new spinner, I thought it best to spin a little bit of everything, so I started to sample. My first wool was a gorgeous, almost black, Jacob. For every new breed of sheep I came across, I purchased 3-4 ounces of wool and spun a small bit, appreciating the feel of the wool, the coarseness or fineness of the fiber, length of staple, preparation, etc. I learned there really is a difference between the long smooth fibers of commercially prepared combed top and that of a wonky batt hand prepped on a drum carder in someone’s garage! Now I know why I can do a backward long draw with some wool and a short forward with another. I get it!
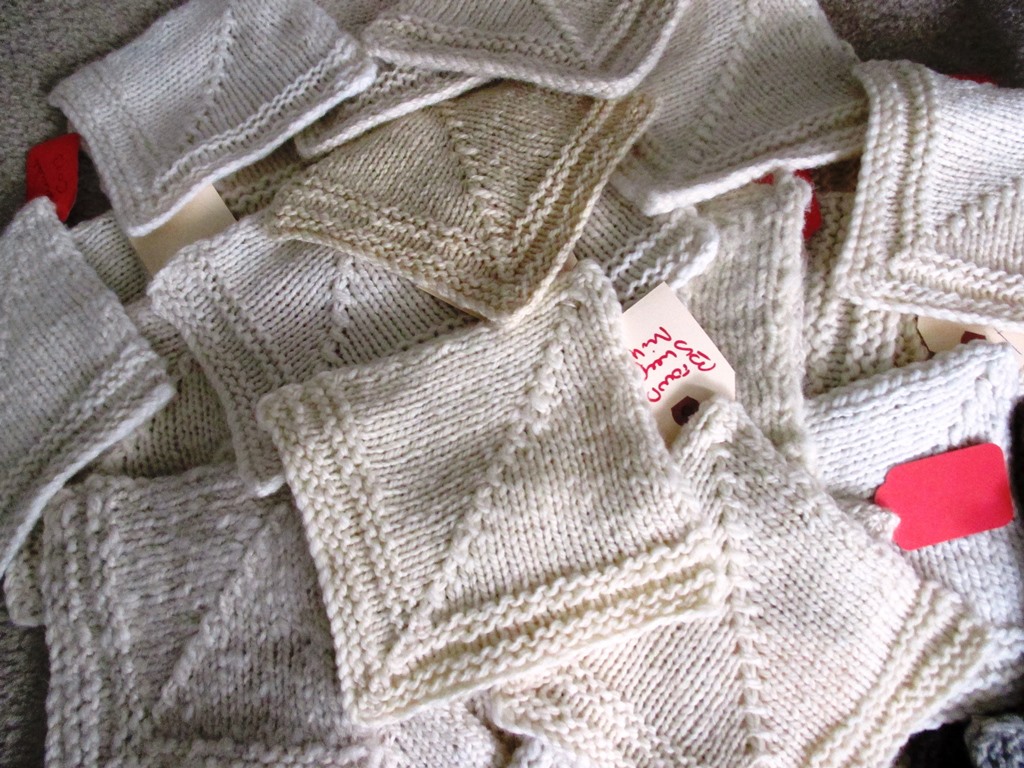
From that 4-ounce purchase, I saved a small bit of fiber as a reference; I spun a mini 1-ounce skein and from that I saved a 3-foot piece of yarn and made sample cards to easily compare one breed of sheep’s wool from another. The remaining wool I spun as it wanted to be spun. Always a 2-ply but with weights varying between lace and bulky. After all, I was sampling.
I continued to collect and spin. I experimented with everything I could find including wool, alpaca, bison, angora, cashmere, and cotton, but I always returned to sheep’s wool. I experimented with raw wool and learned new tools. Now I get why wool cards work one way and wool combs another. I tried various weights of drop spindles and found what did and didn’t work so well. Mostly it was me that didn’t work so well, so back to my wheel I went. Along the way I was seeing sometimes subtle and other times remarkable differences in the colors of wool. What an exciting place to be a beginner.
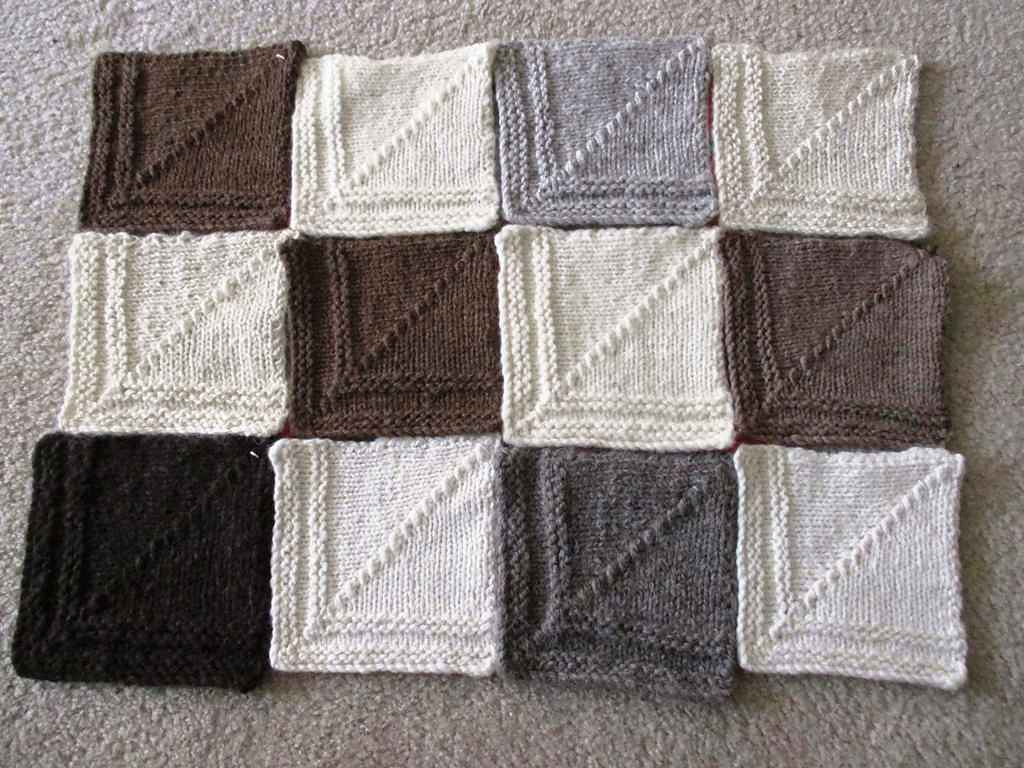
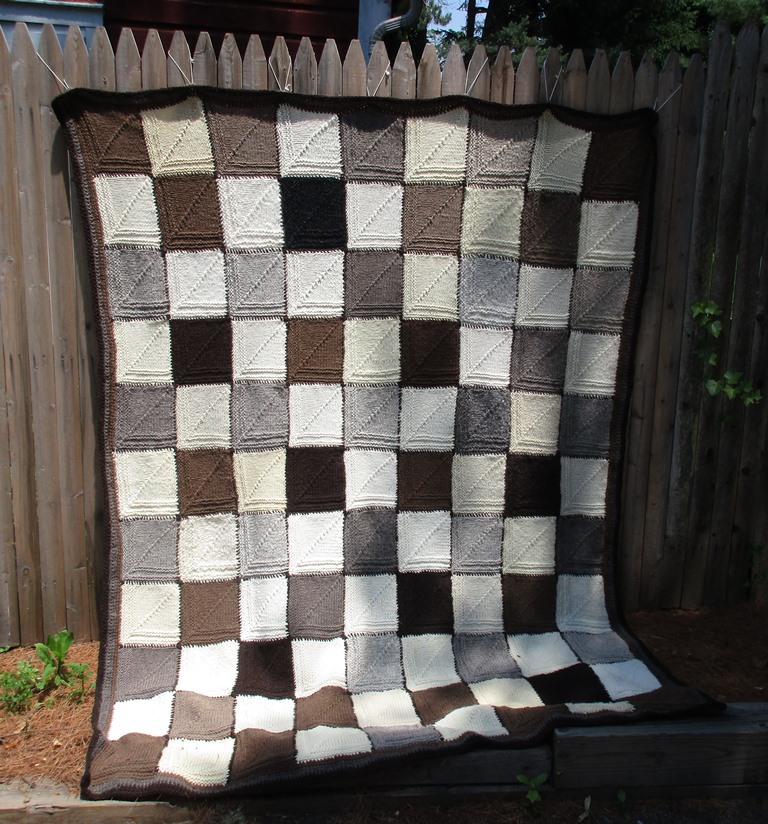
Enthusiasm is what got me into trouble with this project. Honestly, I figured I’d spin only enough yarn to make a couple of hats. But what started out as a skein or two quickly became enough yarn for a rather large blanket. I knew I wanted something that would show the colors of the wool, so I worked out a simple mitered square block pattern incorporating both stocking stitch and garter, along with a decorative decrease for interest. I chose a 6.5-inch square for a size I thought would be manageable to both knit and assemble.

What started with several ounces of Jacob fiber grew into a 7-pound 5-ounce blanket. I called this project Jacob & Company since Jacob was my first colored sheep, and he was joined by thirty other breeds along the way.
For this project, the size of the square is irrelevant; it’s the number of squares you have that matters. If you have lighter weight yarn and your squares are smaller, you’ll need more of them. If you’d like a smaller blanket, make fewer squares. What is important is that the weight of the yarn used be similar throughout the blanket. Because I’d spun at so many different weights, I had to sample again to get a consistent yarn, ultimately choosing a bulky weight. Some yarns I doubled, while others were tripled. My beautiful 2-ply fingering BFL became an 8-ply bulky. For two or three squares, none of that worked and I had to adjust the number of cast-on stitches. This is a breed study of sorts, and the beauty of it is that all the yarns will not match exactly.
The hours of pleasure spent with fiber slipping through my fingers are uncountable. If the journey was spinning, then knitting was my destination. My blanket is complete and should keep all who use it cozy and warm for many years to come.
I used a US 8 (5mm) circular needle to knit all squares, and a size K/10.5 (6.5mm) crochet hook to finish the outside edging.
Finished measurements
99 squares made a square blanket 7 feet x 5 feet 5 inches
Gauge
14 stitches over 4 inches of knitting
Stitch guide
Decorative CDD: slip 2 sts tog purlwise, knit 1, pass slipped stitches over knit stitch
Square block pattern
CO 43 sts.
Knit 20 sts, CDD, knit 20 sts.
Knit 1 row.
Knit 19 sts, CDD, knit 19 sts.
Knit 1 row.
Knit 18 sts, CDD, knit 18 sts.
Purl 1 row.
Knit 17 sts, CDD, knit 17 sts.
Knit 1 row.
Knit 16 sts, CDD, knit 16 sts.
Knit 1 row.
Knit 15 sts, CDD, knit 15 sts.
Purl 1 row.
*Repeat the last 2 rows in pattern until 3 sts remain*. Pull yarn end through live stitches and weave in ends.
After knitting, weave in all ends. Soak in very hot water with a few drops of your favorite wool wash for about 30 minutes.
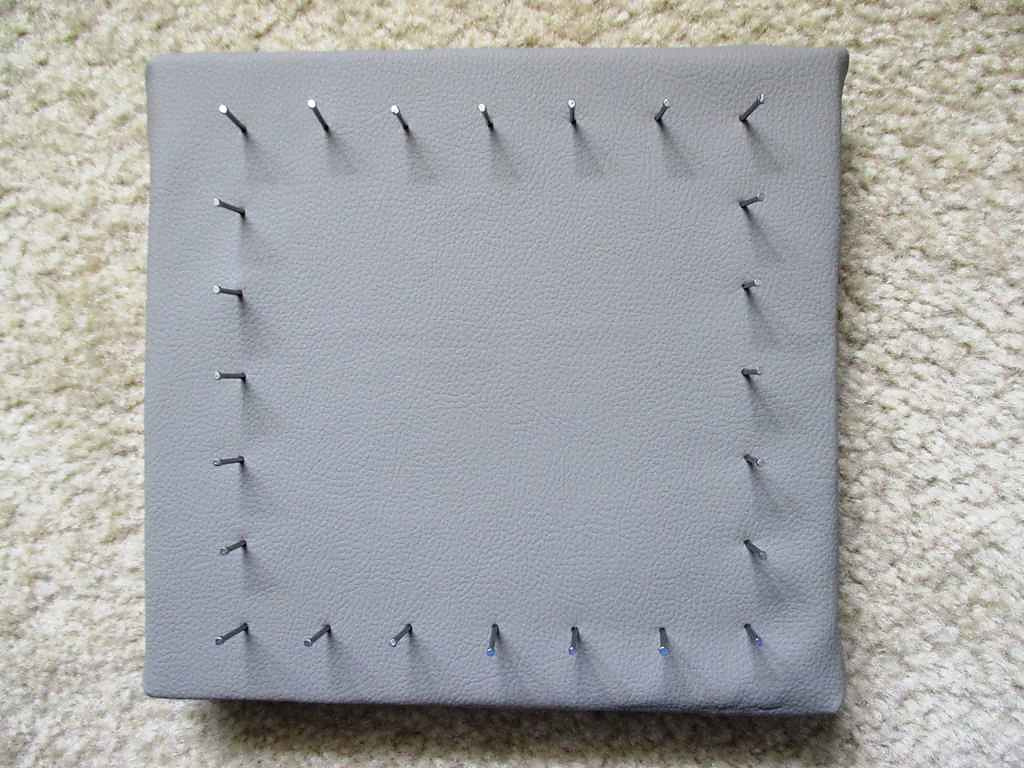
Each breed responds differently to knitting and blocking so I recommend a blocking square. I used a 7-inch square piece of wood covered with vinyl leather with nails placed around the edges at 6.5 inches. The covering was there only to prevent any snags of the wool from the wood.
After soaking, set the knitted piece evenly over the nails and allow to dry overnight. Use a steam iron to set the stitches. If desired, label each square with breed info and any other pertinent information you’d like to keep track of. I made a chart so I can identify all 99 squares and the breed of sheep they come from.
Assembly
Once all of the knitting & blocking is complete, separate the squares into color groups. In a well-lighted room with plenty of space, lay out your blanket to see the big picture. Spend some time here and arrange the colors so no two squares of the same color, shade, or tone are next to each other. Stand back; they will tell you where they need to go. Look for dark spots or light spots. They need to be rearranged. Keep in mind that time of day and room lighting might matter when making your placement choices. 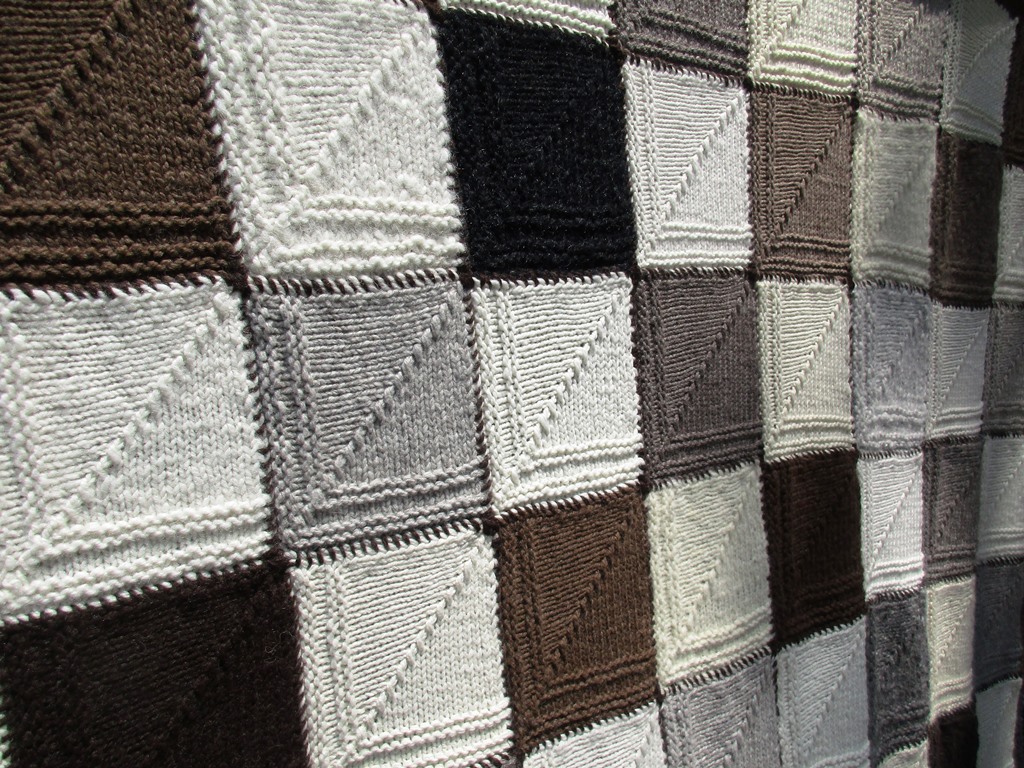
Finishing is done by whip-stitching squares together, followed by a few rows of single crochet around the perimeter using any remaining yarn. Enjoy!
Jacob & Company wool sheep breeds
Ardennais Roux
Babydoll South Down
Black Welsh Mountain
Bluefaced Leicester
Cheviot
Columbia / Rambouillet
Coopworth
Cormo
Corriedale
CVM
Eider
Faroe
Falkland
Finn
Gotland
Herdwick
Hog Island
Icelandic
Jacob
Manx Loaghtan
Navajo Churro
North Ronaldsay
Norwegian
Perendale
Polworth
Romney
Shetland
Shropshire
Teeswater
Texel
Targhee
A life-long crafter, Karen Hoover is a handknitter, machine knitter, crocheter, and spinner. With the support of a patient and generous husband, she has used their travels to enhance her knowledge of fiber arts as well as expand her stash. She is a Master Machine Knitter (TKGA), and a Master of Advanced Crochet Stitches and Techniques (CGOA). When not at home crafting, she is a volunteer gardener at Tyler Arboretum in Media, PA, or can be found devouring genealogy websites in search of those who came before. Her Ravelry handle is KnitHappyDesigns.


Leave a Reply
Want to join the discussion?Feel free to contribute!