Mixing Things up for a Sweater
words and photos by: Johanna Carter
I always admire those who are able to spin mountains of yarn for a big project, ready to knit a wonderful sweater or cardigan. It is a satisfying feeling when you finish all that work, especially if you started with washing and combing the wool or even raising your own sheep.
Mixing spinning and knitting
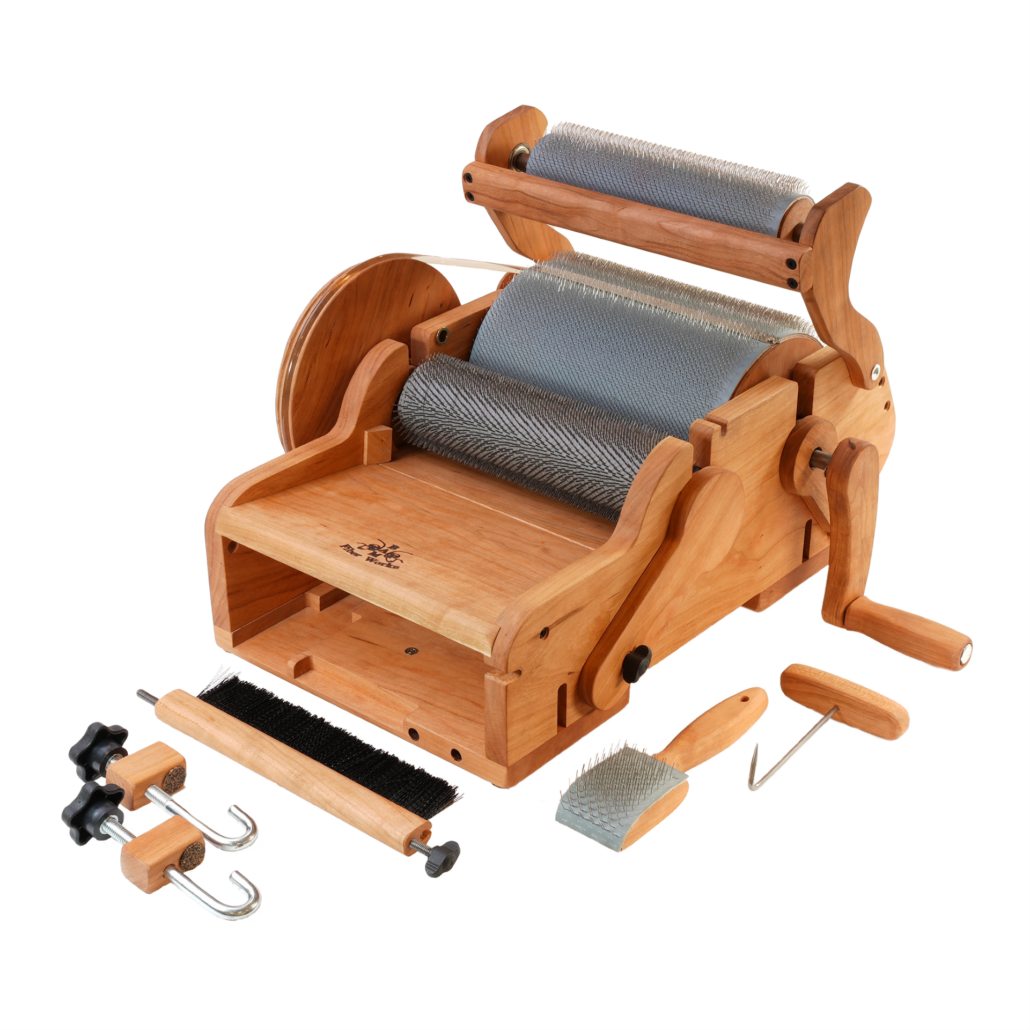
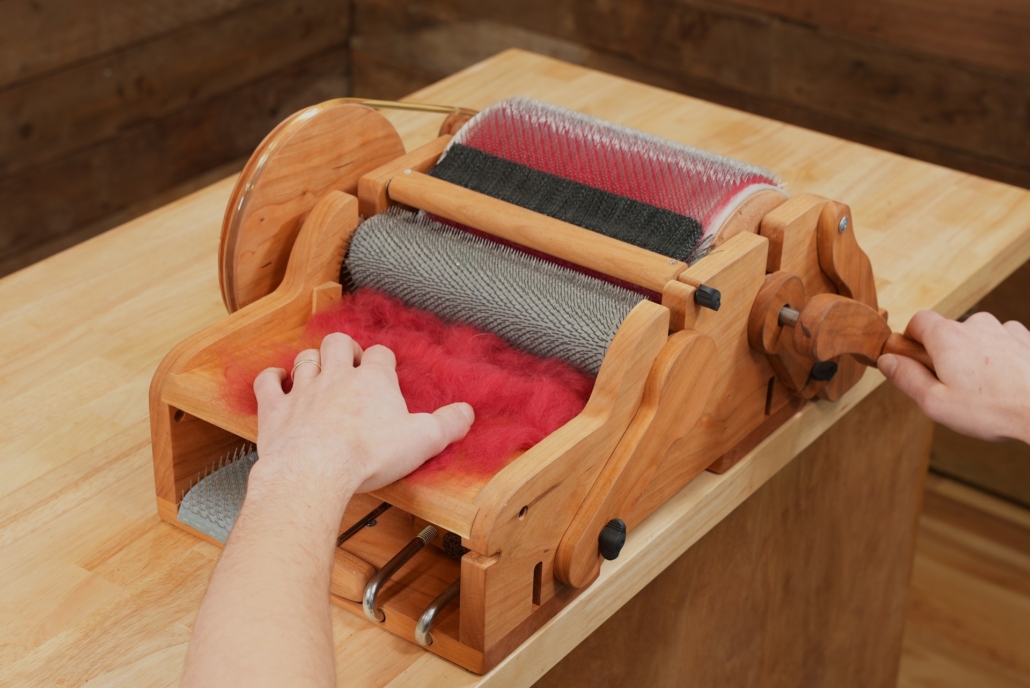
The typical way to work through a larger project is to spin all the singles first and ply them in a particular order so you get the yarn even throughout the whole project. I don’t have so many bobbins, but my bigger problem is that I am quite impatient and want to get on with knitting once I have an idea. And normally, my brain is full of ideas for fibre work and the limit is the time, as I am a musician and teacher. I can’t sit at the spinning wheel for a long time if I’m not on holiday, so during the school year I mostly knit, and during the holidays I can dye, spin, use my drum carder, and do lots of fibre work. The only time I was able to produce bigger quantities of yarn before I knitted them up was during the Tour de Fleece in the two years during the pandemic, when we did not go on holiday at the beginning of July.
I like to finish knitting one big project like a sweater or cardigan before I start the next one, or at least until I can’t carry it in my bag easily anymore, so I have an excuse to begin the next one. Sometimes it is good to have a second project on the go – I call it mindless knitting, where I don’t have to look very much – which I can keep my hands busy during Zoom or other meetings, which helps me listen.
Mixing colours and fibres
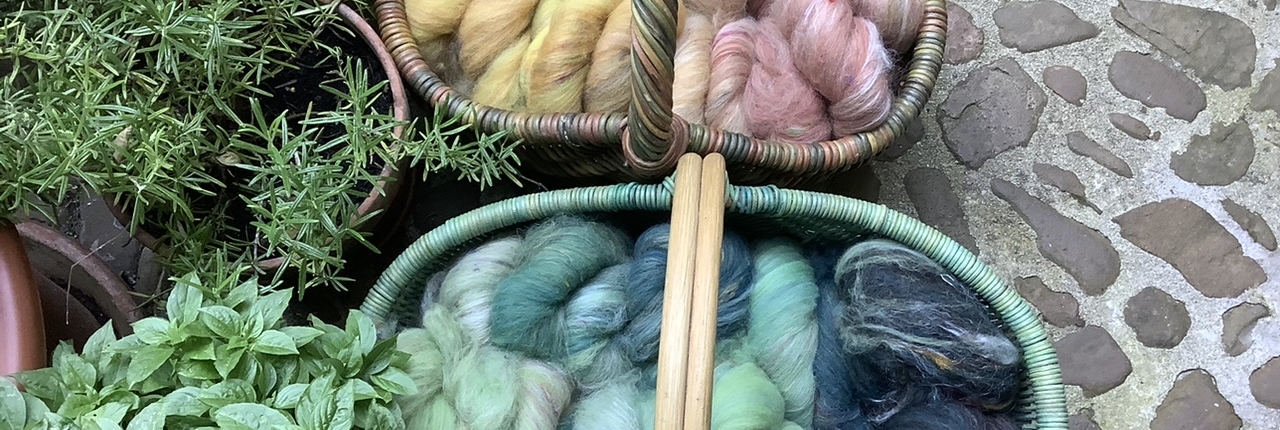
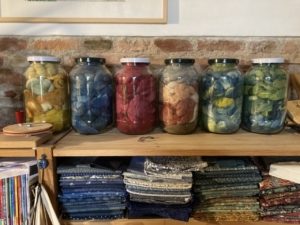
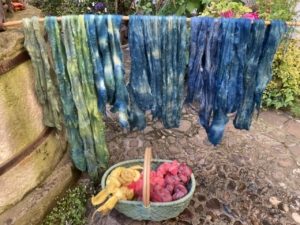
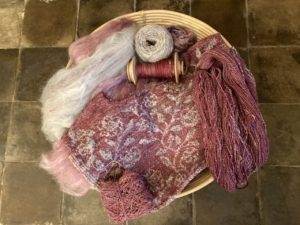
Usually I dye my yarn with plants which I collect in the woods or get from garden flowers. I also use cochineal and indigo, which I buy, to get lots of different colours. I really love the greens and blues I get from dyeing with indigo. I have lots of dyed wool, and all those colours give me inspiration for further projects.
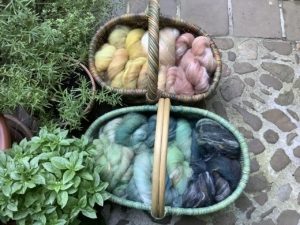
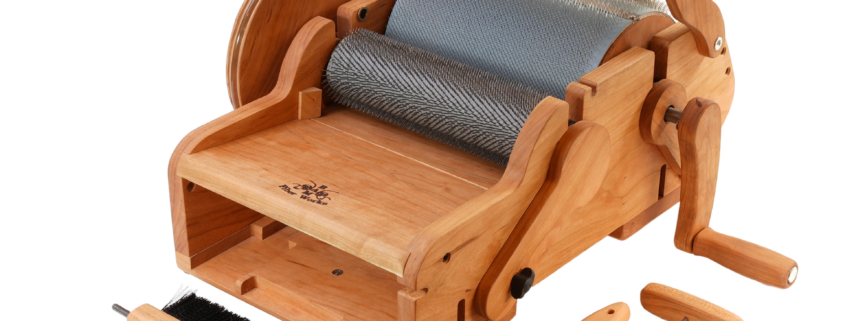
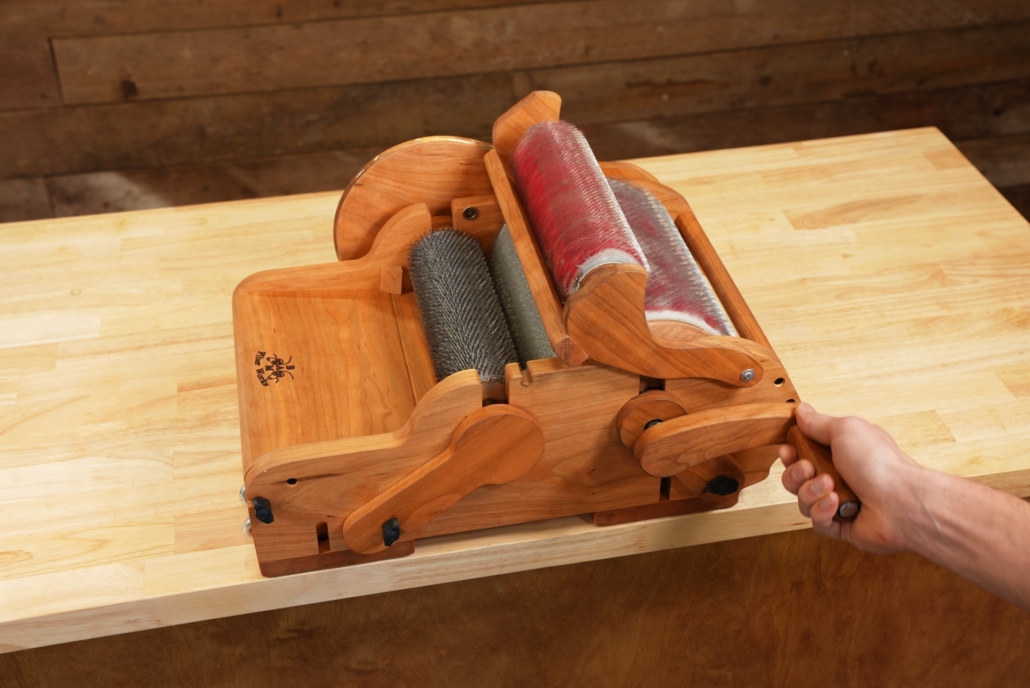
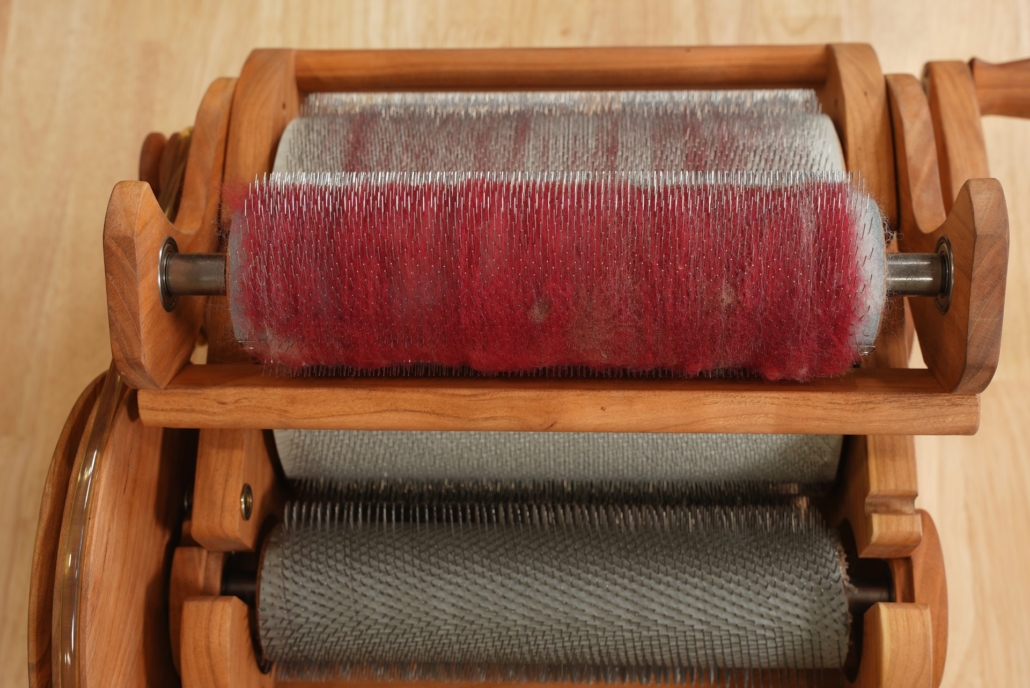
Blending the wool on the drum carder I can get even more shades. I like to blend with fibres like silk, alpaca, or plant fibres, and I love sari silk, to get those little bits of colour in my yarn.
When I have an idea for the next sweater, I start carding, and then I can begin to spin. Once I have spun enough yarn – say, for one day – I cast on and start knitting, usually top down, so I don’t have to decide too much in advance about length and width.
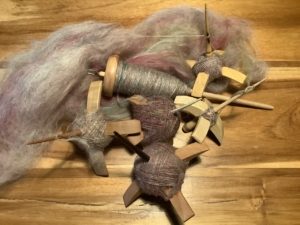
When I spin on my wheel, I have to sit at home, but while spinning I can read a book or talk to others during online meetings. I also like to spin on my spindles, and that works on a walk, or a museum visit. I take them on holiday as they don’t need much space, and when I spin for a lace shawl, I don’t even need much wool either. At home there are spindles all over the place; I can spin when I am waiting for the kettle to boil, when the computer is slow, when I am cooking. Like that I can make good use of a short time and the yarn still grows.
I can take my knitting almost everywhere, which is why I don’t want to wait to get started until I have spun all the yarn for a whole sweater. I knit at home, on the bus or train. The only thing I have to make sure of is to be one step ahead with the yarn.
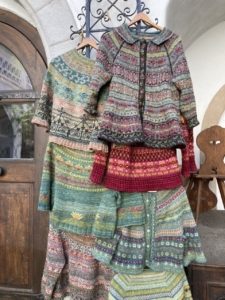
I love to knit Fair Isle sweaters. My favourite method is to use only one bobbin, which I don’t even fill, because I need smaller quantities of lots of colours. Then I wind a ply ball and ply it on itself. For that I put my thumb through the ball, so I can tension the two singles with my fingers and they don’t get tangled, as long as my thumb (or a cardboard roll or a pencil) stays in the middle. I don’t have any leftovers from plying, and it is quick when I suddenly need more yarn.
I have never had problems with the yarn not being consistent enough throughout a project. I just know what yarn I want and my fingers seem to remember what to do. I am sure it is good advice to have a little card tied to the spinning wheel with a bit of the singles you are aiming for, so you can check and make sure you are spinning a consistent yarn.
Mixing breeds
There are so many different breeds, but some of my favourites are Shetland, BFL, and Jämtland – a Swedish breed. After dyeing them, I often forget what I have used, so when I do a new project it often turns out that I have used different breeds and fibres just to get the right colour. For the Fair Isle knitting I want to juggle lots of colours, which is more important to me than making a sweater out of only one breed.
Recently I made a pullover for my husband using about 12 different breeds and colours, even mixing short and long draw. For me it was a breed experiment and a way to use up lots of smaller quantities of wool I had in my stash. For that sweater I used combed top without blending.
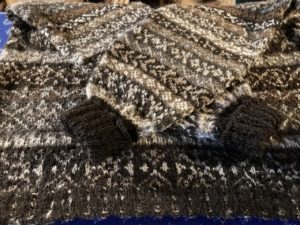
Mixing in knitting during the spinning process is a wonderful way for a spinner to avoid being overwhelmed during a sweater project.
My feeling is that some people don’t dare to start spinning for a bigger project because they get overwhelmed by the quantity they have to spin and then all the knitting there is to do, especially when you want to spin the yarn entirely on spindles. Mixing the spinning and knitting for the same project is more interesting; you get more variety and more freedom to choose what you want to do next as long as you don’t run out of yarn. It breaks the project down into smaller, less daunting parts. The only thing you might want to plan is to have enough fibre at the start, but even that is not necessary, there is always a sheep growing more wool.
The Secret to Silk Is in Your Hands
Literally … your hands are the secret to spinning silk on its own.
Hand care is important for all spinners, but special attention needs to be paid when dealing with silk. It will catch on everything. Silk will catch on other fibers. It will catch on clothes. It will catch on every hangnail and every dry patch of skin on your hands. If you think I am joking, try petting a length of silk top or mawata. Individual strands of silk will stick to the most unexpected places on your hand, and I promise, your hands are never quite as silky smooth as you might think.
Before spinning silk, I always treat my hands to a oil and salt scrub. Salt is naturally abrasive, which helps remove dead skin cells and increase circulation. Olive oil, my favorite oil to use, is made mostly of essential fatty acids which can also be found in our skin. A component of our skin is linoleic acid, which allows our skin to easily absorb the fatty acids. As a result, the oil forms a protective barrier that essentially smooths out the surface of our skin.

Spinner’s Handscrub
- 1 tsp table salt
- 1 tsp olive oil
Scrub your hands for 30 seconds to a minute with this scrub, paying special attention around your nail beds and the webbing between your fingers. This scrub will also effectively find every papercut you have. If that terrifies you, sub out the salt for sugar for a gentler scrub. I also use this as an opportunity to massage my hand muscles and warm them up for the spinning task ahead.
Smoothing your hands isn’t the only secret to silk success. How you hold it can also be the difference between a fun spin and misery. Silk feels … well, silky smooth, as if it will slip right through your fingers. As a result, many spinners will try to death-grip silk. The problem here is that silk is one of the strongest protein fibers. I promise that in a fight between your hands and silk, the silk will win. Blisters and silk burns are a terrible participation trophy to get.
Depending on how it was processed, it can also have one of the longest staple lengths. If your hands are too close together, it can be nearly impossible to draft. If you find yourself struggling, try moving your hands farther apart and relaxing your grip.
What tips do you have for spinning silk?
Meet the Team: Karen Robinson
In a community like ours, the people are every bit as important as the craft. It may sound cliché, but we aren’t just fiber people. We are fiber people “together.” The team that curates PLY Magazine is small, but mighty. You’ve seen their names at the front of every issue. You may have seen their faces at this or that fiber conference. How much do you really know the magical people who produce PLY?
Over the next few months, we will be interviewing and featuring members of the PLY team here on the blog!
Managing Editor & Copy Editor
Who are you and what is your role with PLY?
I am Karen Robinson, the Managing Editor and Copy Editor for PLY. November will be my 10th anniversary with PLY!
What is your favorite fiber to spin?
BFL, hands down. Though Targhee is awesome, too.
How long have you been a spinner? (or what is your craft of choice?)
Since 2010, so 14 years. I’ve been knitting since 2004, so just hit 20 years at that. Before I learned to spin, I told myself that I’d never be interested in spinning. But then I took a class at a retreat and instantly fell in love with spinning and the rest is history!


What do you do when you aren’t spinning or working on the magazine?
Knitting, of course. Lots of reading (mostly fantasy books). I do other copyediting (mostly fiction) and teach copyediting classes through a university extended studies program. My family and I enjoy playing board games. And our three Boston Terriers and two cats keep us highly entertained.

What is a fun fact about yourself?
I have a PhD in English with a focus on Arthurian literature, so I love all the stories of King Arthur and the knights of the Round Table. One of my bucket list items was to visit Tintagel, which was the birthplace of Arthur in all the stories. And a couple of years ago, I took a trip to England and was able to make that dream a reality. It’s just ruins now, but that rocky promontory overlooking at sea was one of the most magnificent places I’ve visited. My cheeks hurt so much from all the grinning I did at being at that magical location.


What’s your favorite weird fiber fact?
Herdwick sheep are my favorites because I think their faces are absolutely adorable. And we have Beatrix Potter to thank for their continued thriving population in the Lake District in the UK. Not only did she advocate for the breed when she was alive, she left a number of farms to the National Trust after her passing–with the stipulation that each farm retain a specific minimum of Herdwick sheep.
Anything else you’d like to share with our followers?
I’m always happy to talk about fantasy and speculative fiction books, so if you have any recommendations, I’d love to hear them, and let me know if you want any recommendations.
“Feeding Herdwicks, my favorite sheep breed!”
A Spinner’s Spreadsheet
by Jolie A. Elder
While spinning need not be heavily mathematical, in some situations math can be helpful. If you are math-averse, having these calculations in a reference spreadsheet can be a big help.
Disclosure: I have minimal skills at Excel. While my final spreadsheet is not the most elegant, it works. Also, Excel is very sensitive. When it wants “ (straight quotes), it does not want “ (smart quotes). If you are accustomed to word processing software that autocorrects and anticipates your needs, be forewarned that is not Excel. Excel is specific, accurate, and detailed, and expects the same from its users. Human beware!
Convert between yards and meters
Let’s start with a very simple calculation – converting between yards and meters. The conversion numbers are as follows:
1 yard = 0.9144 meters
1 meter = 1.0936133 yards
I start by writing “Length Converter” in cell A1. I use “Merge and Center” to give me a nice title. Then I write “yards” and “meters” in cells A2 and B2.

Since I want to convert from yards to meters, in cell B3 I type
=A3*0.9144
then tap the <return> key. I’ve told Excel to multiply the number in cell A3 by 0.9144, the conversion factor from yards to meters.
Type a number in cell A3 and tap <return>. Success! We can convert yards to meters.
For a double-check, I type “1” in cell A3. I should get “0.9144” in cell B3.

Upon further investigation, I discovered Excel has a convert function already in it! Sweet! The formula is:
=CONVERT(number,”yd”,”m”)
As an alternative, into cell B3 I can type the formula:
=CONVERT(A3,”yd”,”m”)
Then hit <return>. I don’t even need to know or understand the conversion factor.
If you are accustomed to translation software, you might expect to type a number into cell B3 and have Excel translate meters to yards in cell A3. Sadly, Excel does not work this way, unless you know how to program it in VBA. Since we would rather spin than write spreadsheets, let’s not go there. This is why we have friends who are professional engineers. (Thank you to my friend Larry Acuff for confirming that yes, you can upgrade this spreadsheet with VBA code.)
Since I’d like to convert in either direction, I’ll add a few more cells to my spreadsheet. Into cell A5 I write
=CONVERT(B5,”m”,”yd”)
Now I can put a measurement in meters into cell B5 and get the yard equivalent in cell A5.

You may notice rows 3 and 5 are not equivalent numbers. They are two completely separate equations. It would be nice to type either yards or meters into row 3 and have row 5 give me both answers. Can I do that?
This is where we go a wee bit past Excel basics. Time to use the IF function.
I delete all the data in cells A3, B3, A5, and B5. Bye, bye, formulas!
Here’s my thought process. If I enter yards in cell A3, then I want cell A5 to copy that information. But if I left cell A3 blank and instead entered meters in cell B3, then I want Excel to convert those meters to yards. Similarly, I want cell B5 to have meters, whether copied directly from cell B3 or calculated from yards entered in cell A3.
The magic formula for cell A5 is
=IF(TRUE=ISBLANK(A3),CONVERT(B3,”m”,”yd”),A3)
In human-speak that sentence means the following: If it is true that cell A3 is blank, then convert the number in cell B3 from meters to yards; otherwise, copy the number from cell A3.
A rewrite of that formula goes into cell B5
=IF(TRUE=ISBLANK(B3),CONVERT(A3,”yd”,”m”),B3)
Give it a try. I know 6 yards is a little less than 6 meters. What happens when I put 6 in cell A3 and tap <return>?

Cell B3 stays empty. But cell B5 now says 5.4864. That would be a little less than 6. The yard and meter equivalents are both on row 5. More success!
Try clearing A3 and putting a number in B3 instead. I still get yards and meters, but this time the yards were converted and the meters were copied.
Convert between ounces and grams
Wouldn’t it be nice to convert ounces and grams the same way?
I’ll repeat what I just did. I copy cells A1 through B5 and paste them over cells C1 through D5. I change the text to “Mass Converter,” “Ounces,” and “Grams.” Then I change the formulas. All I have to do is put “g” and “ozm” in place of “m” and “yd”. The formulas for C5 and D5 are as follows:
=IF(TRUE=ISBLANK(C3),CONVERT(D3,”g”,”ozm”),C3)
=IF(TRUE=ISBLANK(D3),CONVERT(C3,”ozm”,”g”),D3)
Try playing with it. In my example, I know it is typical for me to spin 100 grams but measure length in yards.

Grist
Since I now have both length and weight on row 5, I could do another calculation – grist.
Grist is a length of yarn per mass of yarn. It is usually expressed as yards per pound, but you could use meters per kilogram, or even bastard units such as yards per gram or meters per ounce. You could even try furlongs per stone or parsecs per solar mass. 😉
For my spreadsheet, I’ll make a grist calculator that gives me yards per pound, yards per kilogram, meters per pound, and meters per kilogram.
I write “Grist Calculator” in cell A6, then I merge and center cells A6 through D6. I write “yards” in cells A8 and B8, “meters” in cells C8 and D8, “pounds” in cells A10 and C10, and “kilograms” in cells B10 and D10.

I want to copy the appropriate measurements into my grist calculator. My yards measurement is in cell A5. I enter
=A5
into cells A7 and B7. For meters I enter
=B5
into cells C7 and D7.
I’ll need to do some conversions for pounds and kilograms. The pound cells are A9 and C9. I’m back to using the convert function:
=CONVERT(C5,”ozm”,”lbm”)
Finally, cells B9 and D9 convert grams to kilograms:
=CONVERT(D5,”g”,”kg”)
I have all the numbers where I need them. I just need to do some division.
Cell A11 is going to be yards per pound. I enter
=A7/A9
That gives me a number representing yards per pound. If I copy and paste cell A11 into cells B11, C11, and D11, Excel thoughtfully realizes the division I want. I now have grist expressed four different ways in row 11.
I could use row 12 to write “yds/lb,” “yds/kg,” “m/lb,” and “m/kg.” But if I want to be fancy, there are a couple things I can do. First, grist is rarely expressed in decimals. It is nearly always rounded to a whole number. Second, it would be nice to have the units in the box right next to the answer. I highlight A11. In the Format menu I choose “Cells…” or hit ⌘1. From “Number” I go to the bottom and choose “Custom”. In the box I type
0 “yds/lb”
and click <OK>.

Now A11 gives me a whole number in yds/lb!
Repeat this approach for cells B12, C12, and D12, giving each the correct units.
Other notes
At the end, I draw thick box borders around each section of the spreadsheet. I haven’t added background color to any cells, but I could do that if I wanted to clarify where to input data or to highlight the answers.
To use this spreadsheet, I merely empty all the cells in row 3.

There are some error messages. Excel does not like to divide by 0. And this spreadsheet is not idiot-proof. I should enter only one number in either A3 or B3, not both. Similarly, I enter only one number in C3 or D3, not both.
There are ways to refine this spreadsheet using more advanced skills in Excel. For example, there are ways to hide the zeros or prevent Excel from attempting to divide by zero. But for most of us, saving this as a spinner’s spreadsheet or a grist calculator will work just fine.

Jolie Elder has explored a wide range of needle arts after learning to cross stitch at age four. Her cleverest unvention is a method for working stockinette-based laces reversibly. You can view her experiments at jolieaelder.blogspot.com and the YouTube channel Jolie knits.
Leave a Reply
Want to join the discussion?Feel free to contribute!