Mixing Things up for a Sweater

words and photos by: Johanna Carter

I always admire those who are able to spin mountains of yarn for a big project, ready to knit a wonderful sweater or cardigan. It is a satisfying feeling when you finish all that work, especially if you started with washing and combing the wool or even raising your own sheep.

Mixing spinning and knitting

The typical way to work through a larger project is to spin all the singles first and ply them in a particular order so you get the yarn even throughout the whole project. I don’t have so many bobbins, but my bigger problem is that I am quite impatient and want to get on with knitting once I have an idea. And normally, my brain is full of ideas for fibre work and the limit is the time, as I am a musician and teacher. I can’t sit at the spinning wheel for a long time if I’m not on holiday, so during the school year I mostly knit, and during the holidays I can dye, spin, use my drum carder, and do lots of fibre work. The only time I was able to produce bigger quantities of yarn before I knitted them up was during the Tour de Fleece in the two years during the pandemic, when we did not go on holiday at the beginning of July.

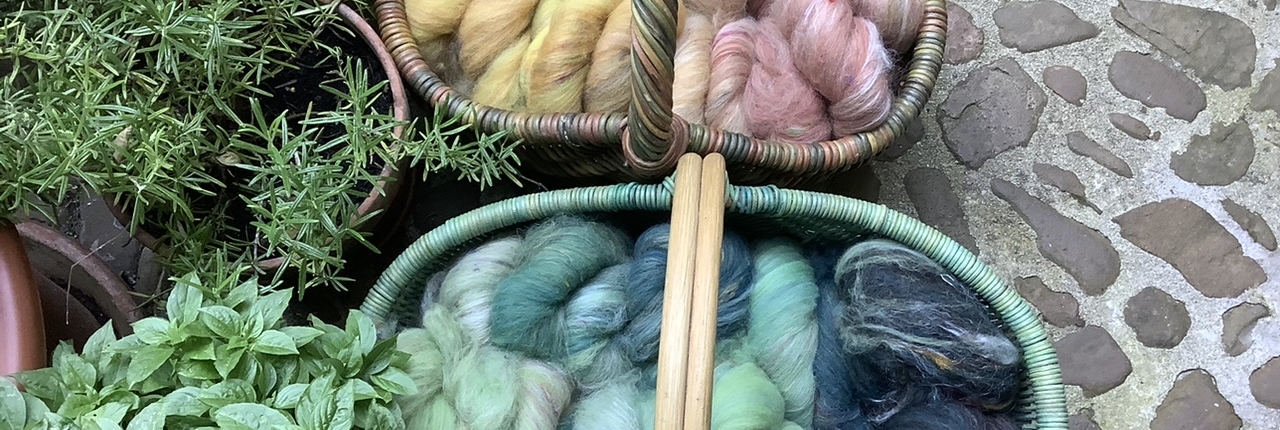
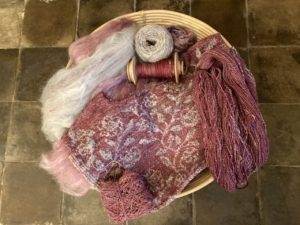
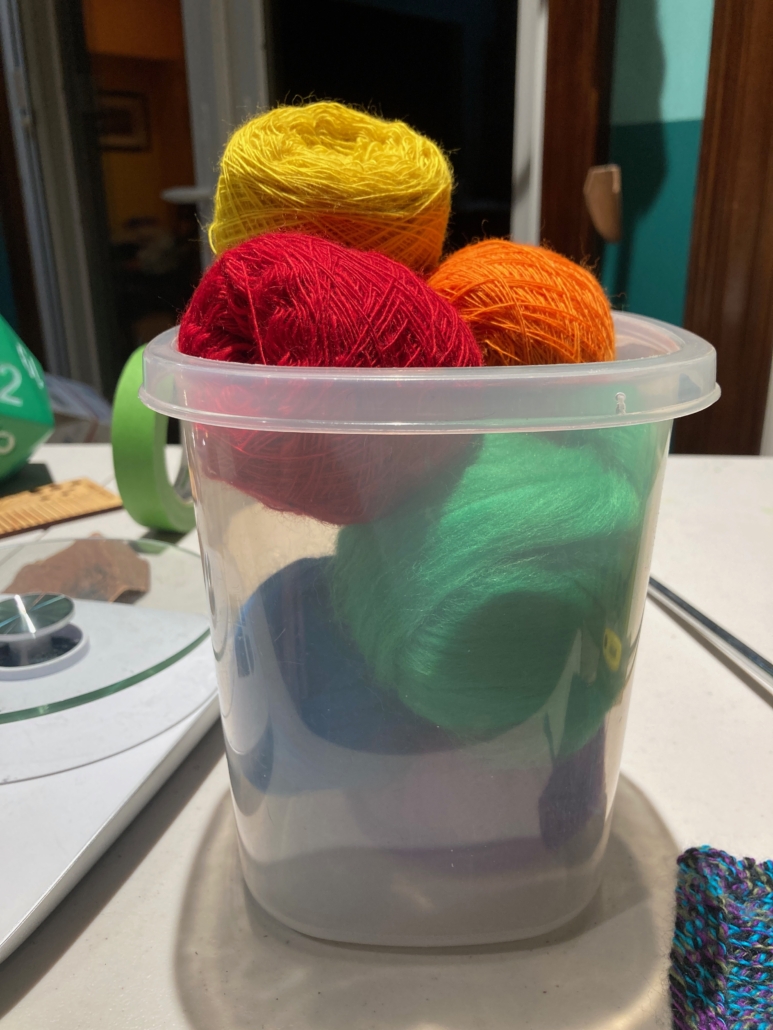
A highly photogenic collection of naturally dyed fibres.

I like to finish knitting one big project like a sweater or cardigan before I start the next one, or at least until I can’t carry it in my bag easily anymore, so I have an excuse to begin the next one. Sometimes it is good to have a second project on the go – I call it mindless knitting, where I don’t have to look very much – which I can keep my hands busy during Zoom or other meetings, which helps me listen.

Mixing colours and fibres

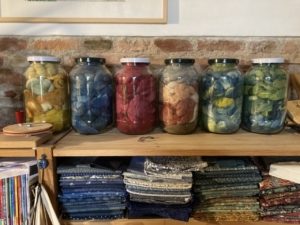
Usually I dye my yarn with plants which I collect in the woods or get from garden flowers. I also use cochineal and indigo, which I buy, to get lots of different colours. I really love the greens and blues I get from dyeing with indigo. I have lots of dyed wool, and all those colours give me inspiration for further projects.

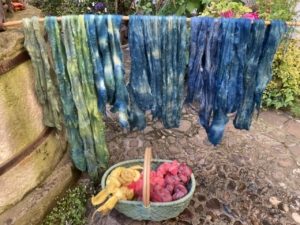
Beautiful greens and blues dyed by the author using indigo and other natural dyes.

Blending the wool on the drum carder I can get even more shades. I like to blend with fibres like silk, alpaca, or plant fibres, and I love sari silk, to get those little bits of colour in my yarn.

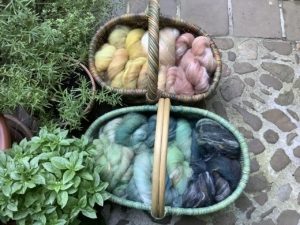
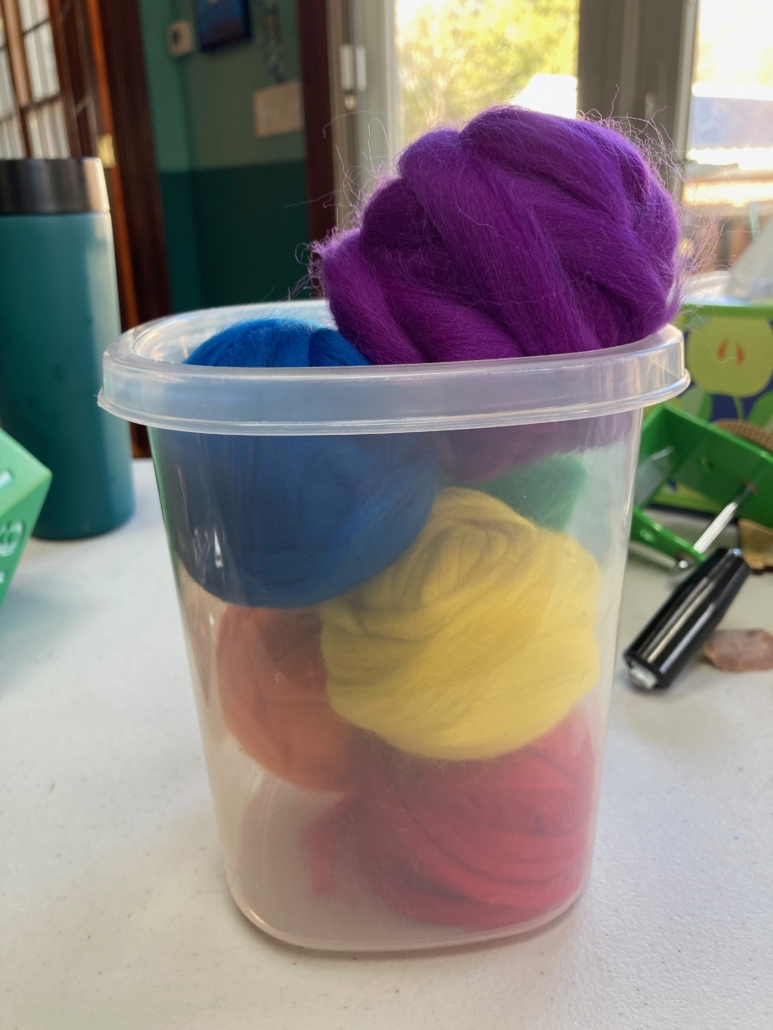
Fibres of different types and colours are blended on a drum carder for elegant results.

When I have an idea for the next sweater, I start carding, and then I can begin to spin. Once I have spun enough yarn – say, for one day – I cast on and start knitting, usually top down, so I don’t have to decide too much in advance about length and width.

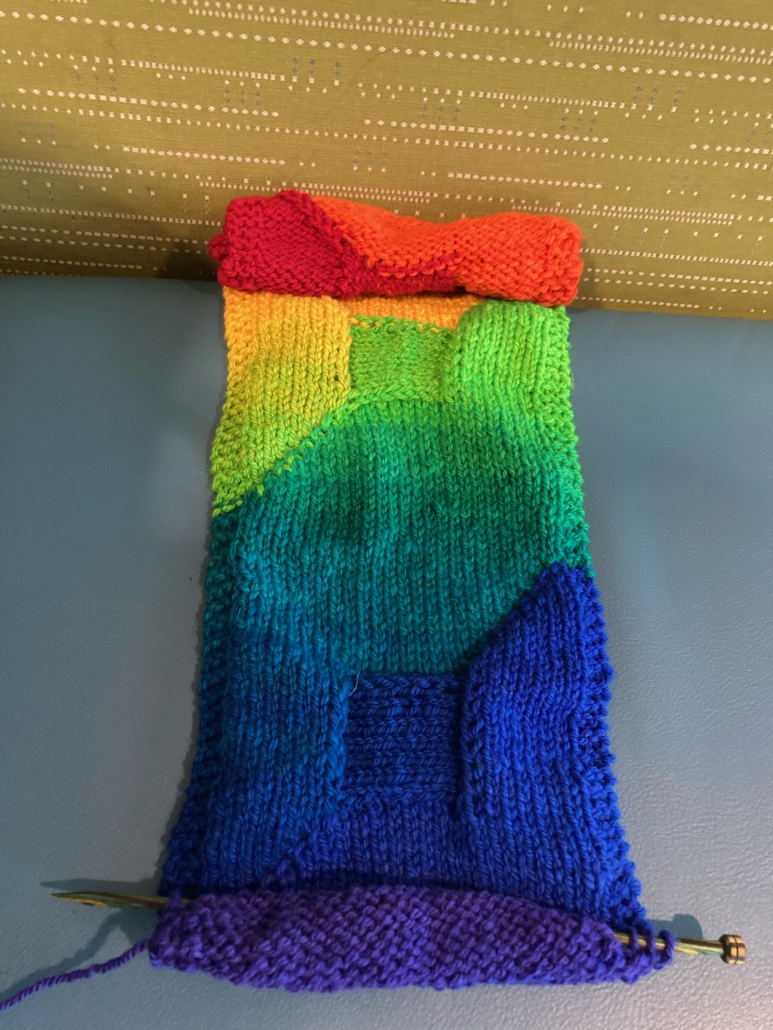
An idea for the author’s next sweater in the gathering stages.

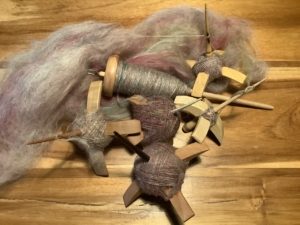
When I spin on my wheel, I have to sit at home, but while spinning I can read a book or talk to others during online meetings. I also like to spin on my spindles, and that works on a walk, or a museum visit. I take them on holiday as they don’t need much space, and when I spin for a lace shawl, I don’t even need much wool either. At home there are spindles all over the place; I can spin when I am waiting for the kettle to boil, when the computer is slow, when I am cooking. Like that I can make good use of a short time and the yarn still grows.

Knitting as soon as the yarn is spun helps the author complete sweater projects in a timely manner.

I can take my knitting almost everywhere, which is why I don’t want to wait to get started until I have spun all the yarn for a whole sweater. I knit at home, on the bus or train. The only thing I have to make sure of is to be one step ahead with the yarn.

I love to knit Fair Isle sweaters. My favourite method is to use only one bobbin, which I don’t even fill, because I need smaller quantities of lots of colours. Then I wind a ply ball and ply it on itself. For that I put my thumb through the ball, so I can tension the two singles with my fingers and they don’t get tangled, as long as my thumb (or a cardboard roll or a pencil) stays in the middle. I don’t have any leftovers from plying, and it is quick when I suddenly need more yarn.

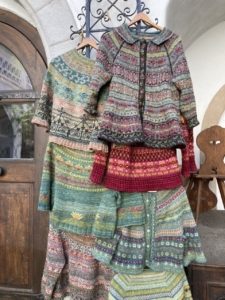
Several charming sweaters dyed, spun, and knit by the author.

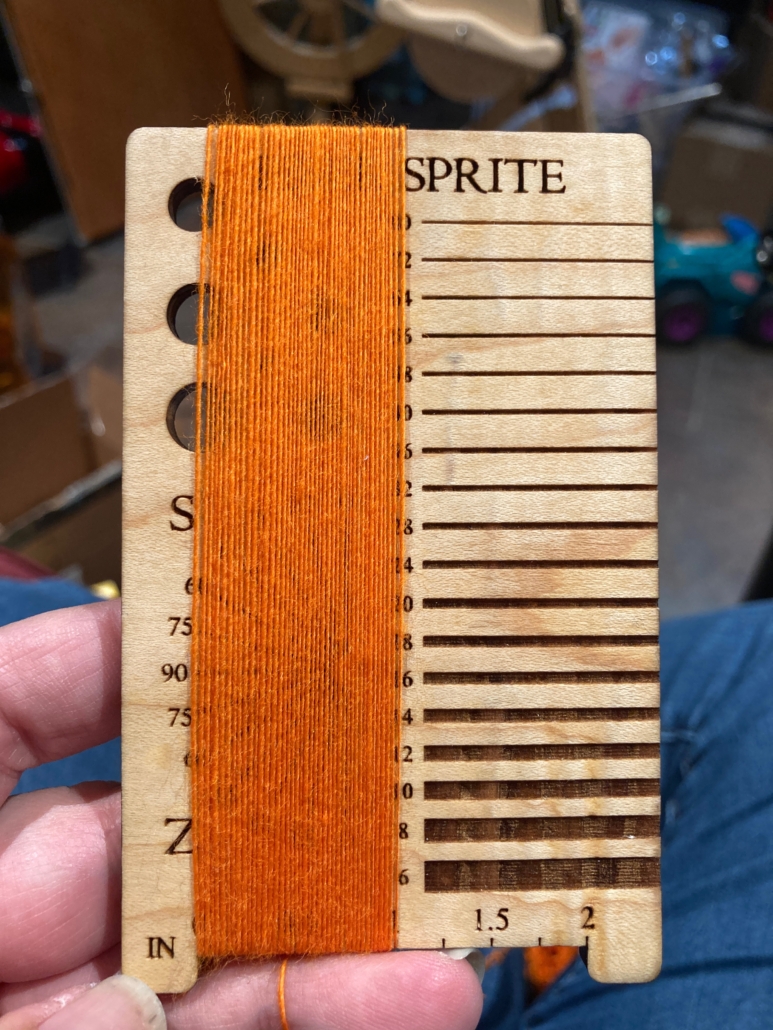
I have never had problems with the yarn not being consistent enough throughout a project. I just know what yarn I want and my fingers seem to remember what to do. I am sure it is good advice to have a little card tied to the spinning wheel with a bit of the singles you are aiming for, so you can check and make sure you are spinning a consistent yarn.

Mixing breeds

There are so many different breeds, but some of my favourites are Shetland, BFL, and Jämtland – a Swedish breed. After dyeing them, I often forget what I have used, so when I do a new project it often turns out that I have used different breeds and fibres just to get the right colour. For the Fair Isle knitting I want to juggle lots of colours, which is more important to me than making a sweater out of only one breed.

Recently I made a pullover for my husband using about 12 different breeds and colours, even mixing short and long draw. For me it was a breed experiment and a way to use up lots of smaller quantities of wool I had in my stash. For that sweater I used combed top without blending.
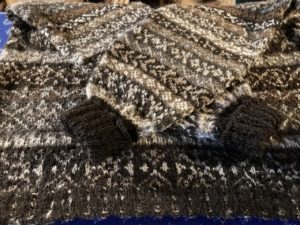
Mixing in knitting during the spinning process is a wonderful way for a spinner to avoid being overwhelmed during a sweater project.

My feeling is that some people don’t dare to start spinning for a bigger project because they get overwhelmed by the quantity they have to spin and then all the knitting there is to do, especially when you want to spin the yarn entirely on spindles. Mixing the spinning and knitting for the same project is more interesting; you get more variety and more freedom to choose what you want to do next as long as you don’t run out of yarn. It breaks the project down into smaller, less daunting parts. The only thing you might want to plan is to have enough fibre at the start, but even that is not necessary, there is always a sheep growing more wool.

0 replies

Leave a Reply

Want to join the discussion?
Feel free to contribute!

Leave a Reply

Your email address will not be published. Required fields are marked *

Dizzing Three Ways

I am an incredibly lazy spinner. If I can do it without digging the specialized tool out of storage for it, I will! Sometimes that makes more work for myself, though I don’t like to admit it. For the longest time, I would create roving or top without a diz, just drafting it out with my hands… because it was too much work to find the diz. However, I am a diz convert, especially after seeing how much nicer the preparations behave. 

Photo by Jacqueline Harp in Winter 2022, Neck and Shoulders issue.

What’s a Diz? 

A diz is a simple, useful tool for handspinners. Often made from wood, bone, plastic, or ceramic, it is a small disk, sometimes concave and sometimes flat, with at least one small hole through which fiber can be pulled. It is designed to create a consistent roving. 

Here are three ways you can use a diz with different fiber preparations: 

1. Making True Top from Wool Combs  

Dizzing wool directly from combs is ideal for worsted spinning. Once you have combed the fiber and the fiber is aligned on one of the combs, clamp the comb to a table so that you have both hands free to work the fiber. Bring the fibers on the comb to a point and feed the fibers through the diz. Twisting the tips of the fiber can help it feed through the small hole. Start to draft the fibers from the tip. As your top thins, slide the diz downward toward the comb until it has a firm grip on the next set of fibers. Then draft the fibers some more. Do this until there is minimal waste fiber left on the comb. You can coil your roving in a neat little nest for safekeeping until you are ready to spin. 

2. Creating Roving from Drum-Carded Batts  

Batts from a drum carder can be turned into manageable roving using a diz as well, and it can be done directly from the drum carder. Once all the fiber has been applied to the drum carder and blended, typically we would remove it to create a batt. Instead, find the seam of the drum. From one edge of the seam, slide the doffer about 1 inch along the seam and lift to break the continuous loop. Gather the tips of the fiber from one side and put them through the diz as described above. As you draw off the roving, you’ll slowly move the diz down and around the drum in a spiral until you have removed all of the fiber. 

3. Refining Woolen Prep from Rolags  

Though usually spun directly, rolags can be dizzed to get a more semi-worsted preparation. This technique can also be used to loosen fauxlags, which are very tight rolags made on blending boards. Gently pull the fibers from the tip of the rolag through the diz. As you draw the rolag through the diz, it will straighten and align the fibers somewhat. 

Final Tips: 

  • Choose the right hole size based on fiber and yarn weight.  A small hole will make a small yarn. 
  • Pull slowly to avoid breakage or bunching. 
  • Start with clean, well-prepared fiber for best results. 
wool from different breeds of sheep demonstrating different lengths of fiber

The Goldilocks Problem: Staple Length Matters 

Staple length—the average length of individual fibers in a fiber preparation—is one of the most important characteristics to consider when preparing and spinning fiber by hand with a worsted technique. Whether you’re spinning Merino or a longwool like Wensleydale, understanding staple length helps you to control your drafting technique and create the yarn you intend. 

I consider this the Goldilocks problem of worsted spinning.  The goal is to position your hands to allow you to draft “just right.”   

Whether you use a forward or backward draw when you spin, your hands draft the fibers out into a narrower strand before or while twist is being added. The distance between your hands creates a drafting zone: if your hands are too close together for the staple length of the fiber, the fibers won’t slide past each other easily.  You are essentially holding both ends of the same fiber and I promise the fiber is stronger than you in this tug-of-war match. 

If your hands are too far apart, you may lose control of the draft, especially with short fibers.  You might find that as you draft, the fiber suddenly comes loose and drifts apart, leaving you holding two separate sections of fiber and a whole lot of frustration. 

The ultimate goal is to set your hands at just about the average staple length, so the fibers can move and draft smoothly without pulling apart.  Not too wide, not too narrow, but just right.     

For short-stapled fibers, like cotton or yak, your hands need to be close together—sometimes only an inch or two apart—to control the drafting and prevent the fibers from slipping apart. One of the reasons we often choose a long draw for these fibers is because of how difficult it can be to maintain such a short draft zone.   

Medium-staple fibers, such as Corriedale or Romney, are more forgiving. You can draft them with your hands 4–6 inches apart.  Many spinners find their comfort zone in this range. 

Long-stapled fibers, like Lincoln or silk, require your hands to be farther apart—sometimes MUCH further apart.  If you hold your hands too close, these long fibers won’t draft well; instead, they’ll resist movement or break under the stress.  

Matching your hand placement to staple length is essential for an efficient, consistent, and ergonomically sound draft and to avoid unnecessary frustration. If you are ever fighting your fiber while spinning, stop and ask yourself if your hands are too far apart, too close together, or just right! 

Knitting Patterns for Handspun Yarn

Although you can use handspun yarn in almost any knitting pattern, sometimes there are patterns that work better than others for handspun. This is especially true if you have limited yardage, have any inconsistencies in the yarn, or aren’t sure about what gauge you should be aiming for. 

With those ideas in mind, finding patterns that allow for variations in gauge and yardage are the most helpful to make something you’ll love that allows your handspun yarn to shine in all its glory. 

Variable gauge 

One of the places to start is to look for patterns that can be adapted based upon your gauge. That way you can find the needle size that creates a fabric you like with your yarn and use that gauge for the pattern. If you’re searching for patterns on Ravelry, for example, in the advanced search options, you can select “any gauge” under Weight to help find these patterns. Here are some of the ones that caught my eye (note: all links are to Ravelry). 

Musselburgh Hat by Isolda Teague: This has been one of my go-to patterns for hats because it’s adaptable to various yarns with tables that give you all the stitch counts based upon your gauge (which you take by casting on the hat and measuring when you have an inch or two of fabric—no gauge swatch needed!). It creates a double-sided hat, which you wear by folding one side into the other, so you’re making two hats in one. This allows for using two different yarns (switching at the halfway point of the knitting), stripes, or even adding in stitch patterns. (Pictured is my in-progress handspun Musselburgh.) 

The Traveler Cowl by Andrea Mowry: This cowl is knit on the bias (flat and seamed), which makes it a great candidate for handspun yarn of any size as you can adjust the final size of the cowl as you go. In fact, the designer had handspun yarn in mind for this pattern. 

Boomerang shawls, various designers: Another great option is to look for boomerang-shaped shawls. These shawls are not quite crescent shawls and not quite triangular shawls but somewhere in between, and the idea is to keep working on them until you run out of yarn. So they’re great both from a variable gauge standpoint as well as from a yardage standpoint. I’m currently working on the Handspun Boomerang Shawl by Natasha Sills and have also made a Quaker Yarn Stretcher Boomerang by Susan Ashcroft (pictured). 

Speaking of Susan Ashcroft, you should check out more of her patterns (Stichnerd Designs) because she has several other “yarn stretcher” or “boomerang” patterns that can work wonderfully with handspun. She has a whole bundle of her patterns that she’s made specifically for those patterns that work well with handspun yarn. 

Tensfield or Langfield by Martina Behm: These two hat patterns (the second is the slouchy version) have a fun construction that will showcase your handspun yarn. Even better, because you adjust the size as you knit, it doesn’t matter what weight of yarn or gauge you use. I haven’t made one of these yet, but I’ve just added the pattern to my queue! 

Aunt Maggie by Shilo Weir: This free knitting pattern was created after the designer received encouragement during a spinning class with Maggie Casey to make sure to knit with their handspun. Written with a variety of yarn weights in mind, from sport to bulky, the pattern information includes a note about how much yarn you’ll need to complete the cowl. 

What if you don’t want an accessory but instead want to make a sweater? Designer Elizabeth Felgate has several sweater and cardigan patterns that can be made using any weight of yarn. Even better – you don’t even have to calculate your gauge! The construction of the garments has you measure your progress as you go (in inches or cm) to get the size you want. 

What other patterns have you found that work well with handspun? Share them in the comments!