Chasing Cloth
Words and Photos by Melanie Duarte
As spinners we are always chasing cloth. The yarn we create may be beautiful on its own and it might hang out longer in our stash than we intended it to, but there probably was a goal when we set out to spin it. More often than not, that goal is to produce some kind of cloth, be it woven, knit, or crocheted. Over time, we become more comfortable in our ability to make cloth and we can begin to make choices based on how we want the cloth to look, feel, and drape before we even start spinning. We can decide what breed of sheep, fiber, or blend we will use and how we will spin it to produce something close to the cloth we want. From there, it can be a few short sampling exercises to pin down the exact details of the perfect yarn for our project. Sometimes the yarn comes before there is an idea of the final cloth, but from our experience we know what will work best for that yarn or how to make the yarn sing.
As a confident wool spinner and knitter, I decided to shake things up by learning to spin and weave cotton. For me, learning to spin cotton was like learning to write with the opposite hand. Not only was it a challenge physically but also mentally. It has been incredibly fun and also incredibly frustrating. At times I felt like spinning cotton was truly magical, the way all those tiny fibers seemed to reach for each other. Then, other times, I felt like banging my head against the wall. Just when I thought I was getting the hang of it, I ruined it somewhere in the process. Cotton was making me start over and create a new relationship with cloth.
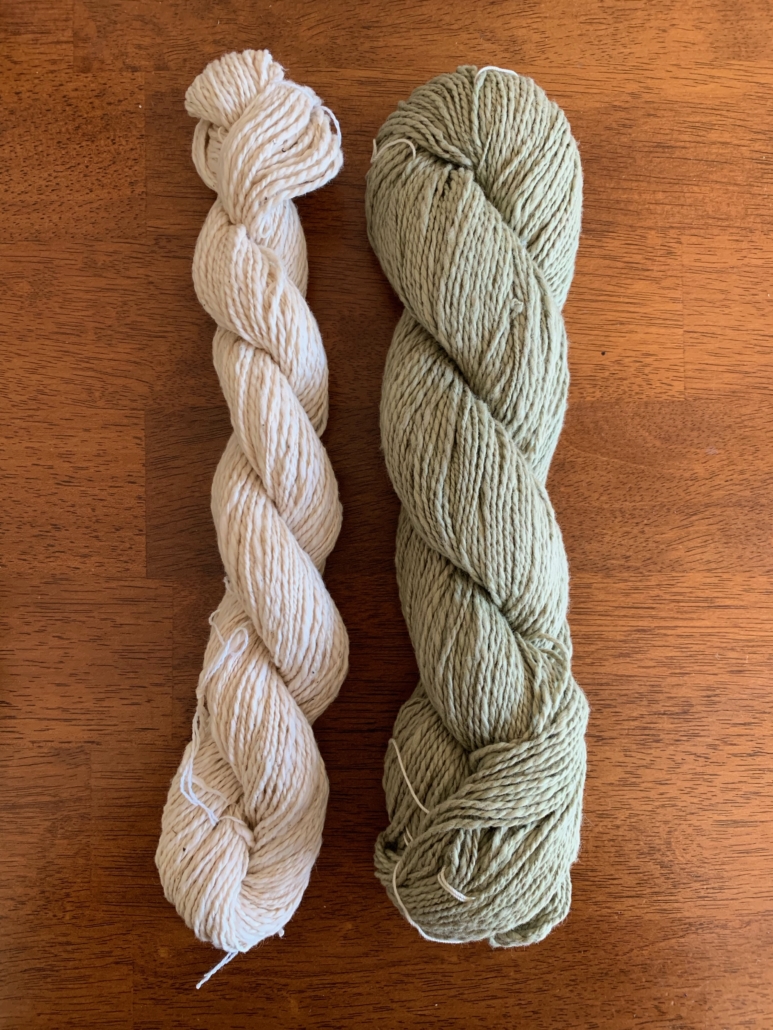
My first skeins of cotton were spun on my Schacht Flatiron. The fastest whorl I had was 17.4:1, and I had 2 different fiber preps: natural green in sliver and white ginned cotton. My father had given me the natural green sliver at our Christmas swap. I was so excited to try it, but I failed at every attempt. Green cotton has such a short staple, so I used a long draw draft. The wheel needs to have a balance between twist and take up; the fibers need a lot of twist to stay together, and if your wheel tries to take the fiber away from you before there’s enough twist, the singles will just keep drifting apart. After watching all of Joan Ruane’s videos on YouTube, I was finally successful.
Next up was the white ginned cotton. I tried my hand at making a puni, but that didn’t work. The fibers wouldn’t draft freely, so it felt a bit like tug of war. After that, I tried Norman Kennedy’s method of carding a rolag, and spinning was much smoother. I still had a bit of trial and error with how much twist versus take up, but in the end I had a finished skein of yarn. The ginned cotton had a lot of VM and debris in it, but thankfully after I washed it, most of it came out.
Even though I ended up with 2 skeins of yarn, I wasn’t happy with the results. My yarn was lumpy and uneven. It was nothing like the fine cotton yarns I had used to weave tea towels in the past. My experience spinning fine wool yarns had me expecting the same or similar results with cotton. I put these yarns aside and started researching cotton spinning tools.
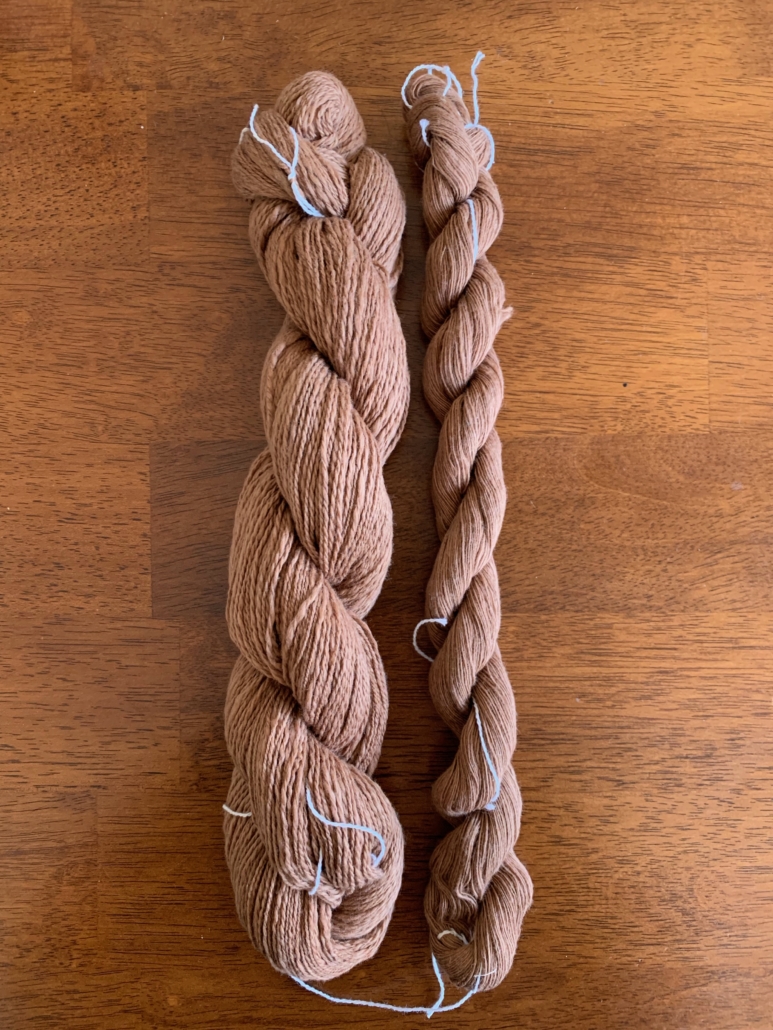
The first
tool I decided to try was a Schacht pear tahkli spindle, an inexpensive but
very effective tool. Suddenly I was able to spin very fine singles. However,
the issue I was having was how much twist? When spinning wool, I want just
enough twist to hold the fibers together. With cotton I was afraid of adding
too much twist. I spun and plied 2 singles. The first ply held together but was
severely underspun. Stephenie Gaustad says in her book, when checking the
twist, you want the plies to sit like beads on a string.[1] That
was key for me. The second ply had much more twist. This difference in twist gave
my 2-ply yarn a lot of texture. The skein of singles I have are leftovers from
the second ply, but I was so pleased with the smooth and consistent thread I
was able to create.
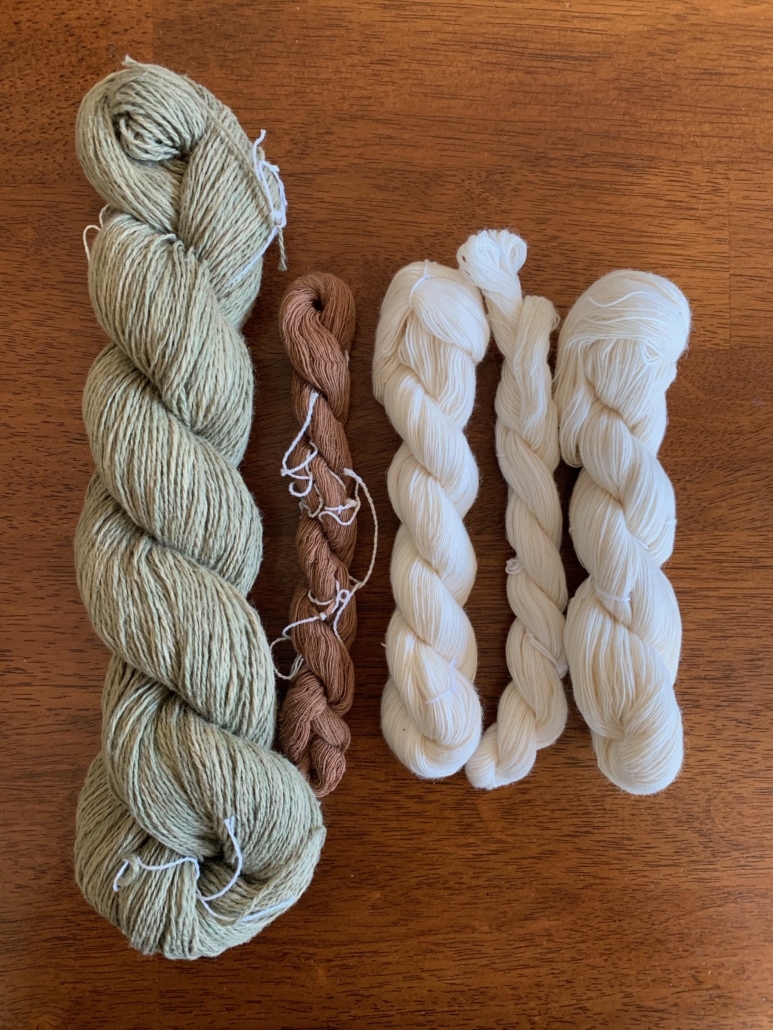
Very soon after my experience with a tahkli, I received a book charkha for my birthday. I started spinning my green cotton sliver on it right away. For this tool, I had to get used to how fast the charkha, which has a ratio of around 100:1, can spin. For someone who spins wool, that is unheard of! I quickly got into a rhythm of cranking the wheel and drawing out the fiber. What I didn’t know was just how much twist cotton really needed. I spun about 7 spindles of the green sliver and then plied them up. My yarn broke a few times during plying, but it fuzzed up a lot during the scouring process. Looking closely at my yarn and examples shown in Stephenie Gaustad’s book and videos, it was clear my yarn still didn’t have enough twist. There was enough twist to hold the fibers together but not enough to protect it from abrasion.
After the green sliver, I started spinning Egyptian cotton on my book charkha. Once I got the hang of spinning a longer fiber cotton (it was surprisingly difficult after getting used to the really short fibers of green and brown cotton), I really enjoyed it. I could see so much potential in Egyptian cotton. I was imagining all the different cloths I wanted to make. I had finally started to spin the type of cotton I had dreamed of: thin threads that I could weave into soft cloth with incredible drape. So on that note, it was time to work up my samples into woven swatches on my Zoom Loom.
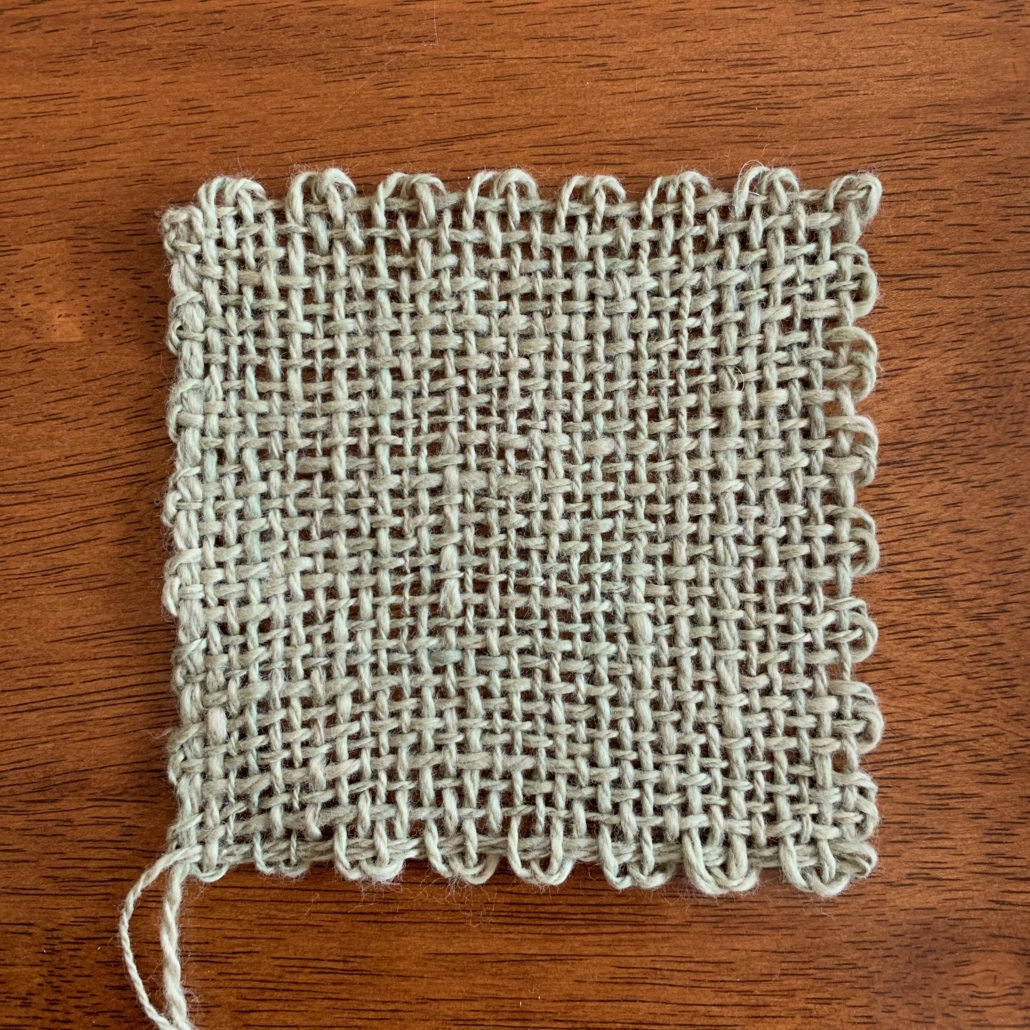
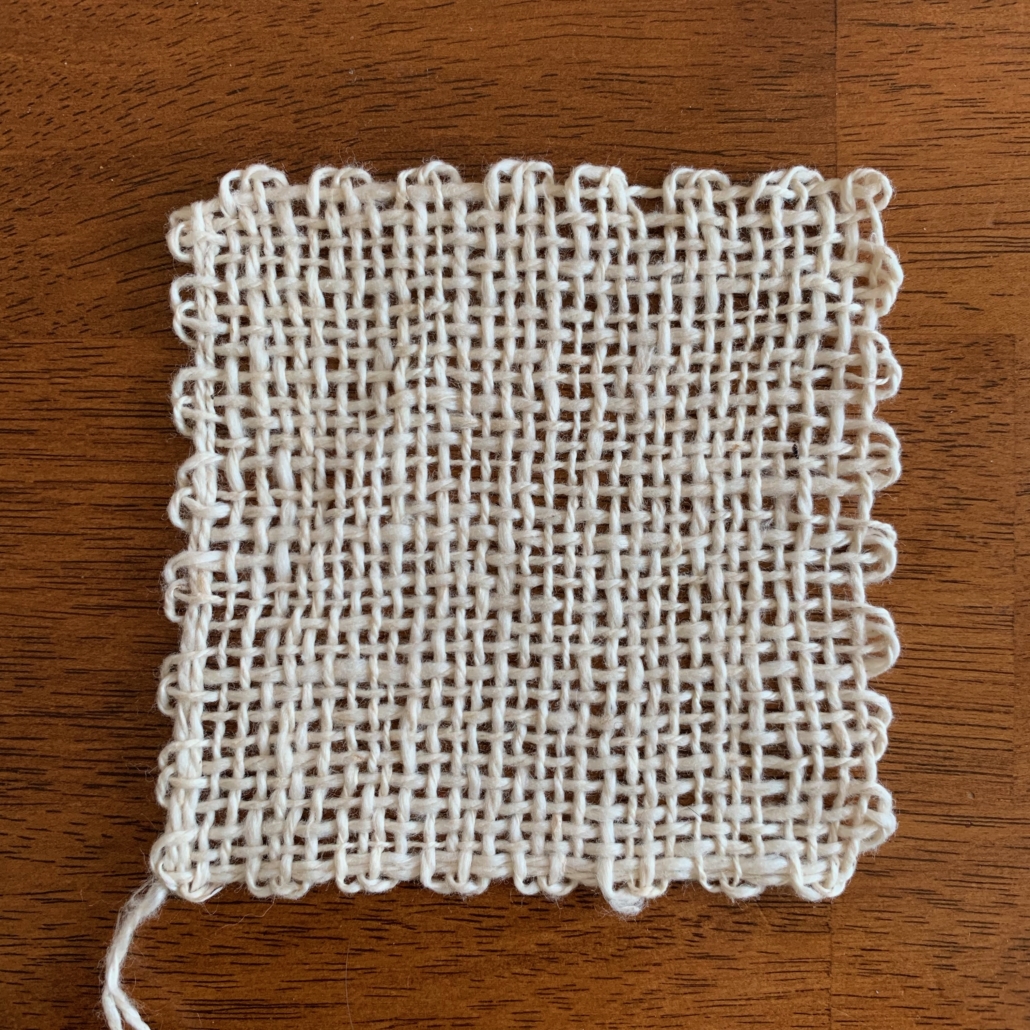
The first swatches I made were from the 2 original wheelspun yarns. As yarns, I was disappointed in them. They were not at all what I wanted, but I love them as woven swatches. They have drape and texture. They feel soft and durable. I think they would make wonderful kitchen towels or face cloths.
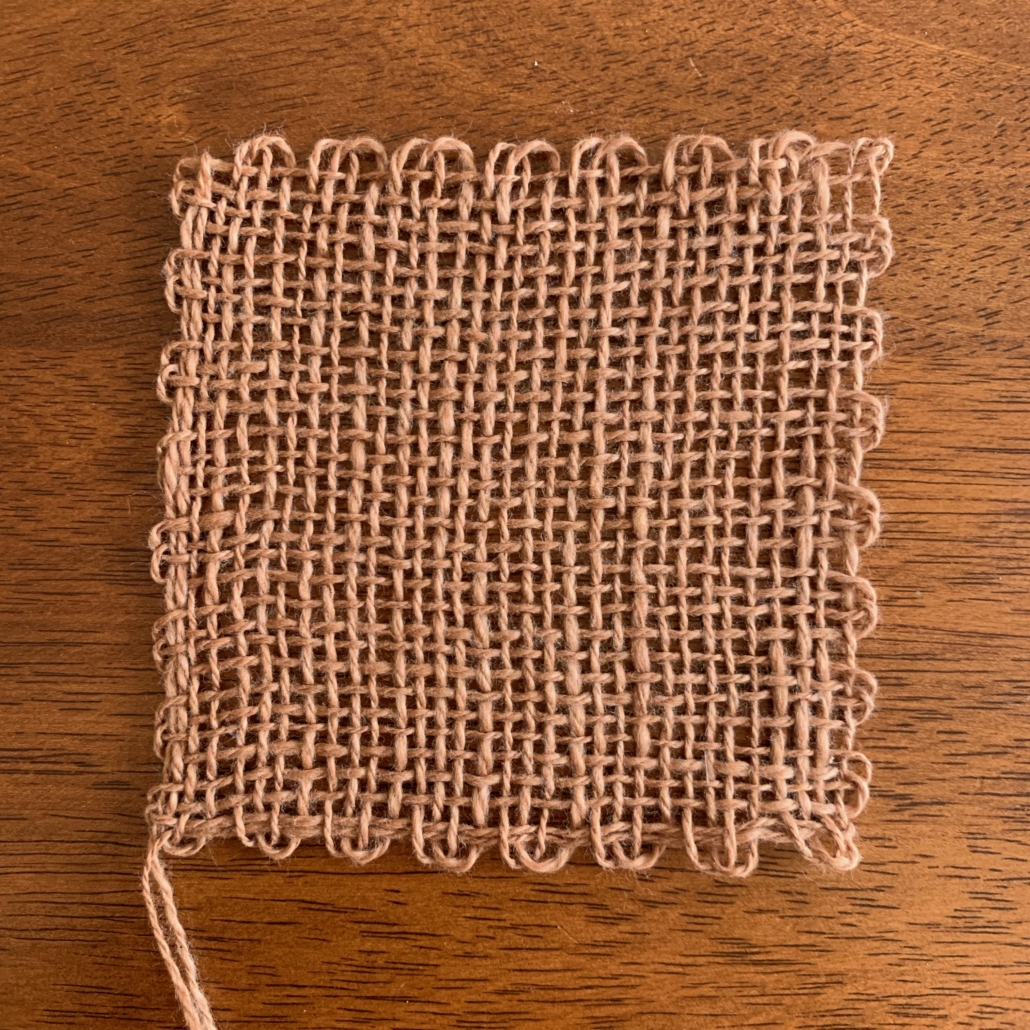
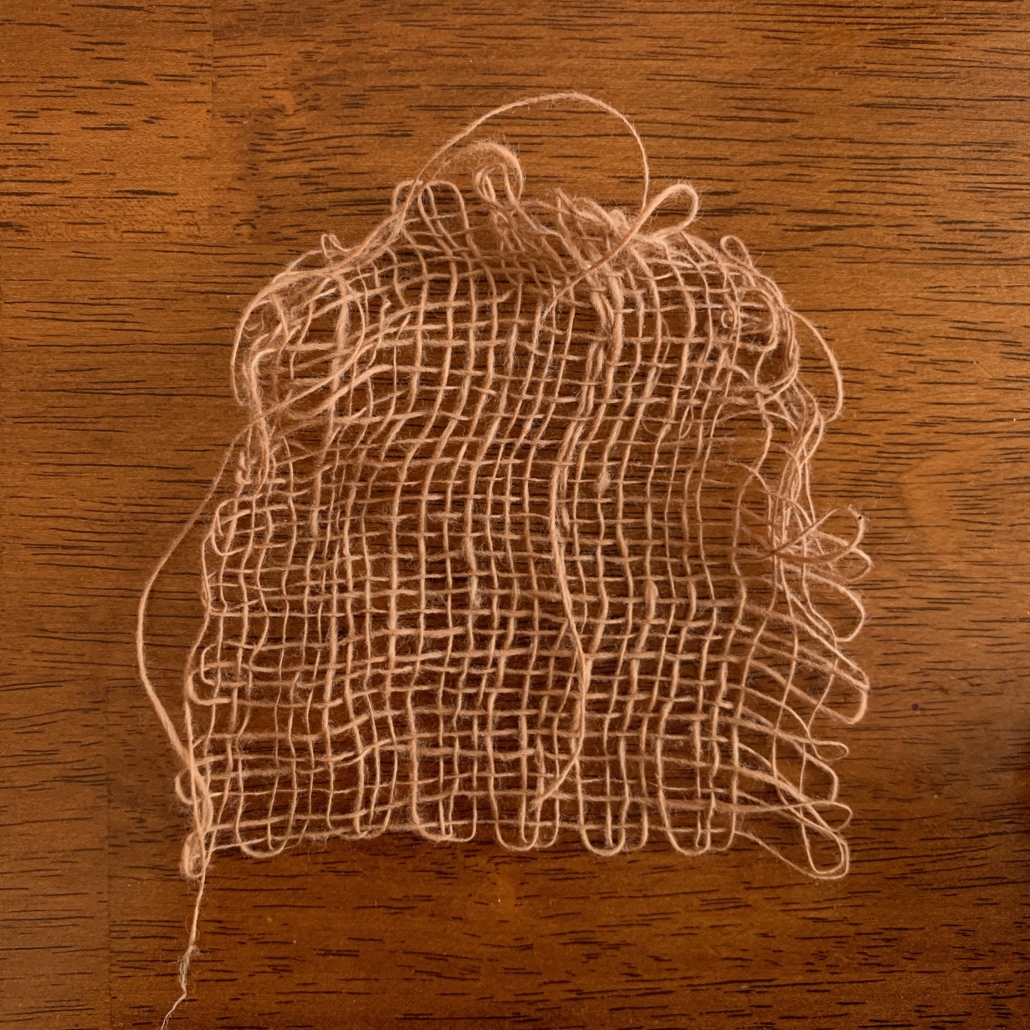
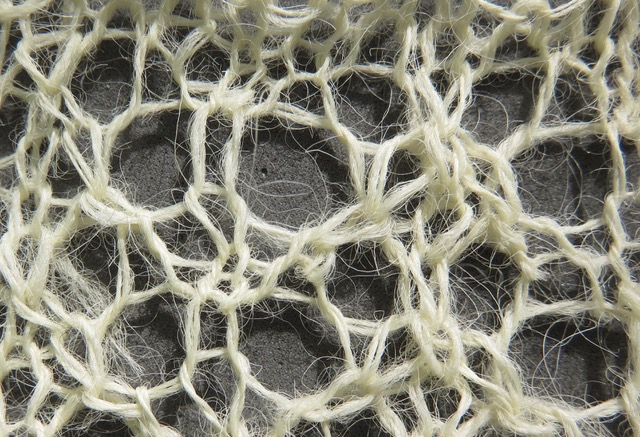
The next swatch was the 2-ply natural brown cotton spun on the tahkli. This swatch had texture from the twist difference in the 2 plies. This yarn was finer than the wheelspun yarn, making the gauge looser and more open, thus attributing to a soft cloth with great drape.
The swatch made from the tahkli spun singles did not work at all. The skein of leftover singles had a lot more twist in them than the first ply, but they do not have enough twist to hold up even as weft in my swatch.
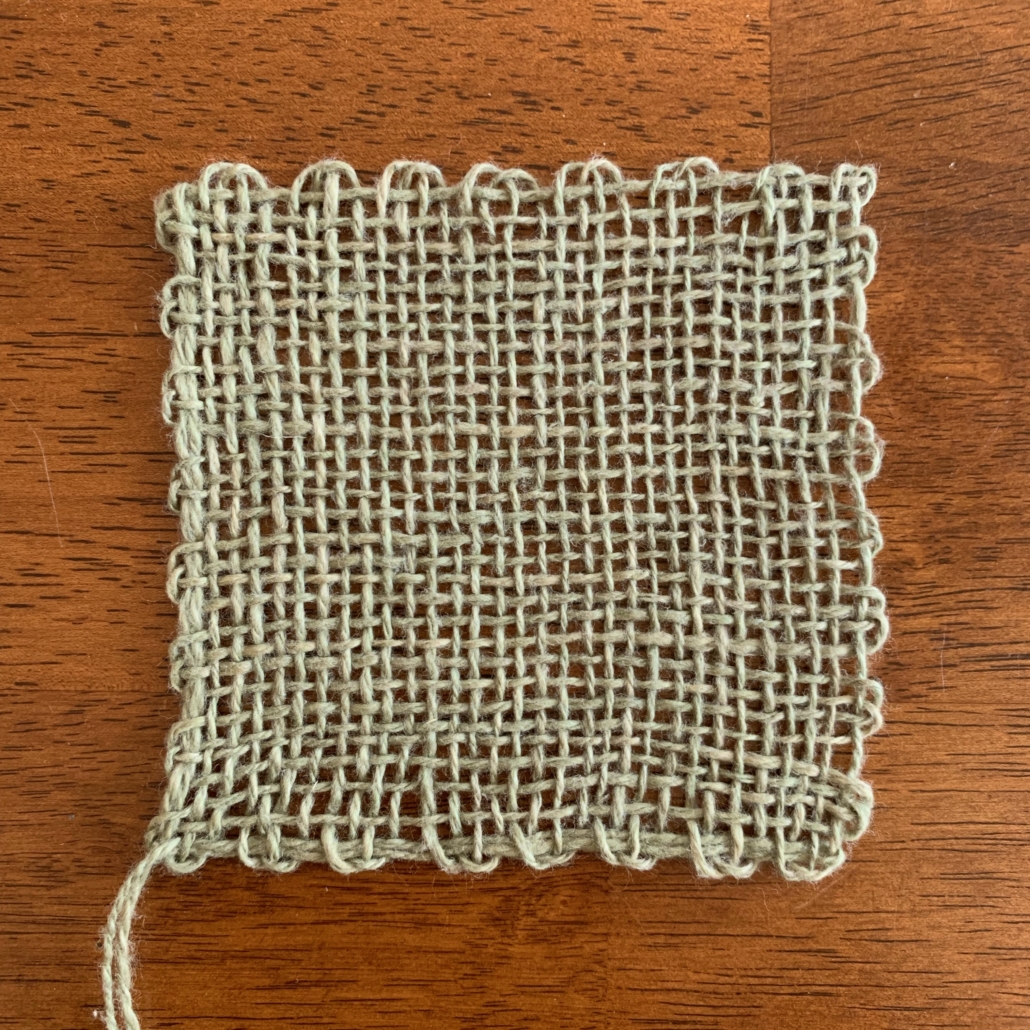
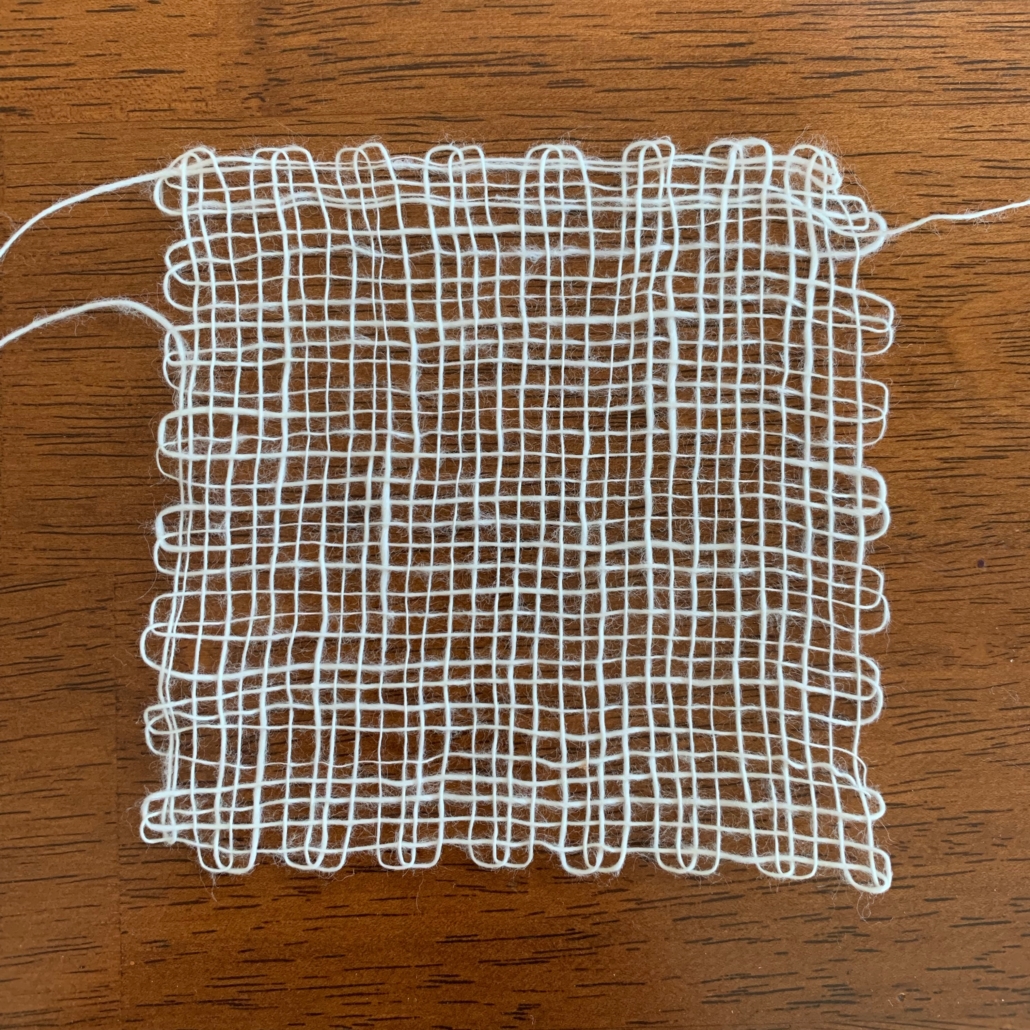
The last set of swatches were spun on my book charkha. The green 2-ply yarn held together wonderfully and had great depth and a really nice texture. It was very soft and smooth. The white singles yarn held up a little better than the tahkli spun singles but did break a few times towards the end of the swatching process. With a pin loom, I used a needle to pull the weft over and under the warp, and this excessive drag caused the breaks in the singles. The process is different on a harness loom, but it definitely makes me question the yarn’s durability. I do not think any of my singles yarns would hold up as a warp, but I think the collective strength of the 2-ply yarns would work.
Some amazing things have happened for me through this process. My skills as a spinner have grown leaps and bounds. Not only have I progressively gotten better as a cotton spinner, but it has definitely increased my skills as a wool spinner, too. Learning to weave and creating simple samples has shown me how gauge and sett can change fabric. It has also taught me not to discount some of my handspun yarn. What doesn’t speak to me as yarn will probably speak to me as cloth. So if you are ever in a creative rut, try something new. It will strengthen your skills and renew your relationship with making cloth.
Resources
Joan Ruane – cottonspinning.com and her YouTube channel
Stephenie Gaustad – Book: The Practical Spinner’s Guide: Cotton, Flax, Hemp (Interweave) – Video: Spinning Cotton (Interweave)
Norman Kennedy – Video: Spin Flax and Cotton: Traditional Techniques with Norman Kennedy (Interweave)
Melanie Duarte is a spinner, knitter, and weaver from Portland, ME. She homeschools her 2 daughters and is learning to play the piano. Check her out on Instagram @porchpegasus.
[1] Stephenie Gaustad. The Practical Spinner’s Guide: Cotton, Flax, Hemp. Loveland, CO: Interweave, 2014.


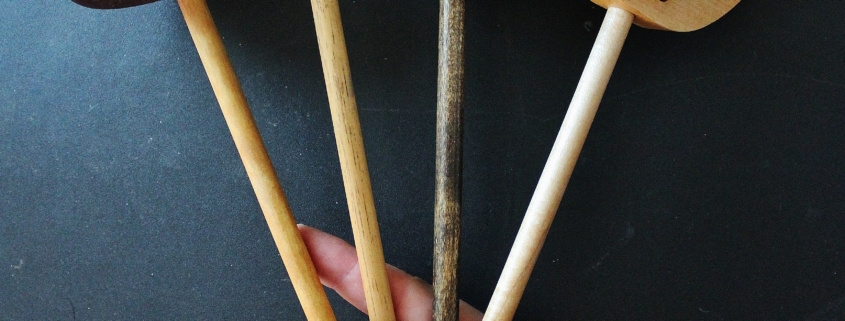


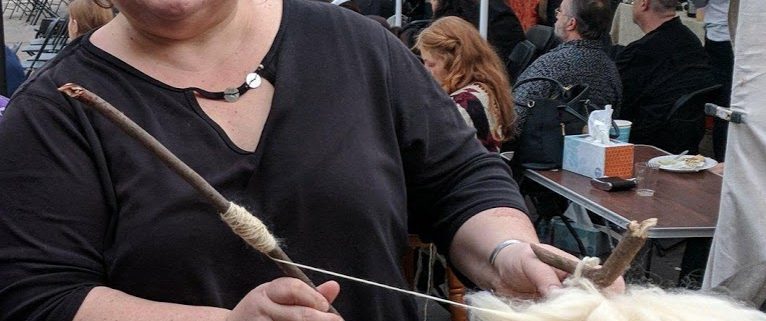

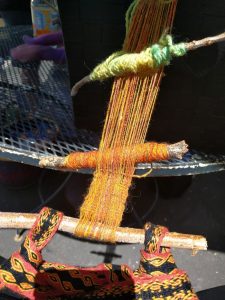 When you think about weaving at its core, it is simply a matter of wrapping strings around a collection of sticks and then manipulating strings among other strings. If you describe your loom, you’re telling me what shape your sticks have been arranged in: backstrap loom, inkle loom, rigid heddle loom, warp-weighted loom, four-harness – all are just descriptions of the shape of the sticks where you’ll manipulate the strings. I needed to demonstrate this description in a park one time, so I gathered a handful of sticks. I made some string on my drop spindle and proceeded to warp a small sampler. Need some heddles? Make more string. I didn’t need money or a large piece of equipment. I can make fabric with sticks and string.
 It is always interesting to hear how people got into the fiber arts for a career. My story is a long-ish and convoluted one. I grew up on a small homestead, and my mom raised orphan lambs, both to help with the endless lawn mowing and for some pin money. I got to help feed the bottle lambs. One summer, Mom went off to Siever’s School of Fiber Arts in Wisconsin and returned with a spindle and all kinds of plans for spinning and weaving. She established a flock of brown sheep and bought a spinning wheel and handcards. Her plans fizzled after the first lambing season – and the first giant felt donut she made in the washing machine – and when the ram came after my brother and me – but we still had orphan lambs every year from spring to fall. One year, she got them just in time for my Spring Break! (Because they are newborns, orphan lambs need to be fed every 4 hours around the clock the first week.)
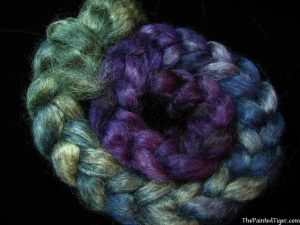
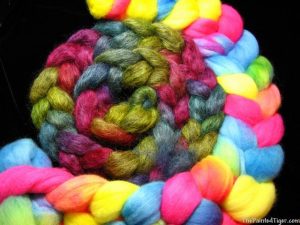 In the process of my research, I discovered the new indie dyer scene. I had enjoyed dyeing the scarves and ties and was ready to apply my knowledge to yarn – voila, Painted! I started selling on Ebay and Etsy and then launched ThePaintedTiger.com in 2008. I improved my childhood spinning skills and decided to dye fiber, too. In keeping with my business name, I specialize in handpainted colorways and enjoy making stripes and gradients on yarn and fiber. One of my favorite things to dye is for Tiger Club, my monthly yarn and/or fiber club, because I love to come up with new ways to put color on wool, and it gives me an excuse to try new fibers, as I try to offer a different one each month of the year.
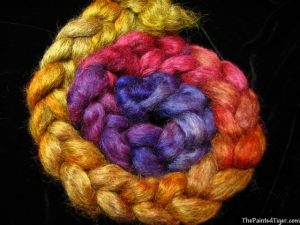 It is believed that Gotland sheep originated from sheep brought by the Vikings to the Swedish island of Gotland. The original Gutefår sheep were horned, with no belly wool and white markings around the eyes and nose. In the 1920s, the Gotland sheep was developed by a farmer who wished to refine the breed and saw a ram he liked being transported on a train to slaughter. He purchased the ram and started a breeding program to create a polled (no horns) sheep with a beautiful curly fleece.
 We need a few good Tips!