

Mixing Things up for a Sweater
words and photos by: Johanna Carter
I always admire those who are able to spin mountains of yarn for a big project, ready to knit a wonderful sweater or cardigan. It is a satisfying feeling when you finish all that work, especially if you started with washing and combing the wool or even raising your own sheep.
Mixing spinning and knitting
The typical way to work through a larger project is to spin all the singles first and ply them in a particular order so you get the yarn even throughout the whole project. I don’t have so many bobbins, but my bigger problem is that I am quite impatient and want to get on with knitting once I have an idea. And normally, my brain is full of ideas for fibre work and the limit is the time, as I am a musician and teacher. I can’t sit at the spinning wheel for a long time if I’m not on holiday, so during the school year I mostly knit, and during the holidays I can dye, spin, use my drum carder, and do lots of fibre work. The only time I was able to produce bigger quantities of yarn before I knitted them up was during the Tour de Fleece in the two years during the pandemic, when we did not go on holiday at the beginning of July.

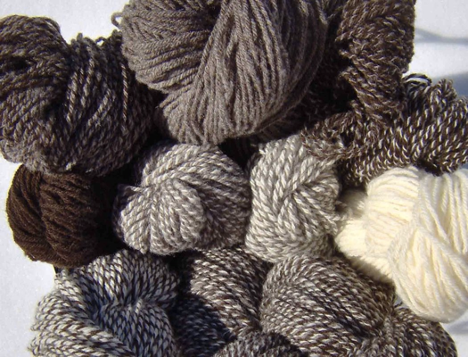
A highly photogenic collection of naturally dyed fibres.
I like to finish knitting one big project like a sweater or cardigan before I start the next one, or at least until I can’t carry it in my bag easily anymore, so I have an excuse to begin the next one. Sometimes it is good to have a second project on the go – I call it mindless knitting, where I don’t have to look very much – which I can keep my hands busy during Zoom or other meetings, which helps me listen.
Mixing colours and fibres
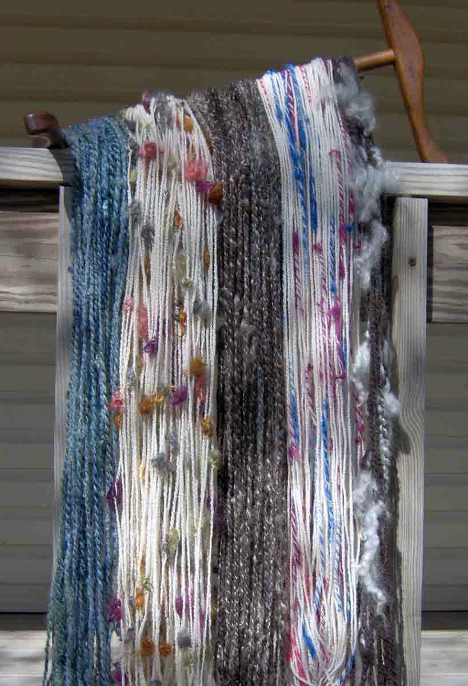
Usually I dye my yarn with plants which I collect in the woods or get from garden flowers. I also use cochineal and indigo, which I buy, to get lots of different colours. I really love the greens and blues I get from dyeing with indigo. I have lots of dyed wool, and all those colours give me inspiration for further projects.

Beautiful greens and blues dyed by the author using indigo and other natural dyes.
Blending the wool on the drum carder I can get even more shades. I like to blend with fibres like silk, alpaca, or plant fibres, and I love sari silk, to get those little bits of colour in my yarn.
Fibres of different types and colours are blended on a drum carder for elegant results.
When I have an idea for the next sweater, I start carding, and then I can begin to spin. Once I have spun enough yarn – say, for one day – I cast on and start knitting, usually top down, so I don’t have to decide too much in advance about length and width.

An idea for the author’s next sweater in the gathering stages.
When I spin on my wheel, I have to sit at home, but while spinning I can read a book or talk to others during online meetings. I also like to spin on my spindles, and that works on a walk, or a museum visit. I take them on holiday as they don’t need much space, and when I spin for a lace shawl, I don’t even need much wool either. At home there are spindles all over the place; I can spin when I am waiting for the kettle to boil, when the computer is slow, when I am cooking. Like that I can make good use of a short time and the yarn still grows.

Knitting as soon as the yarn is spun helps the author complete sweater projects in a timely manner.
I can take my knitting almost everywhere, which is why I don’t want to wait to get started until I have spun all the yarn for a whole sweater. I knit at home, on the bus or train. The only thing I have to make sure of is to be one step ahead with the yarn.
I love to knit Fair Isle sweaters. My favourite method is to use only one bobbin, which I don’t even fill, because I need smaller quantities of lots of colours. Then I wind a ply ball and ply it on itself. For that I put my thumb through the ball, so I can tension the two singles with my fingers and they don’t get tangled, as long as my thumb (or a cardboard roll or a pencil) stays in the middle. I don’t have any leftovers from plying, and it is quick when I suddenly need more yarn.

Several charming sweaters dyed, spun, and knit by the author.
I have never had problems with the yarn not being consistent enough throughout a project. I just know what yarn I want and my fingers seem to remember what to do. I am sure it is good advice to have a little card tied to the spinning wheel with a bit of the singles you are aiming for, so you can check and make sure you are spinning a consistent yarn.
Mixing breeds
There are so many different breeds, but some of my favourites are Shetland, BFL, and Jämtland – a Swedish breed. After dyeing them, I often forget what I have used, so when I do a new project it often turns out that I have used different breeds and fibres just to get the right colour. For the Fair Isle knitting I want to juggle lots of colours, which is more important to me than making a sweater out of only one breed.
Recently I made a pullover for my husband using about 12 different breeds and colours, even mixing short and long draw. For me it was a breed experiment and a way to use up lots of smaller quantities of wool I had in my stash. For that sweater I used combed top without blending.

Mixing in knitting during the spinning process is a wonderful way for a spinner to avoid being overwhelmed during a sweater project.
My feeling is that some people don’t dare to start spinning for a bigger project because they get overwhelmed by the quantity they have to spin and then all the knitting there is to do, especially when you want to spin the yarn entirely on spindles. Mixing the spinning and knitting for the same project is more interesting; you get more variety and more freedom to choose what you want to do next as long as you don’t run out of yarn. It breaks the project down into smaller, less daunting parts. The only thing you might want to plan is to have enough fibre at the start, but even that is not necessary, there is always a sheep growing more wool.
Spotlight on Amy Tyler
Thirty years ago, Amy Tyler went to an annual handspun yarn sale from a local spinning group in Ann Arbor, Michigan. A member of the spinning group invited Amy to sit down at a wheel, and the spinning community has a lot to be grateful for as a result! Since then, Amy has published over 25 knitting patterns, has taught workshops on spinning and knitting for over 20 years, and has written for 9 different publications.
Amy’s story begins with backgrounds in modern dance, kinesiology, and physiology. She was a professor of physical therapy for 9 years but eventually decided to leave the academic life to pursue a life of fiber arts. “I still have more ideas in my head about spinning and knitting than I can carry out in my lifetime, but that’s very exciting to me. It means my brain is always curious about things and asking questions,” Amy says.
These questions have led Amy to develop workshops on several topics, including the ones she’ll be offering spinners at PLYAway this spring (Blending Board: Basics and Beyond; Prep It: Combs, Cards, and Flicks; and Wheel Mechanics). “I was a bit cut off during the beginning of COVID because I had a couple of surgeries that kind of slowed me down for a while, but now both hand and foot are functioning properly and I’m excited to get back into it,” Amy explains. Her classes focus on tools because she has always been interested in what’s possible if you play around enough with the proper equipment.
“All of the tools have their fabulous advantages and some things that they’re not so good at, so being able to use all of them is really worth it. I think of mechanics a lot from the physics point of view, but I try not to harp on numbers or on those mechanical laws or anything. Understanding a few things about friction or how to take care of your wheel so it works properly and is mechanically happy and how to make yourself mechanically happy, all of those things come into play with [the wheel mechanics] class,” Amy explains.
Amy’s approach to fiber arts is that there is no “right way” to do just about anything, as long as you aren’t being hurt or hurting others. “I don’t think there are very many illegitimate ways of thinking about spinning and how you approach spinning,” she says. For Amy, playing with fiber is an ever-evolving experiment. She describes a time when she first tried hand combs and didn’t enjoy the experience at all; fast forward to today, when she’s preparing to teach a class on how to use them.

“I had to sit down and figure out how to make it comfortable to do, so it’s about the mechanics of how to use them without hurting yourself that’s really important to me, and then realizing how wonderful the result is. When you first spin from hand-combed fiber it’s a mind-blowing experience. As are so many things in the fiber world. One of the things I like about it is that my mind is blown a lot, and frequently,” she remarks.
Amy adds, “I get very excited about the topics I teach, and I keep wanting to add to them and explore them even further, and the teaching opportunities I get really help my brain think about new ways of thinking about these topics. It’s a wonderful opportunity for me to blow my own mind.”
Being around other spinners is an absolute bonus for the experience, as well. Amy loves to attend events like PLYAway not just to teach but to learn. As she explains it, “people come from many different perspectives and something I heard years ago is that everyone you meet will know something you don’t. When I’m teaching classes I know that every person in that workshop knows something I don’t know. It’s amazing to hear how different perspectives and life experiences influence how people think about the fiber arts. There’s an amazing diversity of ways of thinking about the delightful craft that is spinning,” she adds.
In one final note about fiber arts, Amy explains, “I have a science background and an arts background and they both influence me when I think about making yarn. It’s like a dance and an amazing mechanical feat at the same time and I get excited to think about it in both ways.”
If you’d like to join Amy in that dance, there are still spots available in her classes at PLYAway this year. Click here to register!
Amy Tyler’s formal training was in modern dance, kinesiology, and physiology. She then spent years teaching physical therapy students about critical inquiry, evidence-based practice, and research design. In 2004, Amy left the academic life to pursue fibers arts. Now she resides in beautiful Benzie county, in the northwest corner of the lower peninsula of Michigan.
PLY Magazine believes that Black lives matter, as well as LBGTQI+ lives. Those most vulnerable and persecuted in our communities deserve our love and support. Please be good to each other.
Did you know we also have a monthly PLY newsletter? Sign up here!
Did you know we also have a monthly PLY newsletter? Sign up here!
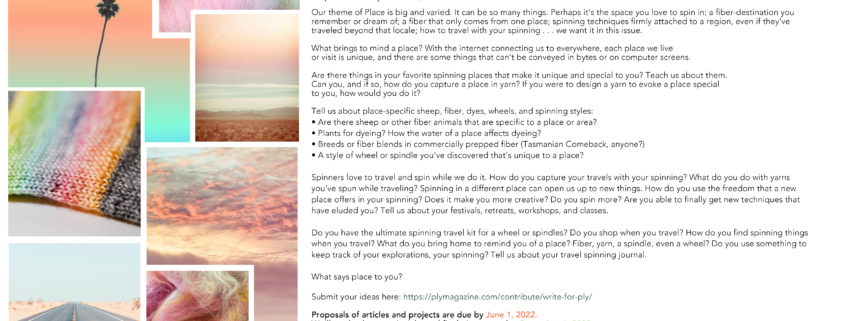
Contribute to PLY’s Place Issue!
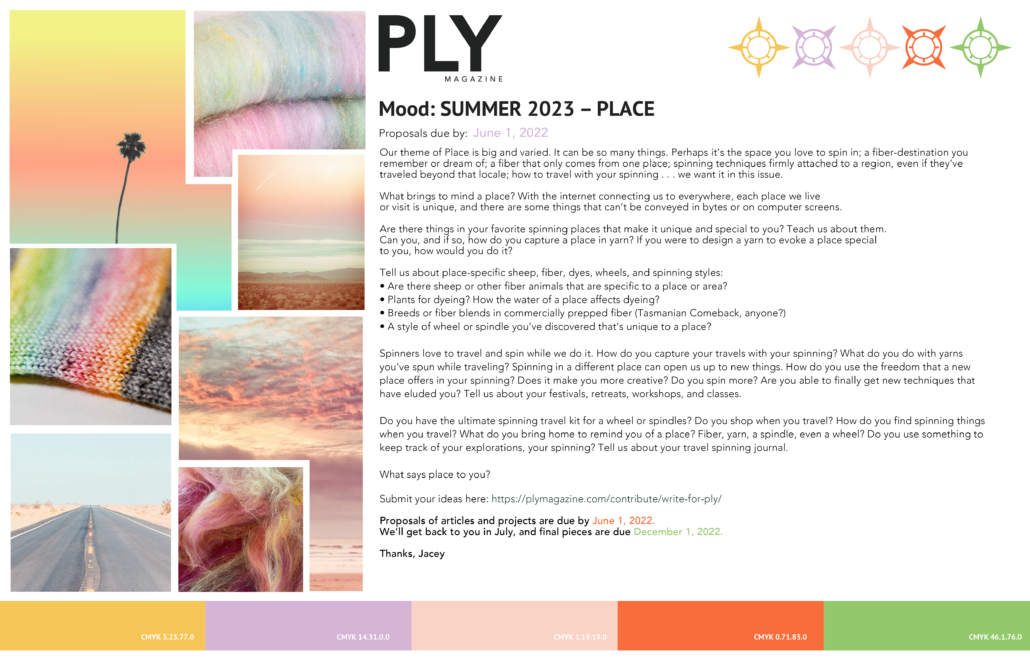
Our theme of Place is big and varied. It can be so many things. Perhaps it’s the space you love to spin in; a fiber-destination you remember or dream of; a fiber that only comes from one place; spinning techniques firmly attached to a region, even if they’ve traveled beyond that locale; how to travel with your spinning . . . we want it in this issue.
What brings to mind a place? With the internet connecting us to everywhere, each place we live or visit is unique, and there are some things that can’t be conveyed in bytes or on computer screens.
Are there things in your favorite spinning places that make it unique and special to you? Teach us about them. Can you, and if so, how do you capture a place in yarn? If you were to design a yarn to evoke a place special to you, how would you do it?
Tell us about place-specific sheep, fiber, dyes, wheels, and spinning styles:
- Are there sheep or other fiber animals that are specific to a place or area?
- Plants for dyeing? How the water of a place affects dyeing?
- Breeds or fiber blends in commercially prepped fiber (Tasmanian Comeback, anyone?)
- A style of wheel or spindle you’ve discovered that’s unique to a place?
Spinners love to travel and spin while we do it. How do you capture your travels with your spinning? What do you do with yarns you’ve spun while traveling? Spinning in a different place can open us up to new things. How do you use the freedom that a new place offers in your spinning? Does it make you more creative? Do you spin more? Are you able to finally get new techniques that have eluded you? Tell us about your festivals, retreats, workshops, and classes.
Do you have the ultimate spinning travel kit for a wheel or spindles? Do you shop when you travel? How do you find spinning things when you travel? What do you bring home to remind you of a place? Fiber, yarn, a spindle, even a wheel? Do you use something to keep track of your explorations, your spinning? Tell us about your travel spinning journal.
What says place to you?
Project ideas and proposals are due by June 1, 2022. We’ll get back to you in July and final work is due Dec 1, 2022.
Submit your ideas here: https://plymagazine.com/contribute/write-for-ply/
PLY Magazine believes that Black lives matter, as well as LBGTQI+ lives. Those most vulnerable and persecuted in our communities deserve our love and support. Please be good to each other.
Did you know we also have a monthly PLY newsletter? Sign up here!
Did you know we also have a monthly PLY newsletter? Sign up here!
Head & Hands: Pattern Roundup
The Winter 2021 issue (Head and Hands) was full of patterns, but in case you need some more ideas of projects you can make for your head or hands using your handspun, check out these patterns.
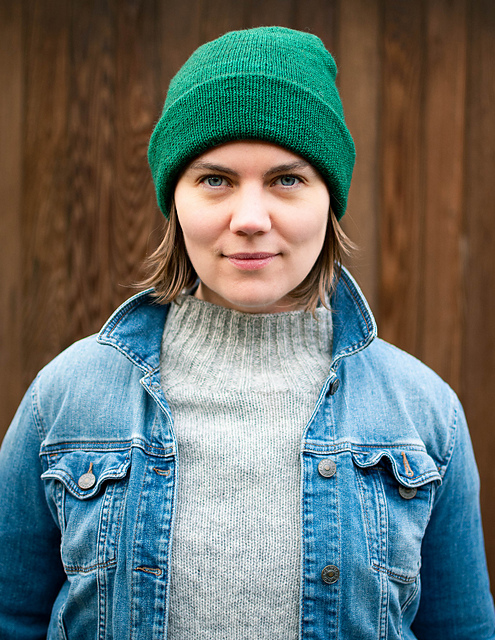
Musselburgh by Ysolda Teague
This hat pattern is a fairly simple design, but it’s set up to include 6 different gauges from laceweight to DK weight, so that gives you a lot of options for handspun. Figure out your gauge and then follow the instructions for that gauge.
Find this pattern on Ravelry or on Ysolda’s website.

Beloved by Tin Can Knits
This hat pattern—a bonnet really—for children and adults is adorable. Grab some of your DK weight handspun and knock this one out in a few hours, especially if you’re making the smaller sizes.
Find this pattern on Ravelry or on the Tin Can Knits website.
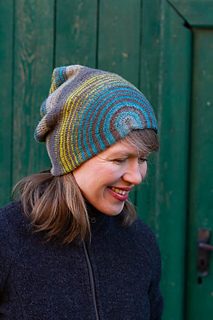
Circle & Square by Martina Behm
This hat pattern has a rather unique construction which lends well to playing with color in a handspun yarn. Once you see how the pattern is designed, you could even create some handspun specifically to work with this structure.
Find this pattern on Ravelry or on Martina’s Strickmich! Shop.
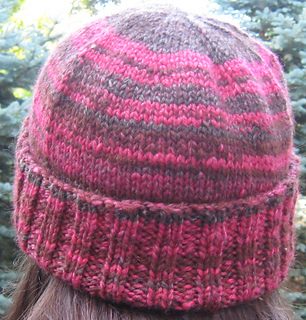
Top Down Handspun Hat with a Nice Flat Top by Heidi Nick
The designer says, “This is nothing fancy, just my recipe for a simple top-down hat with a 2×2 rib on the bottom.” And although we can often figure out the math of a pattern for ourselves, sometimes it’s nice to just let someone else do it for you.
Find this pattern on Ravelry.
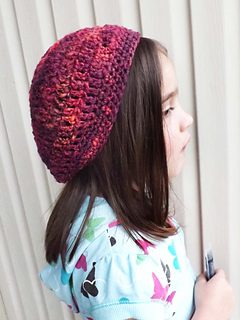
Handspun Slouch Hat for Toddlers by Brittany Wisneski
This crochet pattern provides a recipe for a slouch hat for toddlers and adults.
Find this pattern on Ravelry.
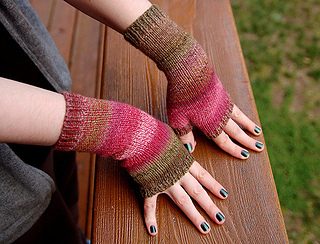
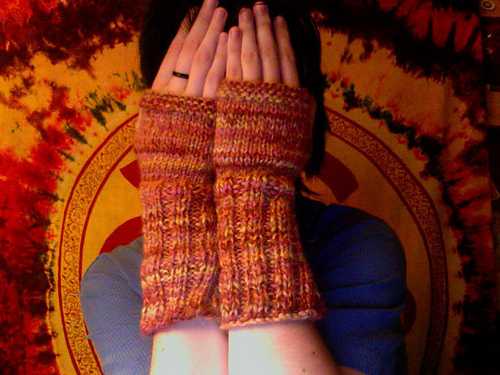
Easy Handspun Mitts by Vera Brosgol
This mitts pattern is a great background to show off your handspun. (This is the pattern Rebecca Roy used in her Spinning for a Durable Pair of Mitts post.)
Find this pattern on Ravelry.
Wabi-sabi Handspun Mitts by Kristen TenDyke
The pattern for these mitts has you knit both at the same time (using both ends from a center pull ball) so you can use as much of your handspun as possible while also not having to worry about running out of yarn for the second mitt!
Find this pattern on Ravelry or on Kristen’s website.


Leave a Reply
Want to join the discussion?Feel free to contribute!