Mixing Things up for a Sweater

words and photos by: Johanna Carter

I always admire those who are able to spin mountains of yarn for a big project, ready to knit a wonderful sweater or cardigan. It is a satisfying feeling when you finish all that work, especially if you started with washing and combing the wool or even raising your own sheep.

Mixing spinning and knitting

The typical way to work through a larger project is to spin all the singles first and ply them in a particular order so you get the yarn even throughout the whole project. I don’t have so many bobbins, but my bigger problem is that I am quite impatient and want to get on with knitting once I have an idea. And normally, my brain is full of ideas for fibre work and the limit is the time, as I am a musician and teacher. I can’t sit at the spinning wheel for a long time if I’m not on holiday, so during the school year I mostly knit, and during the holidays I can dye, spin, use my drum carder, and do lots of fibre work. The only time I was able to produce bigger quantities of yarn before I knitted them up was during the Tour de Fleece in the two years during the pandemic, when we did not go on holiday at the beginning of July.

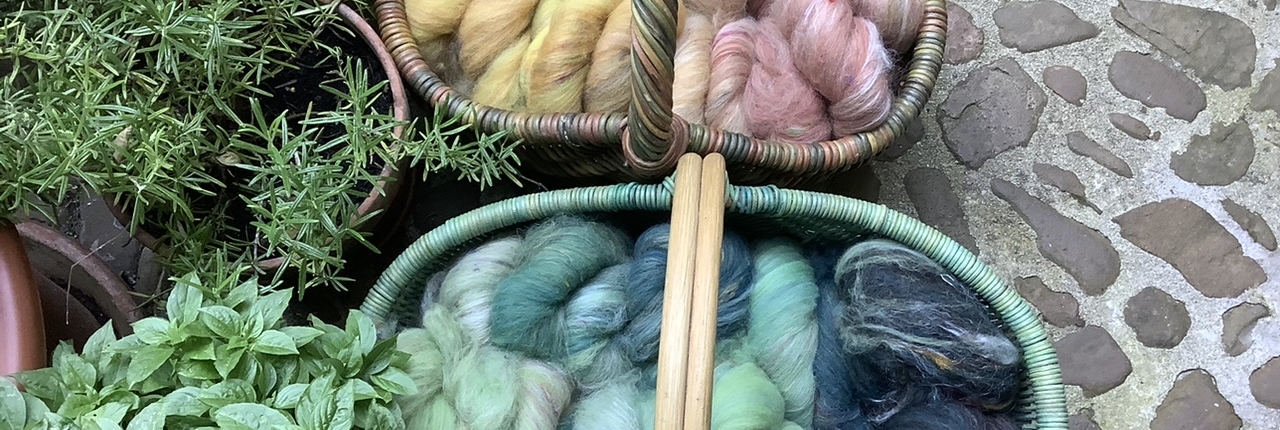
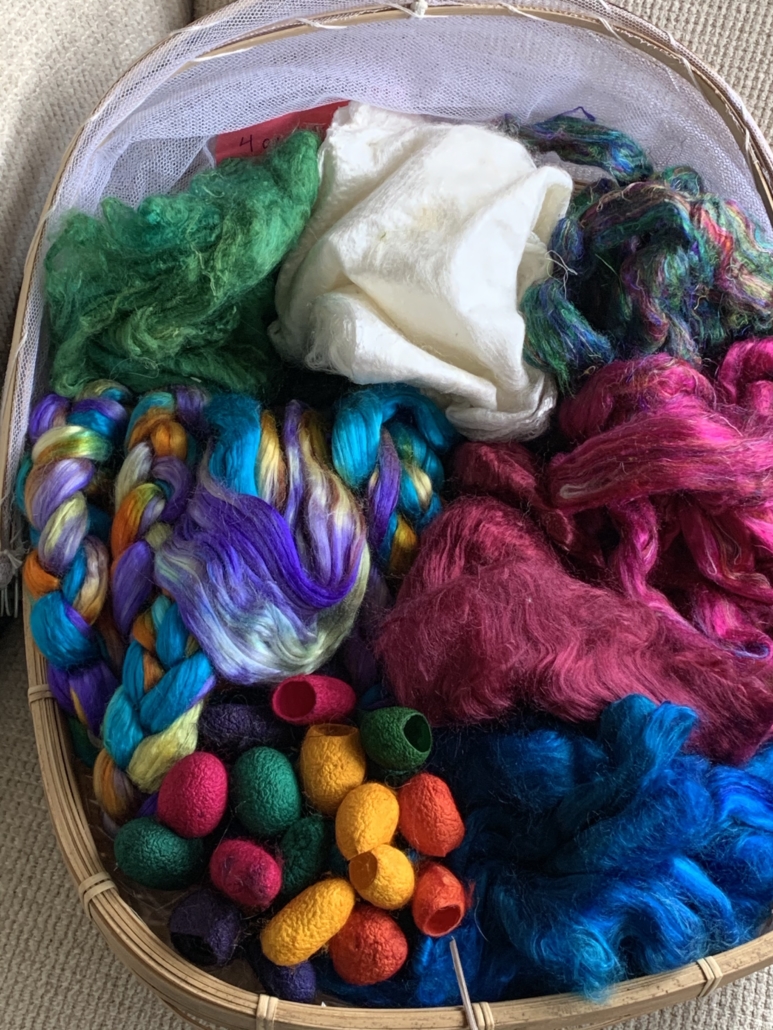
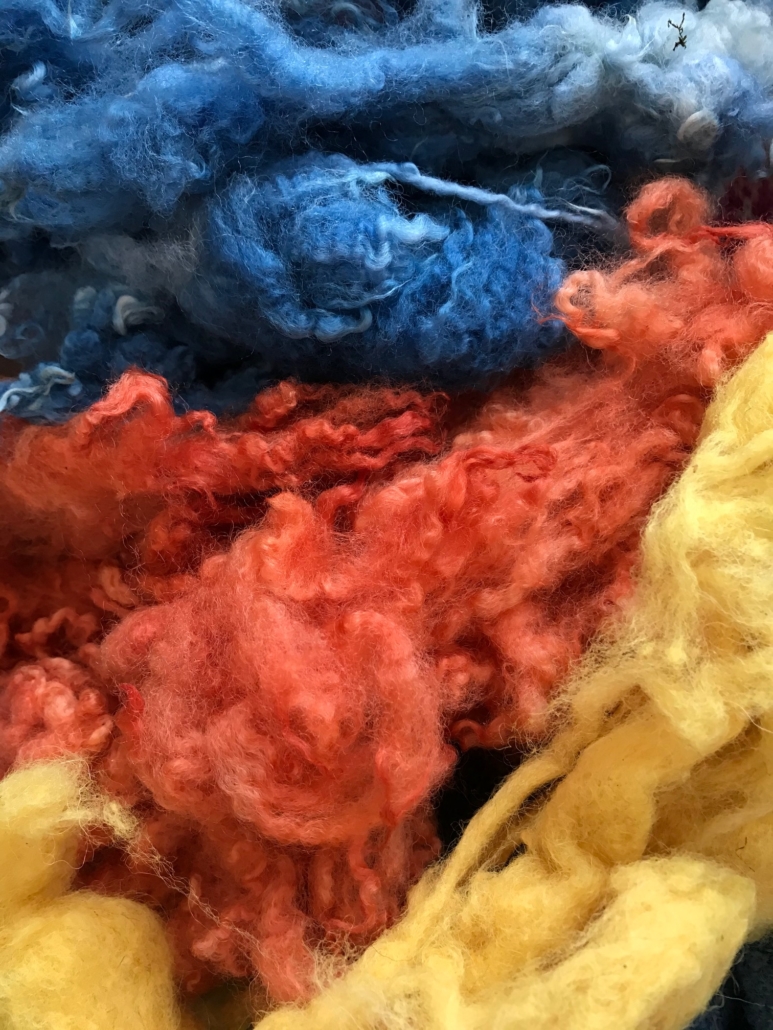
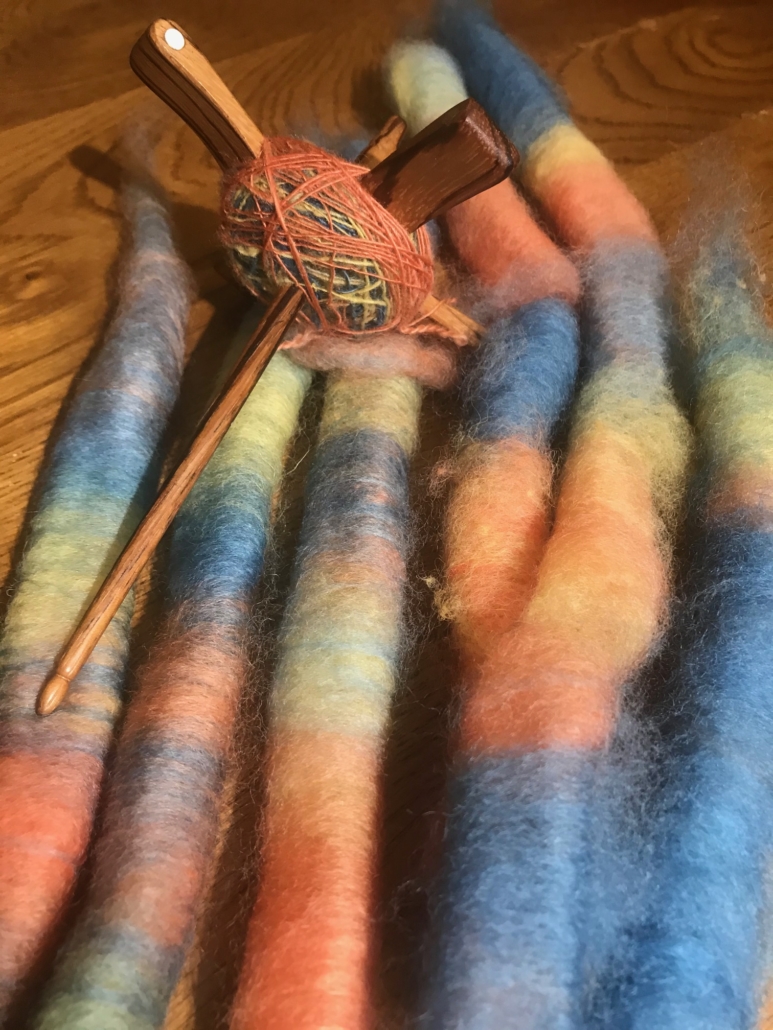
A highly photogenic collection of naturally dyed fibres.

I like to finish knitting one big project like a sweater or cardigan before I start the next one, or at least until I can’t carry it in my bag easily anymore, so I have an excuse to begin the next one. Sometimes it is good to have a second project on the go – I call it mindless knitting, where I don’t have to look very much – which I can keep my hands busy during Zoom or other meetings, which helps me listen.

Mixing colours and fibres

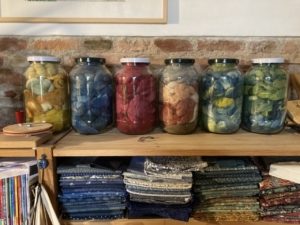
Usually I dye my yarn with plants which I collect in the woods or get from garden flowers. I also use cochineal and indigo, which I buy, to get lots of different colours. I really love the greens and blues I get from dyeing with indigo. I have lots of dyed wool, and all those colours give me inspiration for further projects.

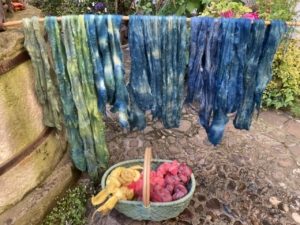
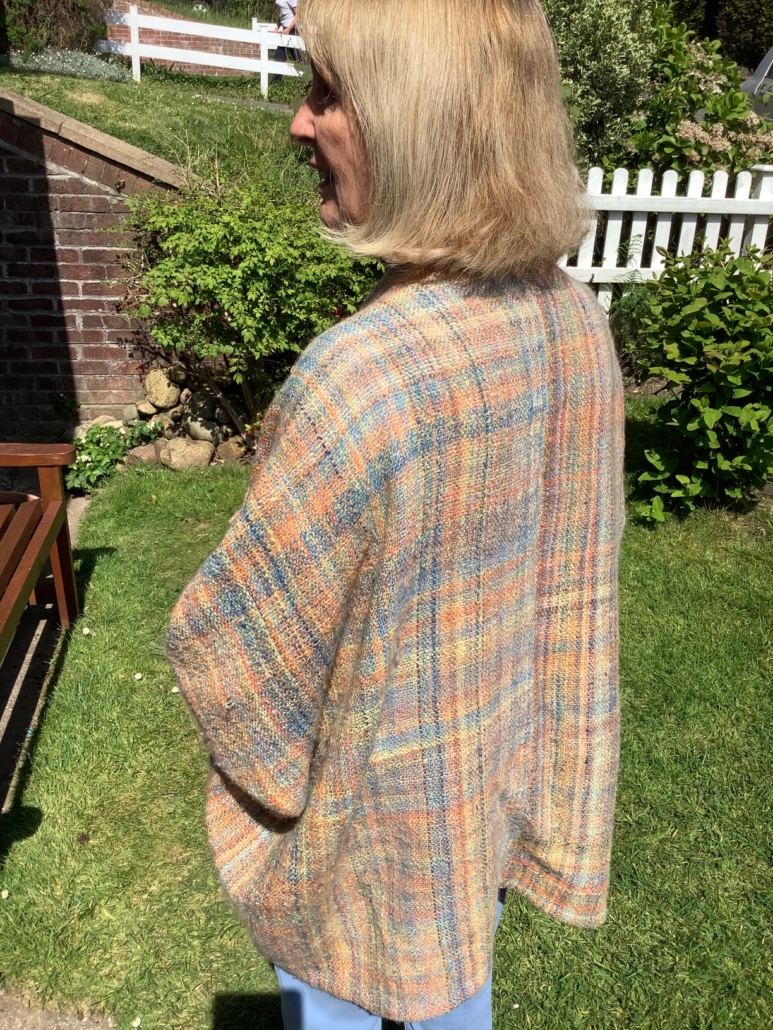
Beautiful greens and blues dyed by the author using indigo and other natural dyes.

Blending the wool on the drum carder I can get even more shades. I like to blend with fibres like silk, alpaca, or plant fibres, and I love sari silk, to get those little bits of colour in my yarn.

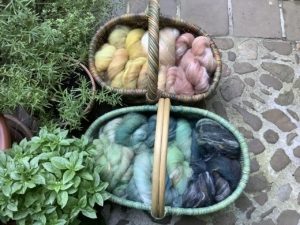
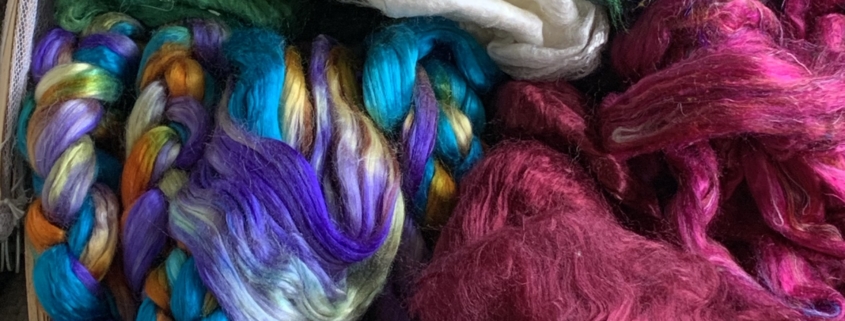
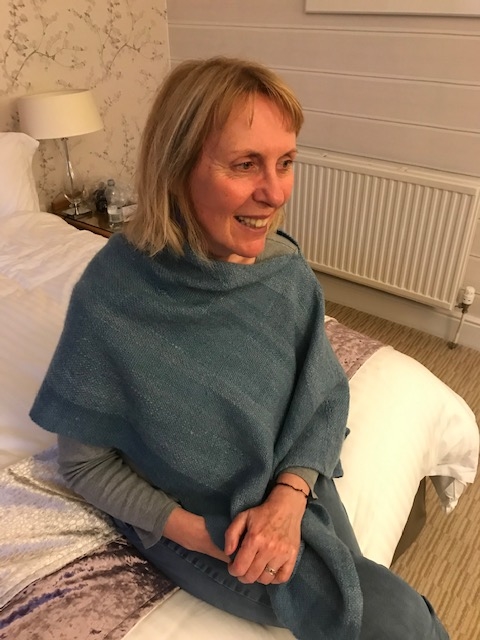
Fibres of different types and colours are blended on a drum carder for elegant results.

When I have an idea for the next sweater, I start carding, and then I can begin to spin. Once I have spun enough yarn – say, for one day – I cast on and start knitting, usually top down, so I don’t have to decide too much in advance about length and width.

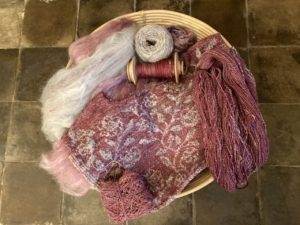
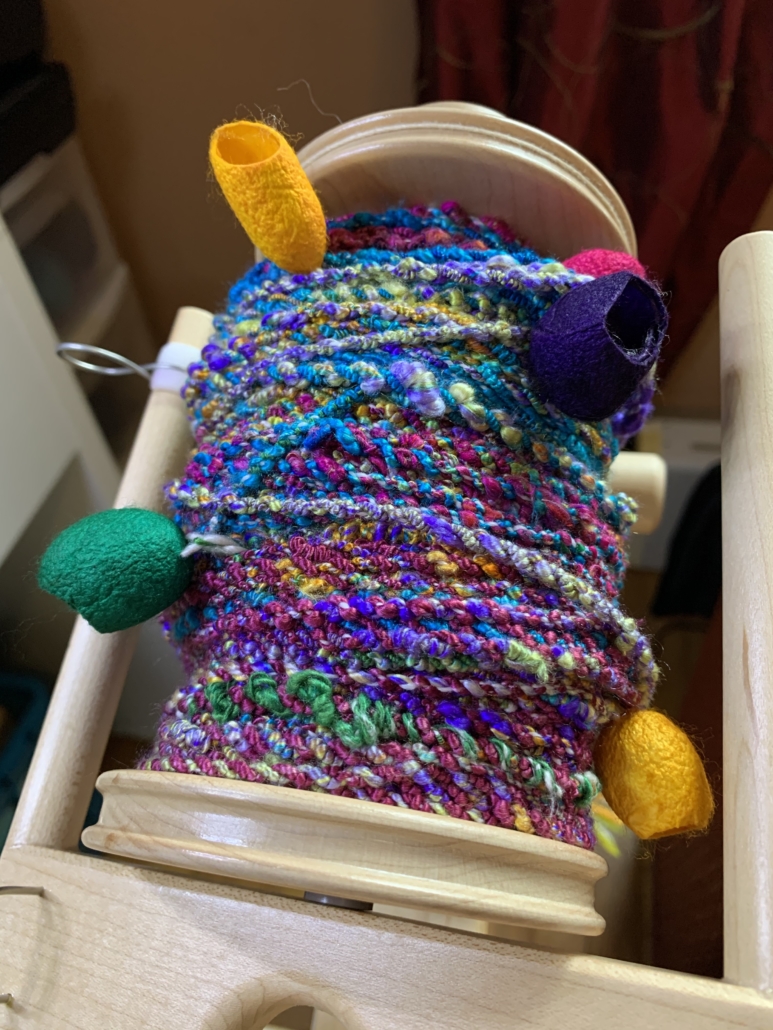
An idea for the author’s next sweater in the gathering stages.

When I spin on my wheel, I have to sit at home, but while spinning I can read a book or talk to others during online meetings. I also like to spin on my spindles, and that works on a walk, or a museum visit. I take them on holiday as they don’t need much space, and when I spin for a lace shawl, I don’t even need much wool either. At home there are spindles all over the place; I can spin when I am waiting for the kettle to boil, when the computer is slow, when I am cooking. Like that I can make good use of a short time and the yarn still grows.

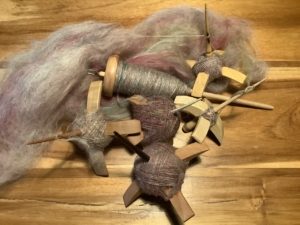
Knitting as soon as the yarn is spun helps the author complete sweater projects in a timely manner.

I can take my knitting almost everywhere, which is why I don’t want to wait to get started until I have spun all the yarn for a whole sweater. I knit at home, on the bus or train. The only thing I have to make sure of is to be one step ahead with the yarn.

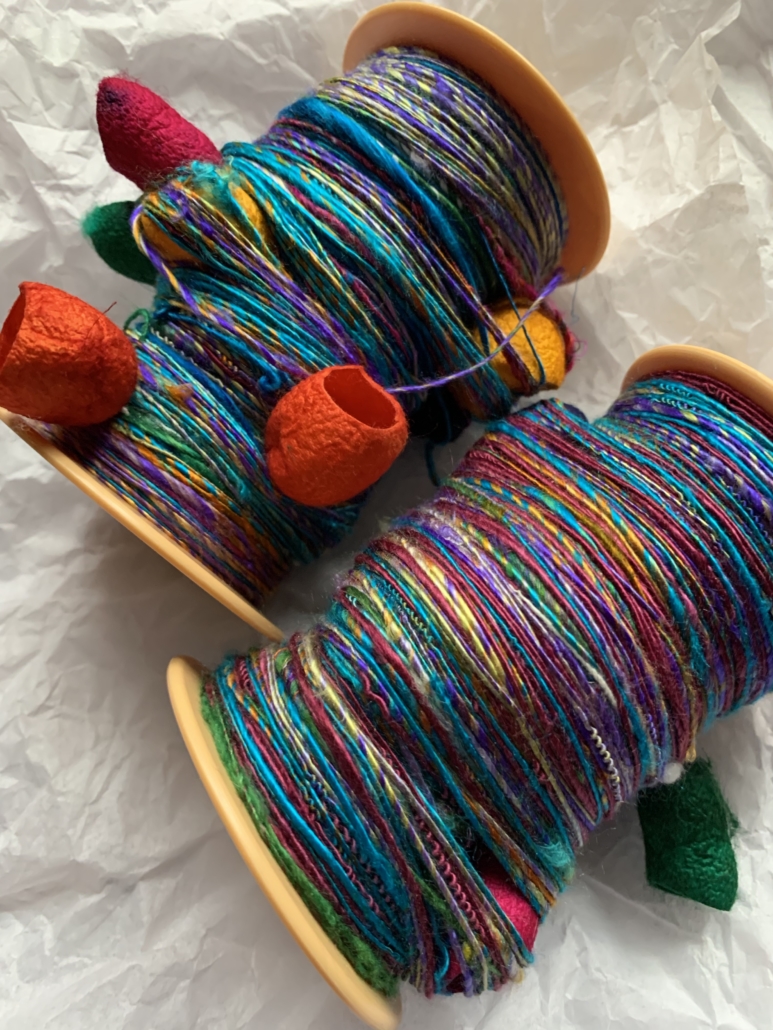
I love to knit Fair Isle sweaters. My favourite method is to use only one bobbin, which I don’t even fill, because I need smaller quantities of lots of colours. Then I wind a ply ball and ply it on itself. For that I put my thumb through the ball, so I can tension the two singles with my fingers and they don’t get tangled, as long as my thumb (or a cardboard roll or a pencil) stays in the middle. I don’t have any leftovers from plying, and it is quick when I suddenly need more yarn.

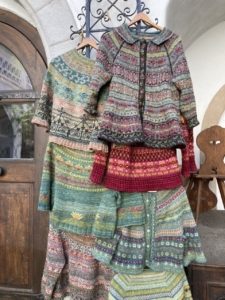
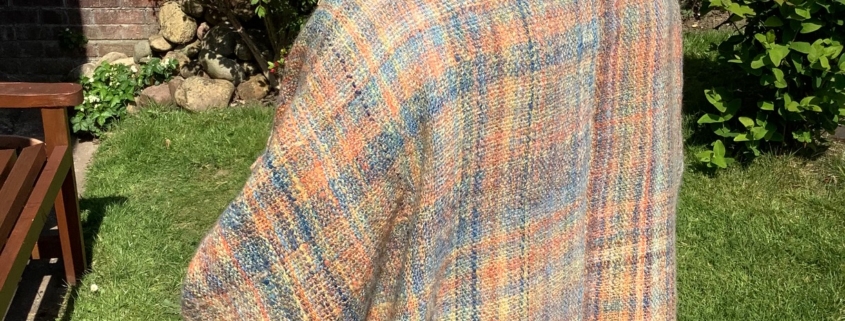
Several charming sweaters dyed, spun, and knit by the author.

I have never had problems with the yarn not being consistent enough throughout a project. I just know what yarn I want and my fingers seem to remember what to do. I am sure it is good advice to have a little card tied to the spinning wheel with a bit of the singles you are aiming for, so you can check and make sure you are spinning a consistent yarn.

Mixing breeds

There are so many different breeds, but some of my favourites are Shetland, BFL, and Jämtland – a Swedish breed. After dyeing them, I often forget what I have used, so when I do a new project it often turns out that I have used different breeds and fibres just to get the right colour. For the Fair Isle knitting I want to juggle lots of colours, which is more important to me than making a sweater out of only one breed.

Recently I made a pullover for my husband using about 12 different breeds and colours, even mixing short and long draw. For me it was a breed experiment and a way to use up lots of smaller quantities of wool I had in my stash. For that sweater I used combed top without blending.
Mixing in knitting during the spinning process is a wonderful way for a spinner to avoid being overwhelmed during a sweater project.

My feeling is that some people don’t dare to start spinning for a bigger project because they get overwhelmed by the quantity they have to spin and then all the knitting there is to do, especially when you want to spin the yarn entirely on spindles. Mixing the spinning and knitting for the same project is more interesting; you get more variety and more freedom to choose what you want to do next as long as you don’t run out of yarn. It breaks the project down into smaller, less daunting parts. The only thing you might want to plan is to have enough fibre at the start, but even that is not necessary, there is always a sheep growing more wool.

0 replies

Leave a Reply

Want to join the discussion?
Feel free to contribute!

Leave a Reply

Your email address will not be published. Required fields are marked *

Prepping Fiber for a Large Project

Words and Photos by Anne Schwarz

I’m making my first sweater from scratch.

This is new for me. Usually I spin a pound of this, a 4-oz braid of that, enjoying the pretty colors or trying my hands at a technique or a yarn design idea, and then I make yet another hat or scarf. In fact, I just finished another 284 yards of a pretty blue and yellow yarn from fiber that caught my eye at a vendor booth, destined to become something, someday. The joy is in the spinning, right?

Well, for a new challenge, I decided a few months ago to try my hand at spinning for a large project. The challenge was consistency – how could I make a couple thousand yards of 2-ply yarn that would look cohesive when knitted up, without disruptive shifts in color, thickness, or texture?

Consistency starts with the fiber prep.

I chose a 70% alpaca/30% Merino blend for my project because I had a lot of alpaca fleece in my stash in a few different colors. Because 100% alpaca yarn is notorious for stretching out over time, I wanted to blend it with some wool to give it some memory. Whenever I think about blending fibers, I consider what traits I’m adding and why. I chose Merino because it’s a fine wool and would not detract from the alpaca’s best quality, its softness.

Planning My Colors

As I washed and picked through about 2 pounds of alpaca fleece, I put it in 2 large piles; one was a mix of white and light beige, and the other was a mix of natural shades of brown.

There are 2 breeds of alpaca: Huacaya, which is a fluffier, crimpier fiber, and Suri, which is smooth and shiny and has a lot of drape but no crimp. I used mostly Huacaya for this project, but I had a bag of luscious dark brown Suri locks, and I couldn’t resist adding a couple of handfuls to the brown mix, as I thought it would add interest to the yarn.

I knew I was going to leave the brown alpaca its natural colors, and eventually dye the white/beige mix. I settled on a sweater pattern that could be made with either 2 or 3 colors.

The Merino I had was white combed top. This would blend in beautifully with my white alpaca blend, and I had the option of dyeing all of the fiber before blending, after blending, or after spinning. What would give me the most consistent color? Probably dyeing all of the fiber before blending because any inconsistencies in color would be blended together. But indecision got the better of me – I wasn’t ready to choose a color yet, so I decided to wait and dye the finished yarn.

The brown alpaca mix was a different story. I didn’t want to blend white Merino with colored alpaca because it would just dull and lighten the rich natural colors. In this case, I decided to dye the Merino before blending, using colors that would complement the alpaca’s shades of brown. I handpainted a length of Merino top with acid dyes in burgundy, a basic red, a rusty red, and golden yellow, plus a bit of brown that was darker than the alpaca and would blend color with color.

Prepping the Fiber Before Blending

While washing and picking my alpaca fleeces, I found my fiber had some variation in staple length (up to an inch difference), and the Merino was similar in length to the longer alpaca fibers. This pointed me towards a carded prep because combs will separate shorter from longer fibers, while carding creates a web of fibers of different lengths, going in different directions. I used a drum carder for both carding and blending.

The first step was carding the alpaca and Merino separately. I’d washed the alpaca and picked out most of the VM, but it needed a couple of passes through the carder to transform the locks into a loose web of fiber that would blend easily. This step also blended the white and beige fleece into an off-white color and the various shades of brown fleece into a gorgeous variegated brown.

I also put the Merino through the carder once on its own, even though it was already processed as combed top. Commercial top can be kind of dense and compressed, and a pass through the carder loosens and opens it up beautifully. In my experience, it blends with other fibers much better that way. However, with my handpainted Merino, this pass blended the colors together more than I wanted, into a sort of reddish brown. It wasn’t bad, but if I had it to do again I would dye the Merino in small single-color batches. I would then run these through the carder separately at this stage, and I would blend in the next step with the brown alpaca.

Brown alpaca and reddish Merino
Blending

Now I had 4 stacks of batts – off-white alpaca, white Merino, brown alpaca, and reddish-dyed Merino. Each stack had several batts. I’d weighed out my fiber ahead of time, so I still had 70% alpaca and 30% Merino in each color group. The next step was to blend them so the fiber ratio was consistent across all my batts.

I put the white batts in one big stack, alternating layers of alpaca and Merino, and then divided the stack into vertical cross-sections that were each about the amount I could comfortably fit on my carder. I put each cross section through the carder and then stacked the batts again and repeated the cross-section process. This method blended the fibers fairly well and evened out any inconsistency.

I used the same method with the colored Merino/brown alpaca. It was all nicely blended and ready to spin.

Blending brown alpaca with dyed Merino
A Few Notes on Spinning and Dyeing

It took me a few weeks to spin the yarn for this project, but I must say the spinning went faster than the fiber prep!

Before spinning, I finalized my pattern choice, selecting Coiled Magenta by Carol Feller of StolenStitches.com. It’s a loose, V-neck sweater that uses 2 colors and some cool color blocking. It calls for 2 colors, but I’m going to use 3 because in the end I divided my white yarn into 2 colors.

I dyed the white yarn 2 different colors for a simple reason – the limited size of my dye pot. I had to dye it in 2 batches, and rather than making 2 dye lots of the same color that might not match, I decided to do a blue and a green. The green dyed a little bit unevenly, and in retrospect it might have been better to have dyed the fiber before blending and spinning, but I think the darker areas are well distributed and will look consistently inconsistent when knitted up.

I had noted the thickness (12 WPI) and grist (approximately 1300 YPP) of the commercial yarn suggested for this pattern. I didn’t achieve the same grist; my brown yarn is the same thickness but is a little heavier, probably because I included some Suri alpaca. Suri just has no loft to it and made for a bit denser yarn. But I made a couple of swatches, and I’m happy with the gauge and the feel of the cloth so I think it will work nicely.

Conclusions

I’m very excited about how my yarn turned out, and I’m really glad I took the time to prep the fiber with quantity and consistency in mind. I also benefitted from studying the yarn suggested for my chosen sweater pattern so my handspun yarn would work as a substitute.

And I learned a few lessons.

First, the addition of Suri alpaca, even though it was probably no more than 10% of my yarn, made a real difference in the grist, producing a heavier, denser yarn than a similar blend without Suri. Second, I wish I’d dyed my Merino in small single-color batches before blending, instead of one long hand-painted piece of top – it would have prevented it from getting over-blended, and I’d have had a bit more color variation in my brown yarn. And last, I have more to learn about dyeing a large batch of yarn with even color, so it might have been wiser to dye the fiber at the beginning of the project, before blending.

Anne Schwarz started spinning 11 years ago after buying a soon-to-be mama alpaca, along with a bag of her prize-winning fleece. She found a beginner spinning class and a world opened up. She no longer owns alpacas, but their wonderful fiber is still her favorite.

Handmaking Spinning Tools

Words and Photos by Denise Williams

Handspinning can be a very expensive craft.

When I decided to start spinning yarn, I had bags of wool but no tools. Internet groups were beginning to spring up, with ample advice encouraging beginners to buy everything under the sun. I’m sure you’ve seen it all: hand carders, drum carders, blending boards, hand combs, hackles… Yes, I wanted every single fiber processing tool there was. However, I had way more time and determination than disposable income. Spinning was not the first nor the only craft in my life, and I know how it is to buy everything out there to find I only use or need a small selection. So I decided to take things slowly and acquire tools as I gained experience and technique dictated.

Maybe when you are starting out, or starting to branch out, you can borrow tools from someone to try out. Unfortunately, at that time, I didn’t know anyone local who was a spinner, so I needed a budget-friendly way to acquire or create what I wanted.

I wish I could remember to credit the place or person where the original idea reached me, with ways to make or repurpose common objects for fiber tools. Surprisingly, I already had the items lying around the house, and I’ll bet you are familiar with these items: pet brushes, horse combs, and afro picks.

I liked to work with smooth, worsted yarns, so my first spinning goal was to reproduce what I used most. For a worsted prep, combs are most appropriate. Wool combs, whether they are viking combs or mini combs, are serious tools, and their price gave me my first taste of sticker shock (well before I bought my wheel).

DIY Combs

My first DIY was trying to find something that could work similarly to the raking action of combs. I started with a long flat hair comb, which isn’t a half-bad idea, except human long combs are not the sturdiest thing. Metal dog combs are sturdy, but the tines are short. So for a while I used a horse comb, made of a heavy enough plastic to rake wool, with longer tines. Still, I couldn’t load much on it. The afro pick became the perfect solution. Now, not all afro picks are created equal. I prefer the metal ones; however, there are a few heavy plastic ones.

My first DIY was trying to find something that could work similarly to the raking action of combs. I started with a long flat hair comb, which isn’t a half-bad idea, except human long combs are not the sturdiest thing. Metal dog combs are sturdy, but the tines are short. So for a while I used a horse comb, made of a heavy enough plastic to rake wool, with longer tines. Still, I couldn’t load much on it. The afro pick became the perfect solution. Now, not all afro picks are created equal. I prefer the metal ones; however, there are a few heavy plastic ones.

DIY Hackle

The very first wool I prepped was medium-stapled Cheviot cross. Using the afro pick worked very well, though as I predicted, my first attempts at spinning didn’t stick, and it was a little more than a year before I would try again. I traded my spindle for a wheel, and that is when the spinning began in earnest. I found I needed a faster way to process more raw wool than a single pair of afro picks could provide. Stringing a group of afro picks together to make my next favorite fiber tool, a hackle, was a very simple build.

All you need is a length of wood, such as a 2×4, a few picks, 2 screws for each pick, and 2 clamps. Set the picks as close as possible to make the gaps even. In some cases, you may have to shave off some of the ends so the picks sit closer. I also found, for the length of the pick, 2 screws hold better than one. Remember to leave room on the ends of the wood for the clamps so they are far enough that they don’t interfere.

DIY Carders

As I explored new fibers, I found I needed to add another tool to my collection: carders.

When it comes to hand carders and flickers, I used pet slickers. Between the German Shepherds and the Angora rabbits, slicker brushes are something I keep, and you bet I’ve tried all kinds of brands to find which will hold up well. Buy the best pet slickers you can afford. Cat brushes seem to have the smallest teeth per inch, but they are also the smallest size. Plastic brushes are less expensive, and I have found those in the largest sizes; I have also found the plastic handles don’t last long, though the cloth holds up pretty well.

Another consideration is buying the carding cloth and building the base and handle. You can purchase a small amount of cloth online for a reasonable price. I bought a quarter inch thick piece of wood from a craft store, glued and then stapled the cloth onto it, and added a handle. Many years later, this is still my go-to large hand carder that I use for all of my flicking preps.

I process 90 percent of my own fibers from raw wool, and while I later bought hackles, carders, and combs, I still find myself reaching for some of my simpler DIY tools. Probably because, just like my handspun yarn, they were handmade to cater to my particular needs. Handspinning is a skill as old as time, with many fine textiles created with simple handmade tools. So don’t let your budget stop you from creating the yarn you want.

Alpaca I processed and spun with homemade combs

Denise Williams, a former school teacher, decided to live her dream and become a writer and artist. Her passion is processing and spinning fibers to knit, crochet, and weave. Denise chronicles her fiber adventures on her YouTube channel, Four Square MicroFarm.

Supported Spindle Tips Needed

Calling all supported spindle spinners! How do you travel with your supported spindles (and their support)?

Share your tip by going to our Tip Jar submission page.

Your tips will be printed in the Summer 2020 issue on supported spindles. The person who submits our absolutely favorite tip will get a prize from us! It’s our way of saying thanks for sharing your wisdom with the PLY readers.