

Mixing Things up for a Sweater
words and photos by: Johanna Carter
I always admire those who are able to spin mountains of yarn for a big project, ready to knit a wonderful sweater or cardigan. It is a satisfying feeling when you finish all that work, especially if you started with washing and combing the wool or even raising your own sheep.
Mixing spinning and knitting
The typical way to work through a larger project is to spin all the singles first and ply them in a particular order so you get the yarn even throughout the whole project. I don’t have so many bobbins, but my bigger problem is that I am quite impatient and want to get on with knitting once I have an idea. And normally, my brain is full of ideas for fibre work and the limit is the time, as I am a musician and teacher. I can’t sit at the spinning wheel for a long time if I’m not on holiday, so during the school year I mostly knit, and during the holidays I can dye, spin, use my drum carder, and do lots of fibre work. The only time I was able to produce bigger quantities of yarn before I knitted them up was during the Tour de Fleece in the two years during the pandemic, when we did not go on holiday at the beginning of July.

A highly photogenic collection of naturally dyed fibres.
I like to finish knitting one big project like a sweater or cardigan before I start the next one, or at least until I can’t carry it in my bag easily anymore, so I have an excuse to begin the next one. Sometimes it is good to have a second project on the go – I call it mindless knitting, where I don’t have to look very much – which I can keep my hands busy during Zoom or other meetings, which helps me listen.
Mixing colours and fibres
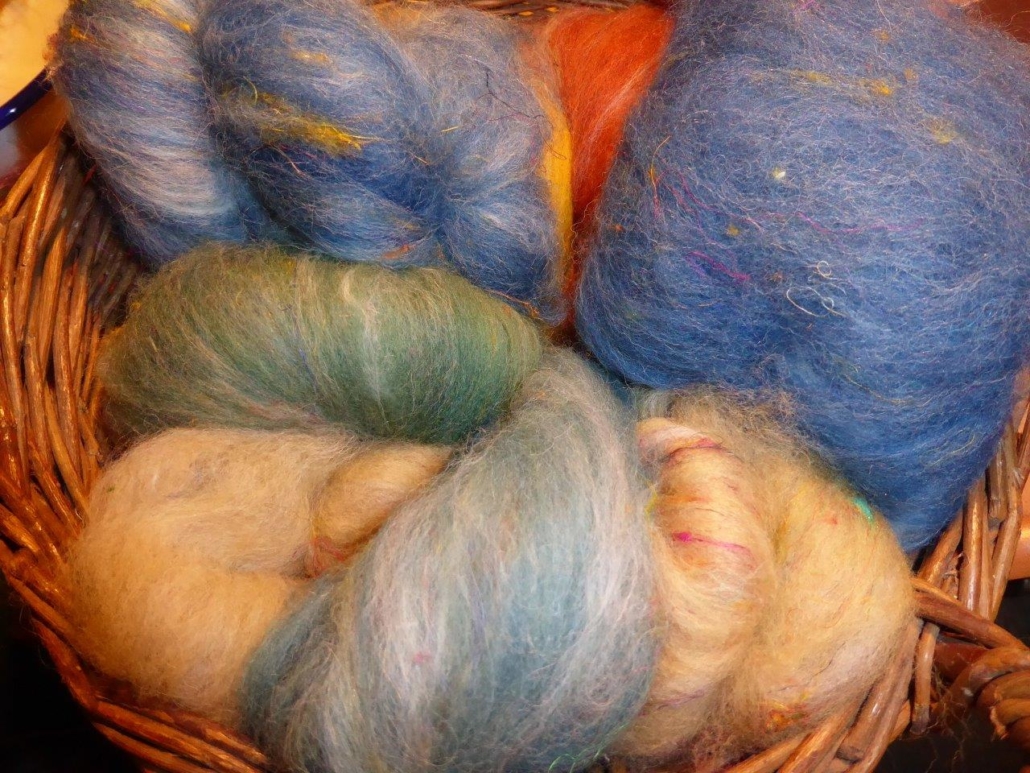
Usually I dye my yarn with plants which I collect in the woods or get from garden flowers. I also use cochineal and indigo, which I buy, to get lots of different colours. I really love the greens and blues I get from dyeing with indigo. I have lots of dyed wool, and all those colours give me inspiration for further projects.

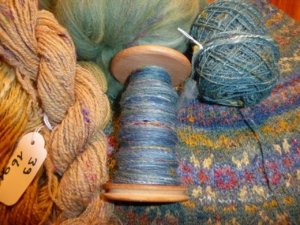
Beautiful greens and blues dyed by the author using indigo and other natural dyes.
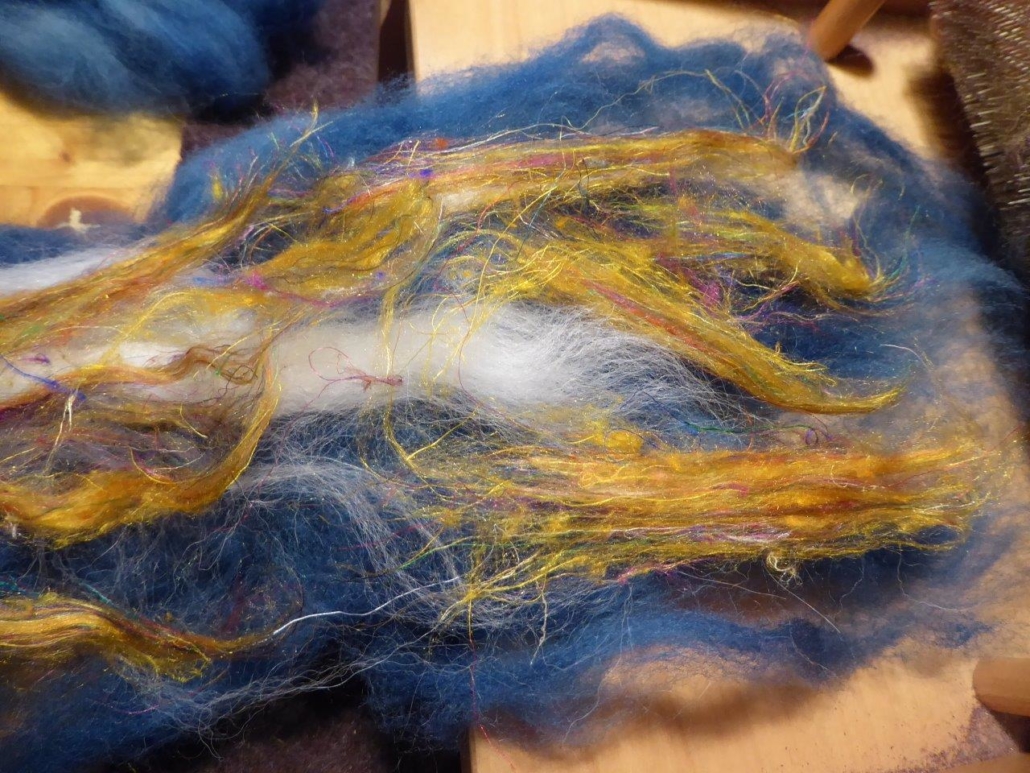
Blending the wool on the drum carder I can get even more shades. I like to blend with fibres like silk, alpaca, or plant fibres, and I love sari silk, to get those little bits of colour in my yarn.
Fibres of different types and colours are blended on a drum carder for elegant results.
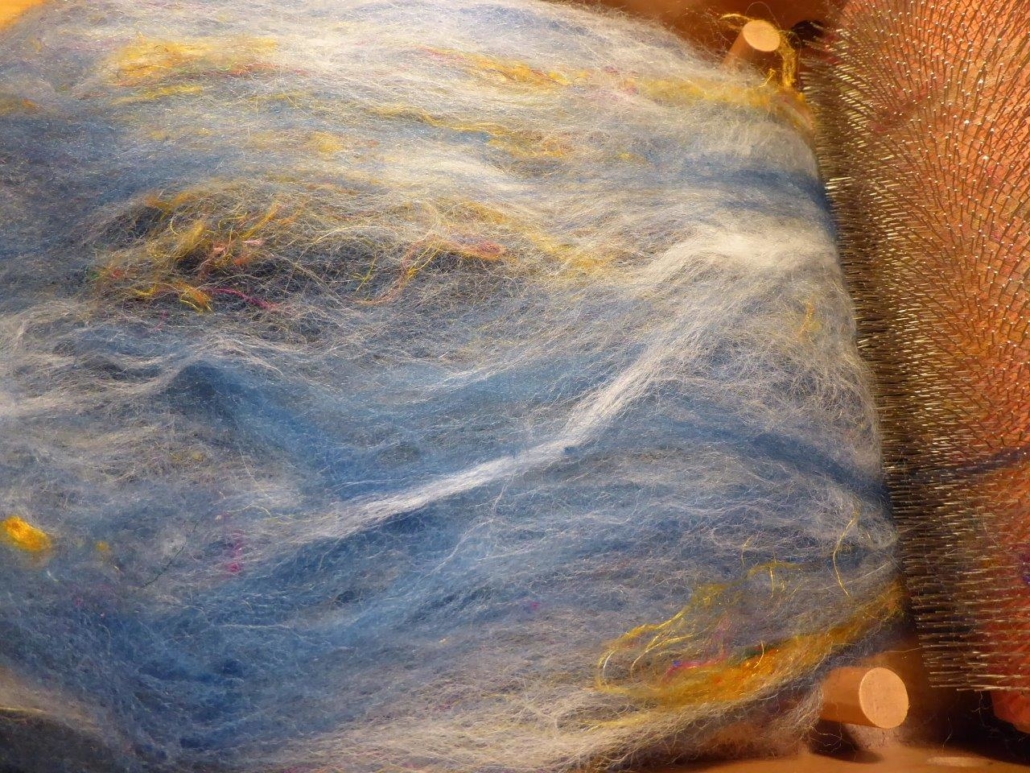
When I have an idea for the next sweater, I start carding, and then I can begin to spin. Once I have spun enough yarn – say, for one day – I cast on and start knitting, usually top down, so I don’t have to decide too much in advance about length and width.

An idea for the author’s next sweater in the gathering stages.
When I spin on my wheel, I have to sit at home, but while spinning I can read a book or talk to others during online meetings. I also like to spin on my spindles, and that works on a walk, or a museum visit. I take them on holiday as they don’t need much space, and when I spin for a lace shawl, I don’t even need much wool either. At home there are spindles all over the place; I can spin when I am waiting for the kettle to boil, when the computer is slow, when I am cooking. Like that I can make good use of a short time and the yarn still grows.

Knitting as soon as the yarn is spun helps the author complete sweater projects in a timely manner.
I can take my knitting almost everywhere, which is why I don’t want to wait to get started until I have spun all the yarn for a whole sweater. I knit at home, on the bus or train. The only thing I have to make sure of is to be one step ahead with the yarn.
I love to knit Fair Isle sweaters. My favourite method is to use only one bobbin, which I don’t even fill, because I need smaller quantities of lots of colours. Then I wind a ply ball and ply it on itself. For that I put my thumb through the ball, so I can tension the two singles with my fingers and they don’t get tangled, as long as my thumb (or a cardboard roll or a pencil) stays in the middle. I don’t have any leftovers from plying, and it is quick when I suddenly need more yarn.

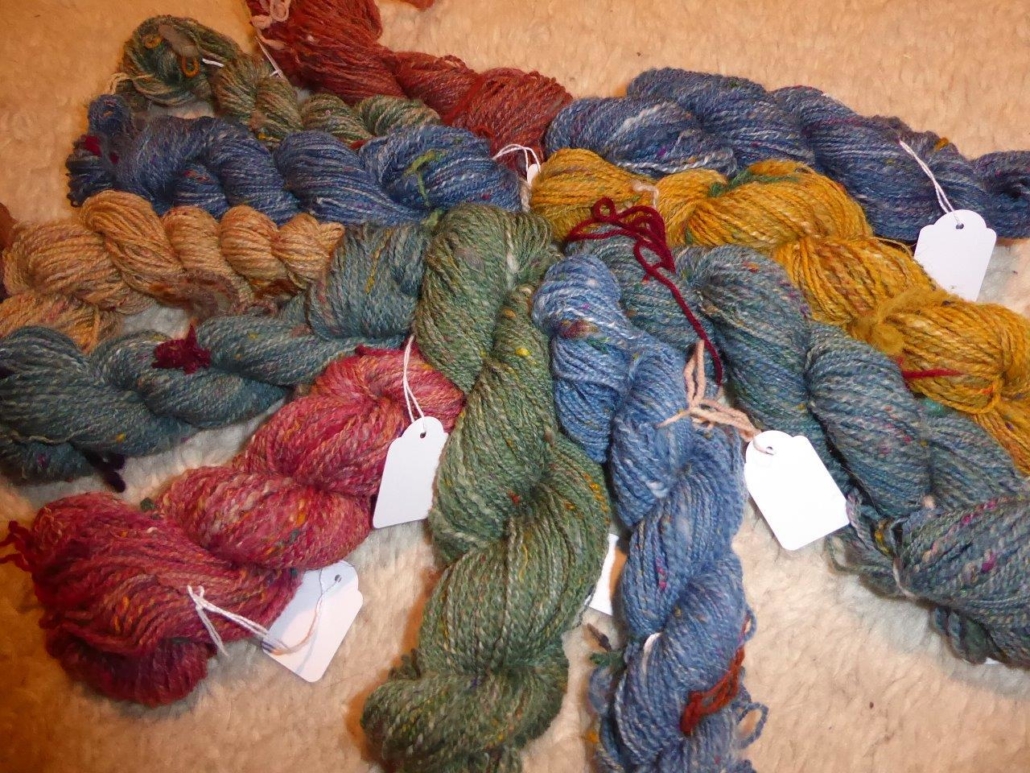
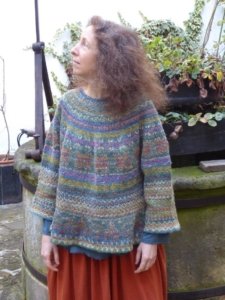
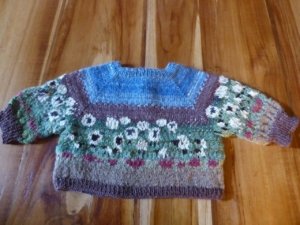
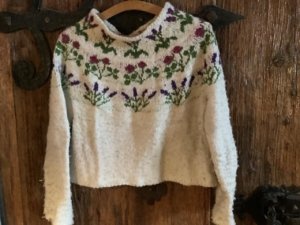
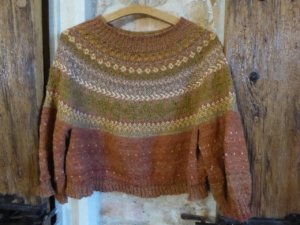
Several charming sweaters dyed, spun, and knit by the author.
I have never had problems with the yarn not being consistent enough throughout a project. I just know what yarn I want and my fingers seem to remember what to do. I am sure it is good advice to have a little card tied to the spinning wheel with a bit of the singles you are aiming for, so you can check and make sure you are spinning a consistent yarn.
Mixing breeds
There are so many different breeds, but some of my favourites are Shetland, BFL, and Jämtland – a Swedish breed. After dyeing them, I often forget what I have used, so when I do a new project it often turns out that I have used different breeds and fibres just to get the right colour. For the Fair Isle knitting I want to juggle lots of colours, which is more important to me than making a sweater out of only one breed.
Recently I made a pullover for my husband using about 12 different breeds and colours, even mixing short and long draw. For me it was a breed experiment and a way to use up lots of smaller quantities of wool I had in my stash. For that sweater I used combed top without blending.

Mixing in knitting during the spinning process is a wonderful way for a spinner to avoid being overwhelmed during a sweater project.
My feeling is that some people don’t dare to start spinning for a bigger project because they get overwhelmed by the quantity they have to spin and then all the knitting there is to do, especially when you want to spin the yarn entirely on spindles. Mixing the spinning and knitting for the same project is more interesting; you get more variety and more freedom to choose what you want to do next as long as you don’t run out of yarn. It breaks the project down into smaller, less daunting parts. The only thing you might want to plan is to have enough fibre at the start, but even that is not necessary, there is always a sheep growing more wool.
Last Call for Electric Submissions
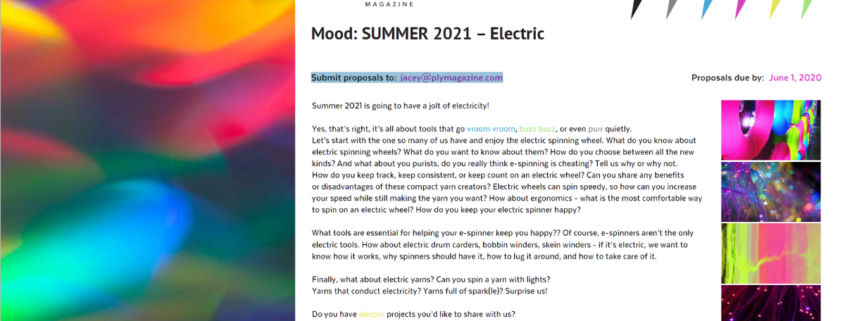
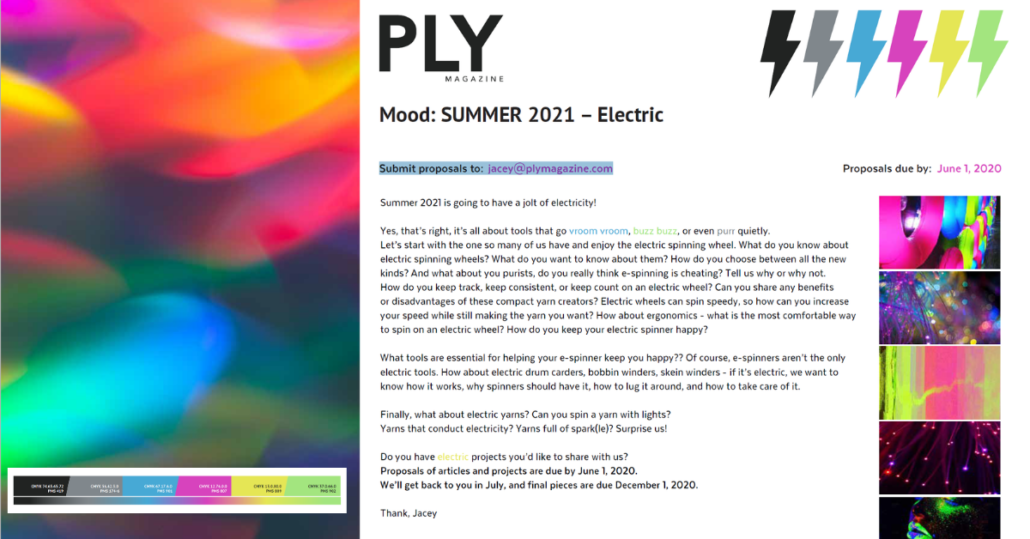
Summer 2021 is going to have a jolt of electricity!
Yes, that’s right, it’s all about tools that go vroom vroom, buzz buzz, or even purr quietly. Let’s start with the one so many of us have and enjoy: the electric spinning wheel. What do you know about electric spinning wheels? What do you want to know about them? How do you choose between all the new kinds? And what about you purists, do you really think e-spinning is cheating? Tell us why or why not.
How do you keep track, keep consistent, or keep count on an electric wheel? Can you share any benefits or disadvantages of these compact yarn creators? Electric wheels can spin speedy, so how can you increase your speed while still making the yarn you want? How about ergonomics – what is the most comfortable way to spin on an electric wheel? How do you keep your electric spinner happy? What tools are essential for helping your e-spinner keep you happy?
Of course, e-spinners aren’t the only electric tools. How about electric drum carders, bobbin winders, skein winders – if it’s electric, we want to know how it works, why spinners should have it, how to lug it around, and how to take care of it.
Finally, what about electric yarns? Can you spin a yarn with lights? Yarns that conduct electricity? Yarns full of spark(le)? Surprise us! Do you have electric projects you’d like to share with us?
Proposals of articles and projects are due by June 1, 2020.
We’ll get back to you in July, and final pieces are due December 1, 2020.
Submit proposals to jacey@plymagazine.com or on the website.
Spinning Daisy
words and photos by Vicki Robinson
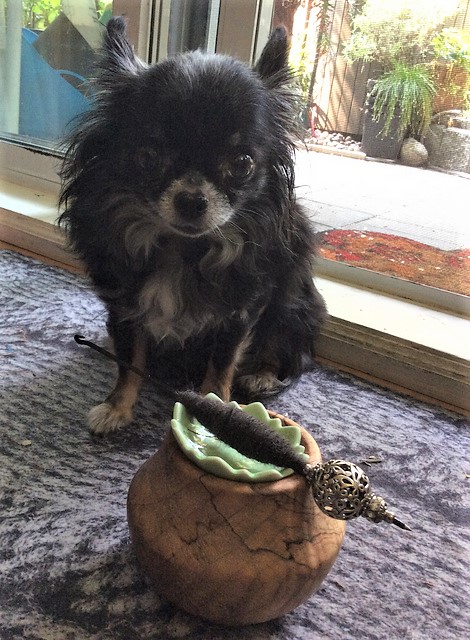
In 2016, my husband and I adopted a bonded pair of senior dogs from the SPCA: a short-haired dachshund and a 3-pound long-haired chihuahua. I’d spun dog hair (chiengora) before, so with the tiniest of slicker brushes, I groomed my sweet Daisy daily. She loved it and would jump on my foot when she wanted up for her brush. Of course, with such beautifully soft fiber, I wasn’t about to throw it away. Our district already has the brightest and softest nests from my fiber and yarn discards.
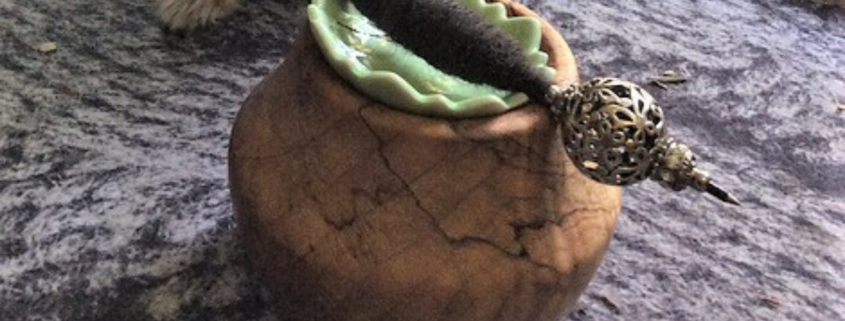
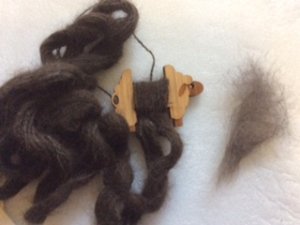
Almost nightly, I would sit in my chair and spin long draw from the cloud, straight off the brush, on my John Galen Daisy bead supported spindle. Maybe I’d get an arm’s length, more or less. Surprisingly, it was very easy to spin, even and soft.
Fast forward to our annual RV trip to Oregon, loaded with wheel, spindles, fiber, husband, and dogs, destination: Oregon Flock & Fiber Festival (OFFF). Perusing the OFFF brochure, I saw applications to enter various fiber show categories. Why not? I’d never done anything like that before and I had a couple spindles full of Daisy, so I sent off my application.
I plied my singles into a 2-ply yarn and counted my yardage. Success! I had 58 yards and the minimum was 50. I filled out my yarn description of this yarn that had taken me a year to collect and spin but paused at the question regarding possible intended use. I thought an open lace shawl would be beautiful – in about 10 years! Instead, it would be just a very special keepsake as our Daisy passed very unexpectedly on my husband’s birthday whilst undergoing dentalwork to remove all her teeth.
I submitted my yarn, much to the delight of the wonderful staff signing in entries. They had read “Chihuahua yarn” but were boggled as to what to expect.
Fast forward to judging day, when we headed up to the gallery. I could hardly believe my eyes as we approached and saw ribbons near my yarn. A blue 1st, a big green Judges’ Choice, and a big blue and pink Grand Reserve Champion were actually attached to my skein! I don’t remember much of that weekend after that. I think I was bouncing around too much and it addled my memory. My skein had scored 99/100. Perhaps I lost a point for not including a swatch, but I had still been urged to submit my yarn after explaining a swatch would likely take me another year. I had also almost overlooked the fiber sample, but fortunately Daisy had yet to be brushed on submission day, so we managed to squeak in on that.
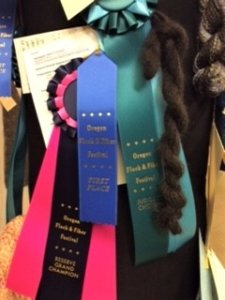
Oh, I almost forgot (this event still gets me so excited), when we went to pick up my yarn and ribbons, it wasn’t displayed where it was previously. As my heart came up to my throat, the attendant saw it on a long wall. Little Daisy had also garnered herself the Barb Quinn memorial award from Vancouver Handspinners. It was fancy dinner for all that night.
We still miss our Daisy terribly and think we see and hear her. I feel blessed to have this skein of her, with or without the fabulous adventure.
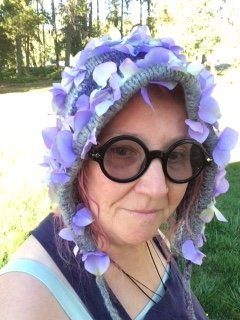
Originally from Australia, Vicki Robinson lives in British Columbia, Canada, where she dreams of owning her own fiber flock in their condo. Ever-enabling husband Joe laughs and jokes that 6 long-haired chihuahas should suffice. They currently share their home with 3 rescue dogs, only one of which has longer hair, albeit like wire, perhaps hair for potscrubbers in his future! Vicki is on Ravelry as Vickistickis and is the originator of Sisterhood of Fun Ideas…and Other Great Stuff on Facebook and Etsy.

Reader Feature: Johanna Carter
We asked long-time PLY reader Johanna Carter a few questions about her spinning and crafting life.
Tell us a little bit about yourself and how you got started spinning.
I knit quite fast and wanted to slow my knitting down, as it is not so cheap to buy yarn, so I asked a friend to show me how to spin on a spindle. We only had a short time, and then she left me with a spindle and some fibre. The next day I ordered a small spindle, fibre, and Abby Franquemont’s Respect the Spindle.
The first fibre I spun was Merino and BFL. After 3 weeks, I finished making my first sweater from my handspun. I had no idea about plying or finishing the yarn; I just made balls of wool and knitted a sweater. Though now it is old, it is very soft, a little bit felted and pilling, but I still like it.
After spinning on a spindle for 6 months, I had made 3 sweaters, a cardigan for my husband, and lots of other things. That Christmas, my family gave me an Ashford Traditional double drive spinning wheel as a present.
Do you have a favorite type of yarn to spin?
My favorite fibre is Shetland. We even went to Shetland for a holiday! All the natural colors are just so nice, and I love to do Fair Isle and stranded knitting. I also like to work with soft yarns, such as Falkland, Rambouillet, alpaca, BFL, Chubut, cashmere, and silk.
What do you like to make with your handspun?
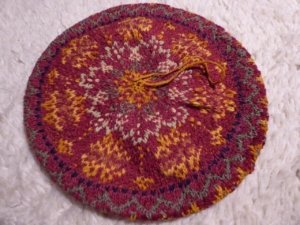
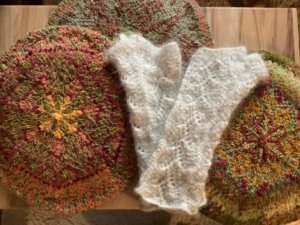
I love making soft sweaters I can wear next to my skin, tams, wristwarmers, and cowls, all with lots of color.
I knit without patterns, and I invent the sweaters as I knit. What I don’t like to do is follow a pattern or knit plain sweaters as I get bored too quickly.
How long have you been reading PLY?
When I started spinning in the summer of 2013, my friend left me a copy. I liked it so much that I ordered it and have all the issues from the beginning.
What do you look forward to most when you get an issue?
I look forward to everything. I like to read about different sheep and their fleece or about spindles. I like the articles about history or different ways to spin. What I miss are the Stealth Reviews; for me they were really helpful. I loved the one about spindles, which is how I got to know Bosworth spindles, which are my favorites.
Tell us about a project you worked on that was inspired by an article, project or issue of PLY.
I made a sweater with natural dyes – madder, onion skins, rose petals, cochineal, and especially indigo – which I have not tried before.
The project started with carding different fibers and colors on my drumcarder.
I used mostly Falkland and blended it with a bit of grey Shetland, baby alpaca, and recycled Sari silk. I also blended different colors together to get various colors and shades; in total I worked with 24 different shades. I used traditional Fair Isle motifs but also made up a few. I knit the sweater from the top down, which is my preferred method.
For this project I learned a lot about blending and mixing fibre on my drumcarder; it was nice to see the colors transform into a new shade. I learned how to make a tweed yarn with the recycled Sari silk, which I like very much. The yarn I spun is very soft, and it has a bit of a halo because of the baby alpaca.
As I used lots of little balls of wool, I just spun small amounts and did a ply ball so I only needed one bobbin and there were no singles left over.
It is very difficult to pinpoint which issue or article inspired the project because I’ve learned so much from PLY and get so many ideas. I guess lots of articles about blending or color gave me inspiration for this project.
For more of Johanna’s projects, check out her Ravelry page: johannarichard
If you would like to participate in a reader feature, fill out the reader feature interest form.


Leave a Reply
Want to join the discussion?Feel free to contribute!